Create a Pipeline
This section will provide a step-by-step guide to create a pipeline through editing, building, and deploying, enabling you to quickly set up a pipeline.
Prerequisites
- You need to create a workspace and a user. This user should join the workspace and be assigned the Workspace Editor role. Refer to Creating Workspace and Users.
- Create two credentials that can access the container registry and the cluster, named: registry and kubeconfig respectively. For more information on creating credentials, refer to Credential Management.
- Prepare a GitHub repository and a DockerHub repository.
Create credentials
-
Create two credentials on the Credentials page:
- docker-credential: Username and password for accessing the container registry.
- demo-dev-kubeconfig: To access the Kubernetes cluster using this kubeconfig.
-
After creation, you can see the credential information on the credential list page.
Create a custom pipeline
-
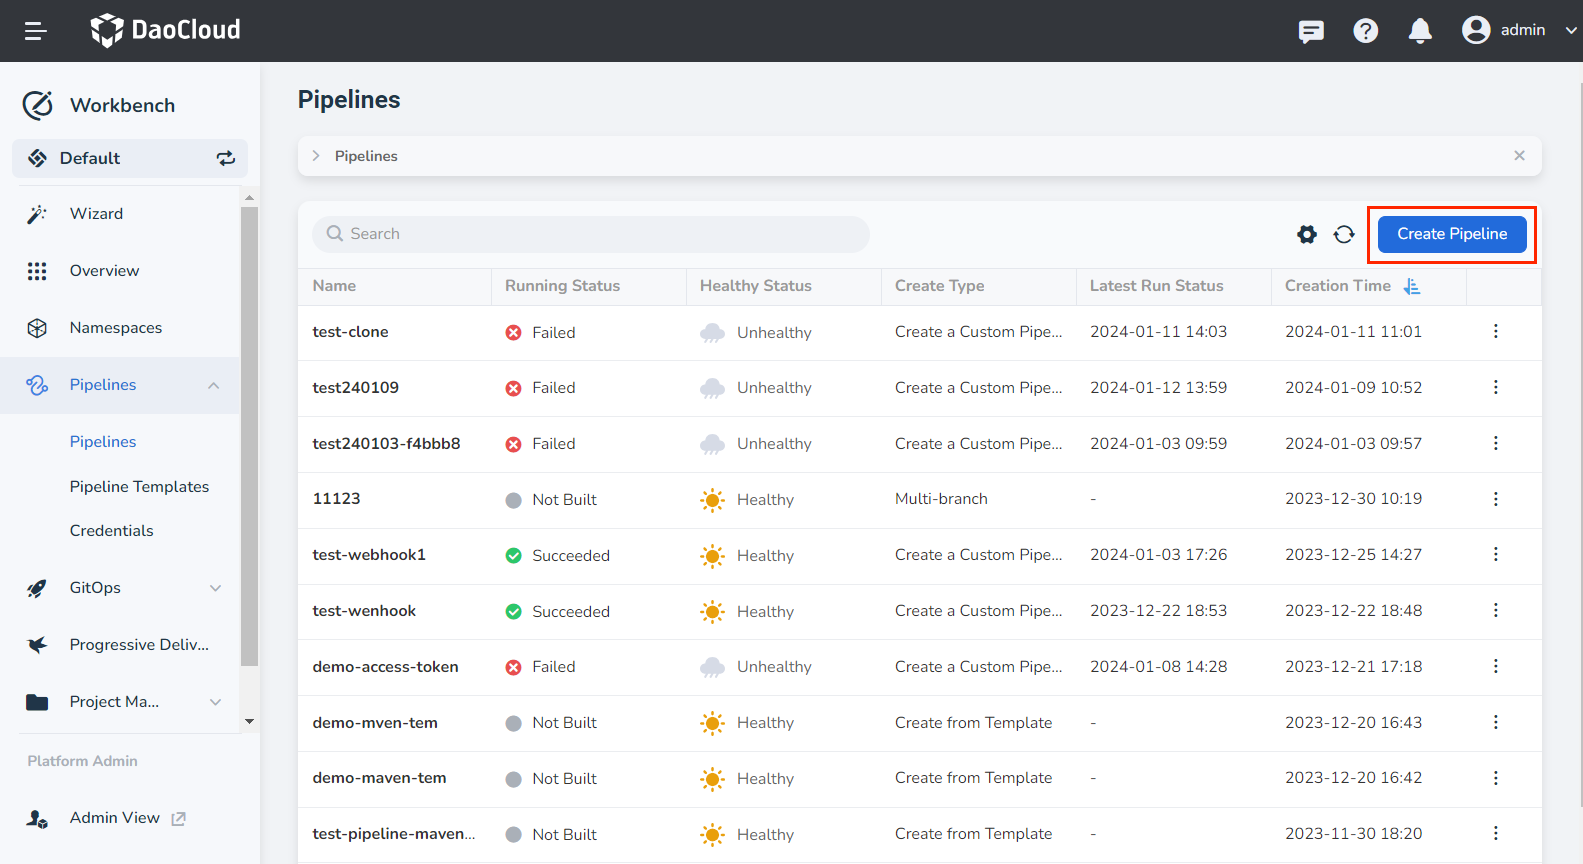
Click Create Pipeline on the pipeline list page.
-
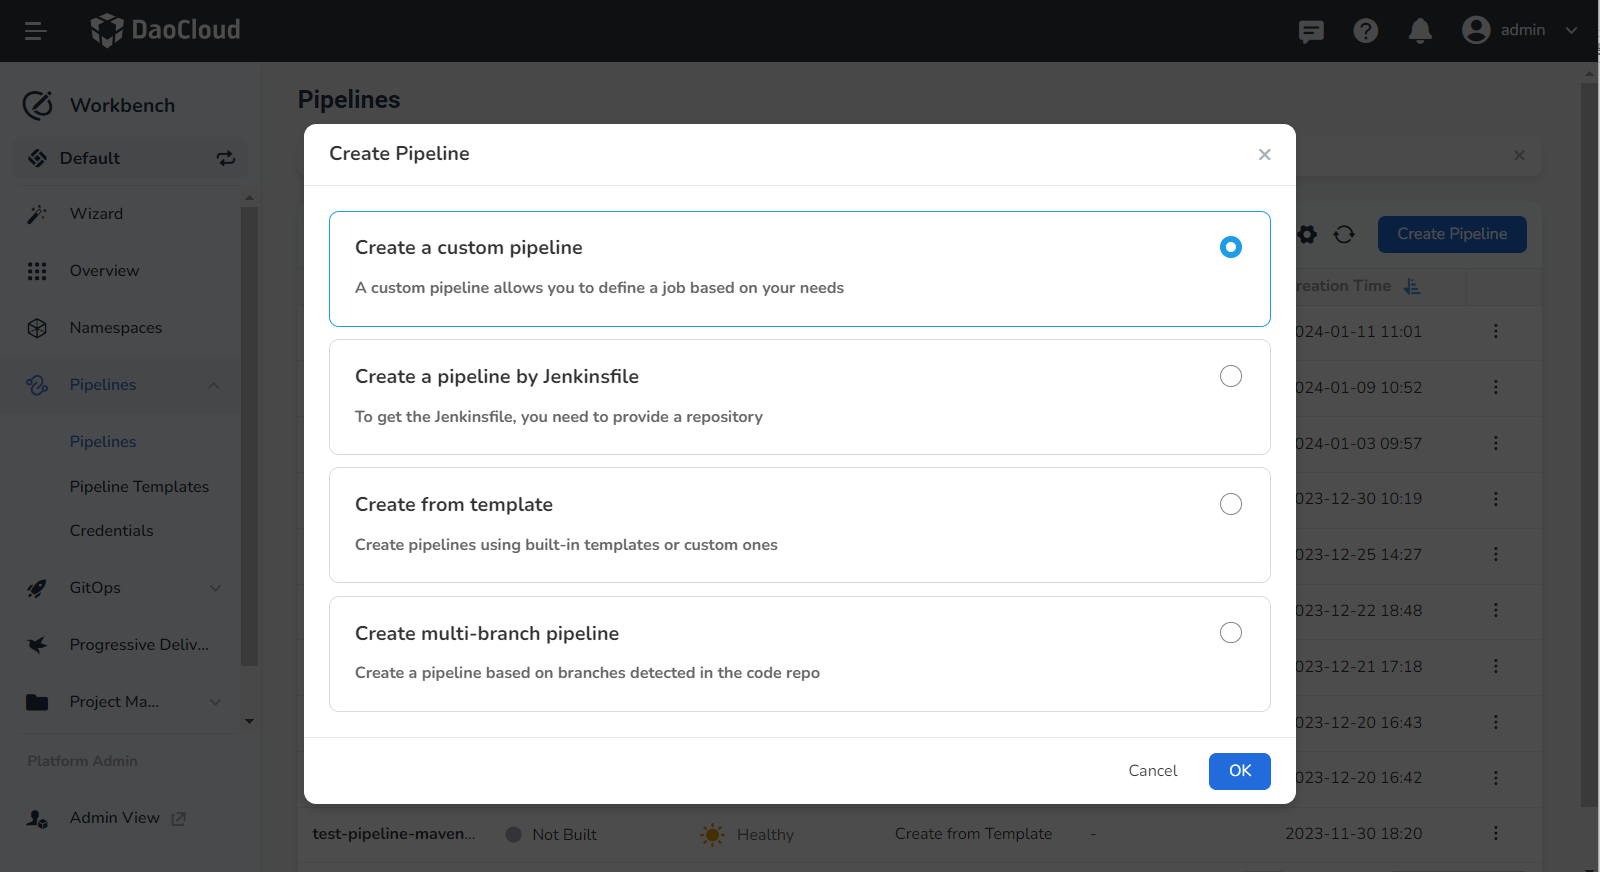
In the pop-up dialog box, select Create a custom pipeline , then click OK .
-
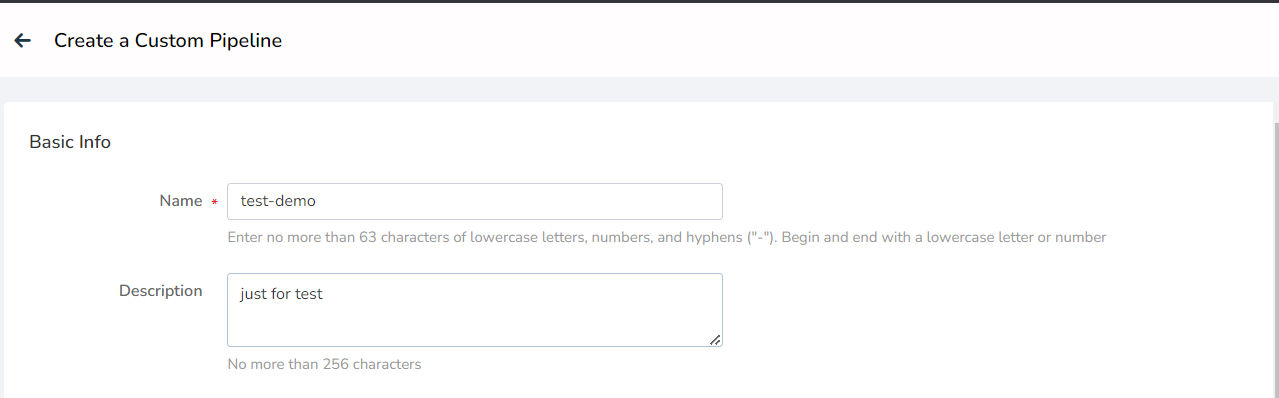
Enter test-demo as the pipeline name on the Create a custom pipeline page.
-
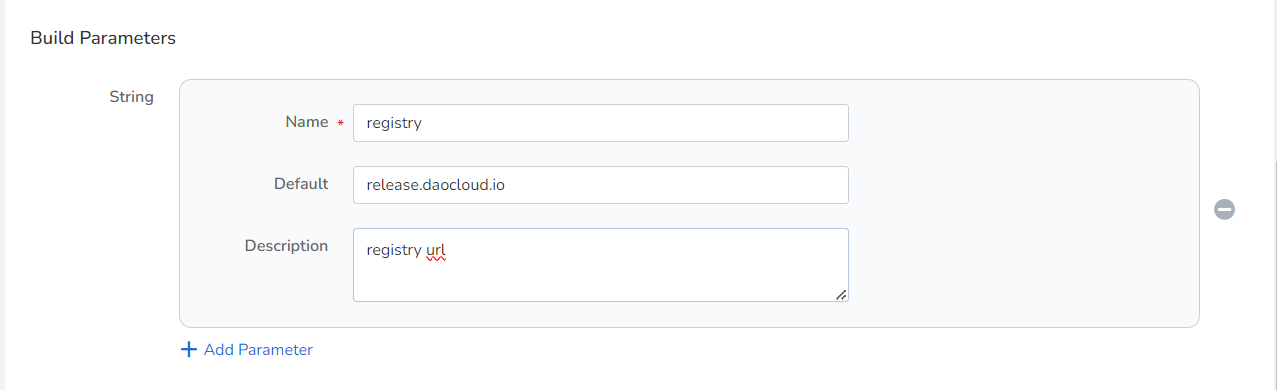
Add three string parameters in Build Parameters , these parameters will be used in the image build command.
- registry: Container Registry address. Example value: release.daocloud.io .
- project: The project name in the container registry. Example value: demo .
- name: The name of the image. Example value: http-hello .
-
After adding, click OK .
Edit pipeline
-
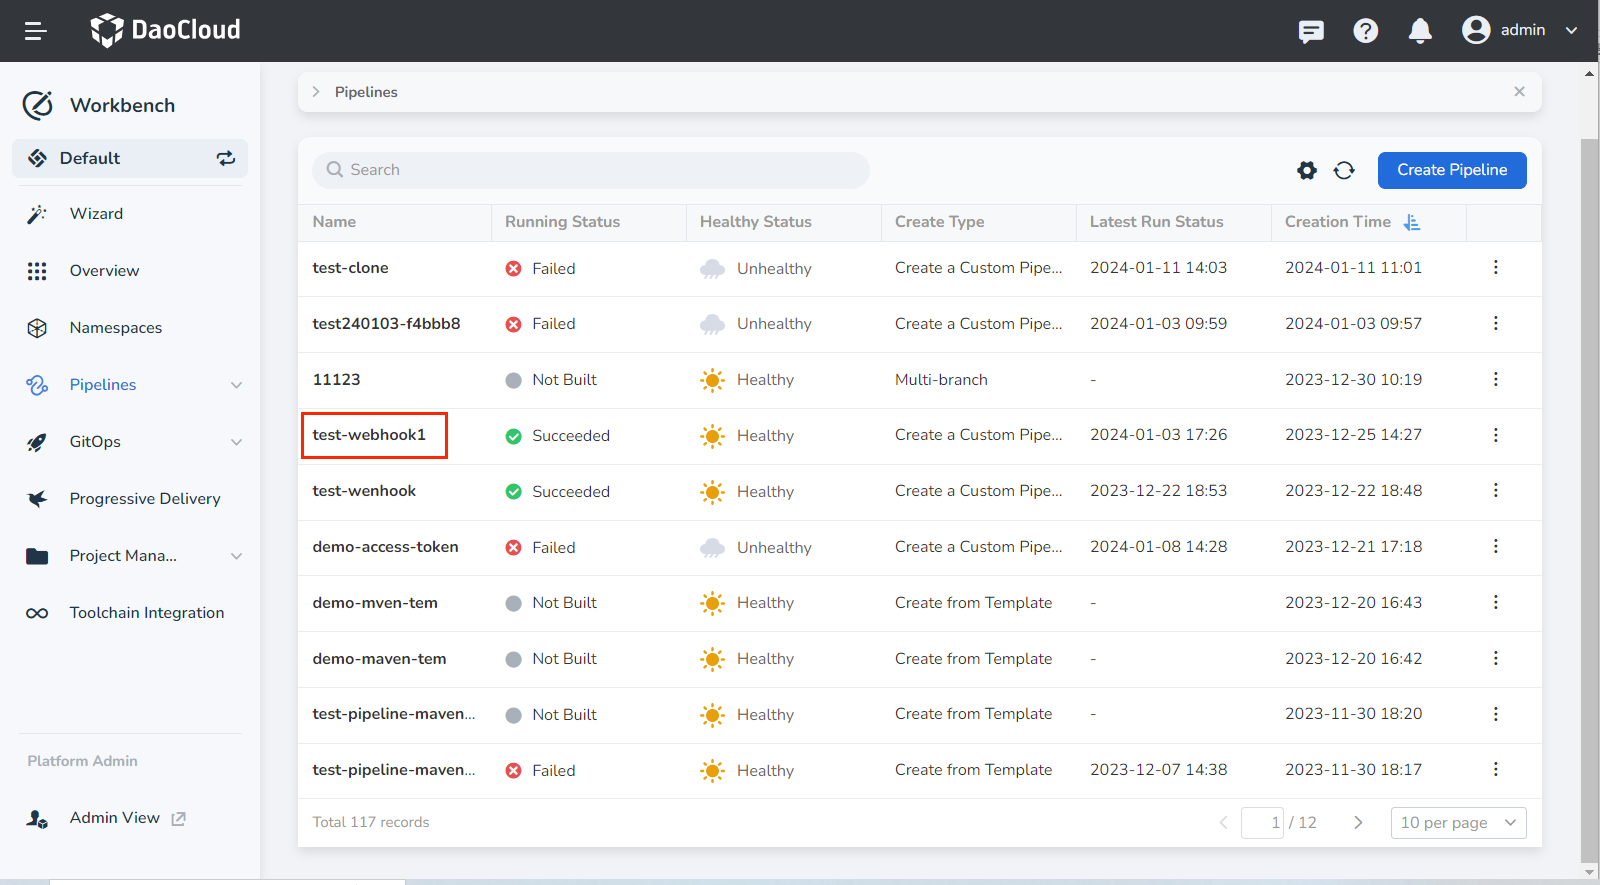
Click a pipeline's name on the pipeline list page.
-
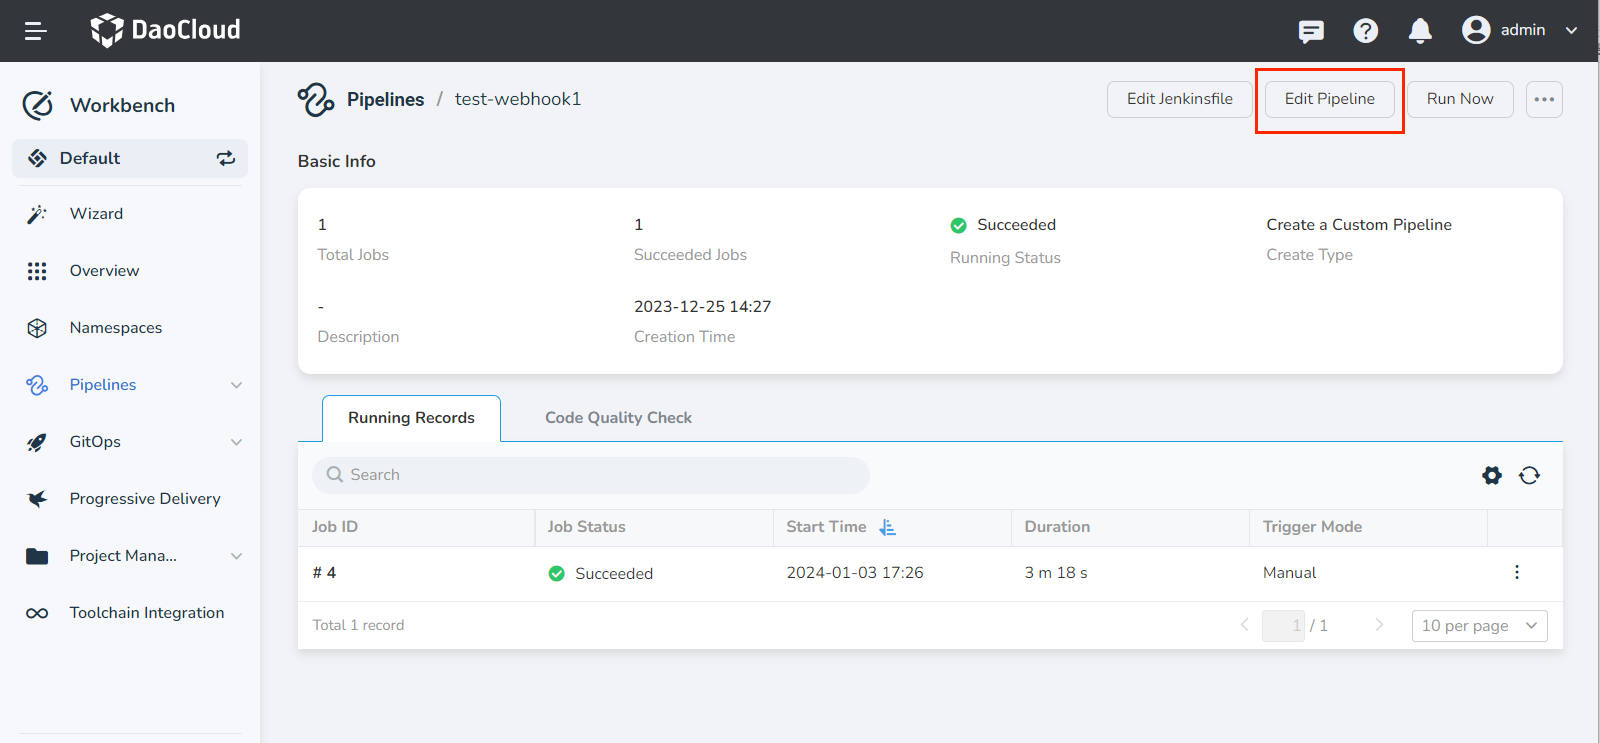
Click Edit Pipeline in the upper right corner.
-
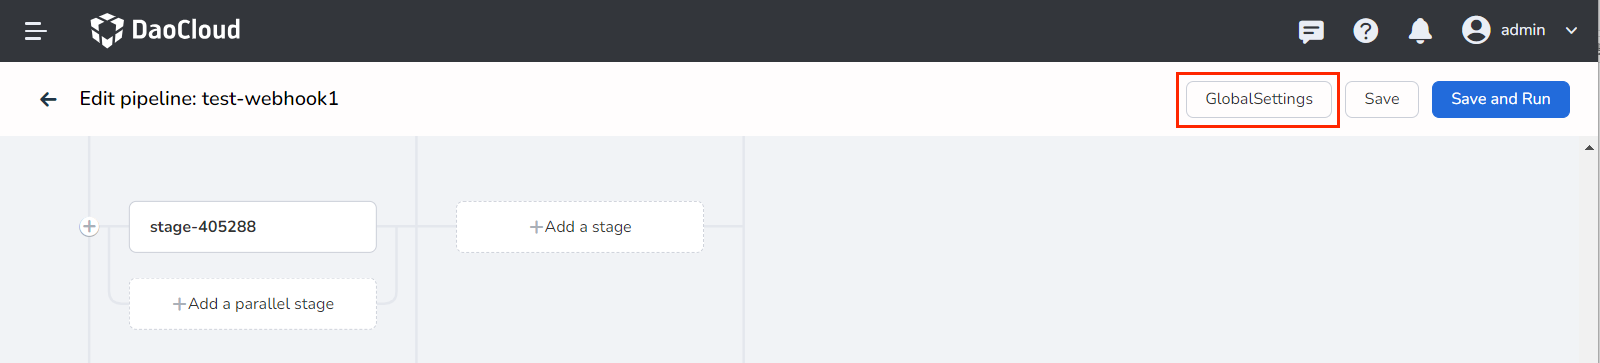
Click Global Settings in the upper right corner.
-
Set the type to node , and label to go , then click OK .

-
Add stage -> Pull Source Code.
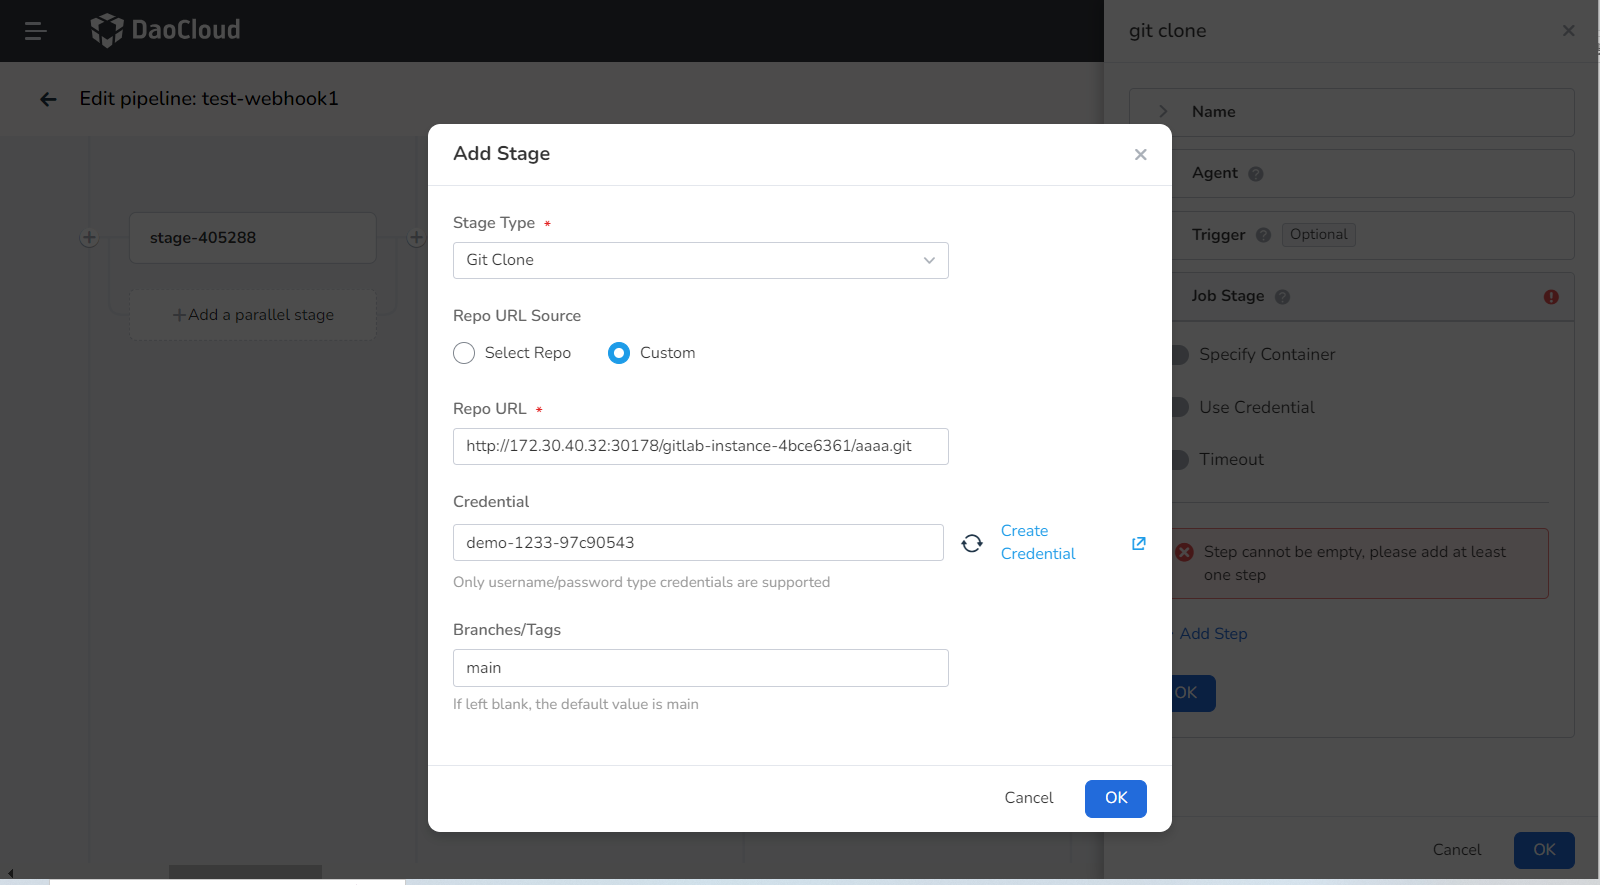
- Click Add Stage on the canvas. Set the name in the stage settings on the right to: git clone.
- Click Add Step , select git clone under step type in the pop-up dialog box, and configure the relevant parameters:
- Repo URL: Enter the GitLab repository address.
- Branch: If not filled in, the default is the master branch.
- Credential: If it is a private repository, you need to provide a credential.
-
Add stage -> Build and Push Image.
-
Click Add Stage on the canvas. Set the name in the stage settings on the right to: build & push.
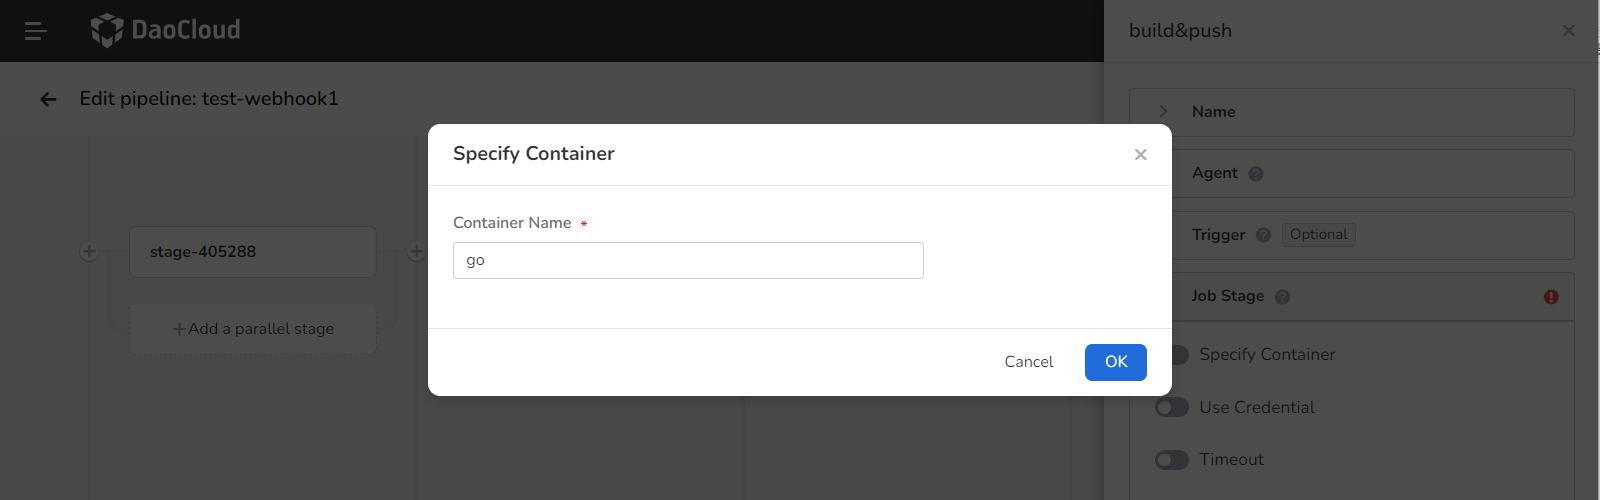
-
In the step module, select to enable Specify Container , fill in the container name go in the pop-up dialog box, then click OK .
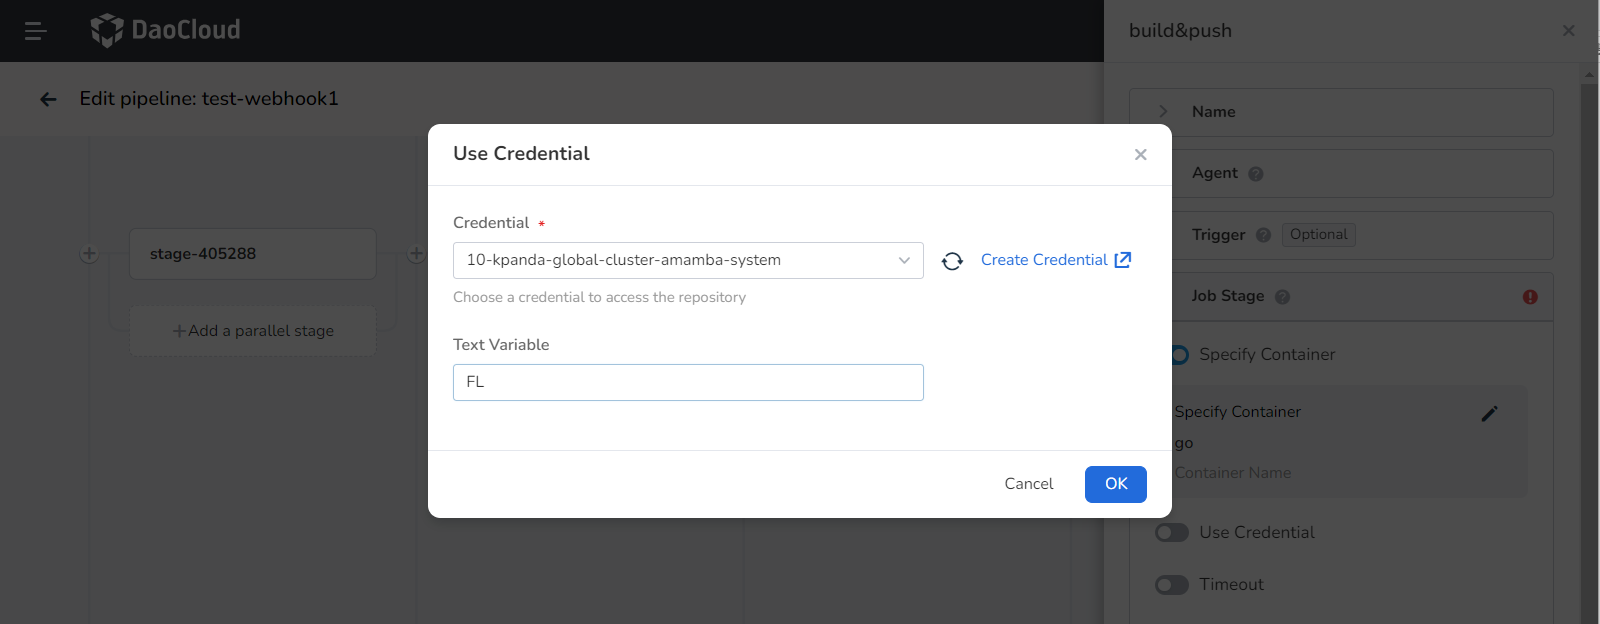
-
In the step module, select to enable Use Credential, fill in the relevant parameters in the pop-up dialog box, then click OK .
- Credentials: Select the Docker hub credentials you created for accessing the container registry.
- Password Variable: PASS
- Username Variable: USER
-
Click Add Step to build the code, select shell under step type in the pop-up dialog box, and enter the following command in the command line, then click OK .
-
Click Add Step to build a Docker image according to the Dockerfile in the source code, select shell under step type in the pop-up dialog box, and enter the following command in the command line, then click OK .
-
Click Add Step to log in to the container registry, select shell under step type in the pop-up dialog box, and enter the following command in the command line, then click OK .
-
Click Add Step to push the image to the container registry, select shell under step type in the pop-up dialog box, and enter the following command in the command line, then click OK .
-
-
Add stage -> Deploy to Cluster.
-
Click Add Stage on the canvas. Set the name in the stage settings on the right to: deploy.
-
In the step module, select to enable Specify Container , fill in the container name go in the pop-up dialog box, then click OK .

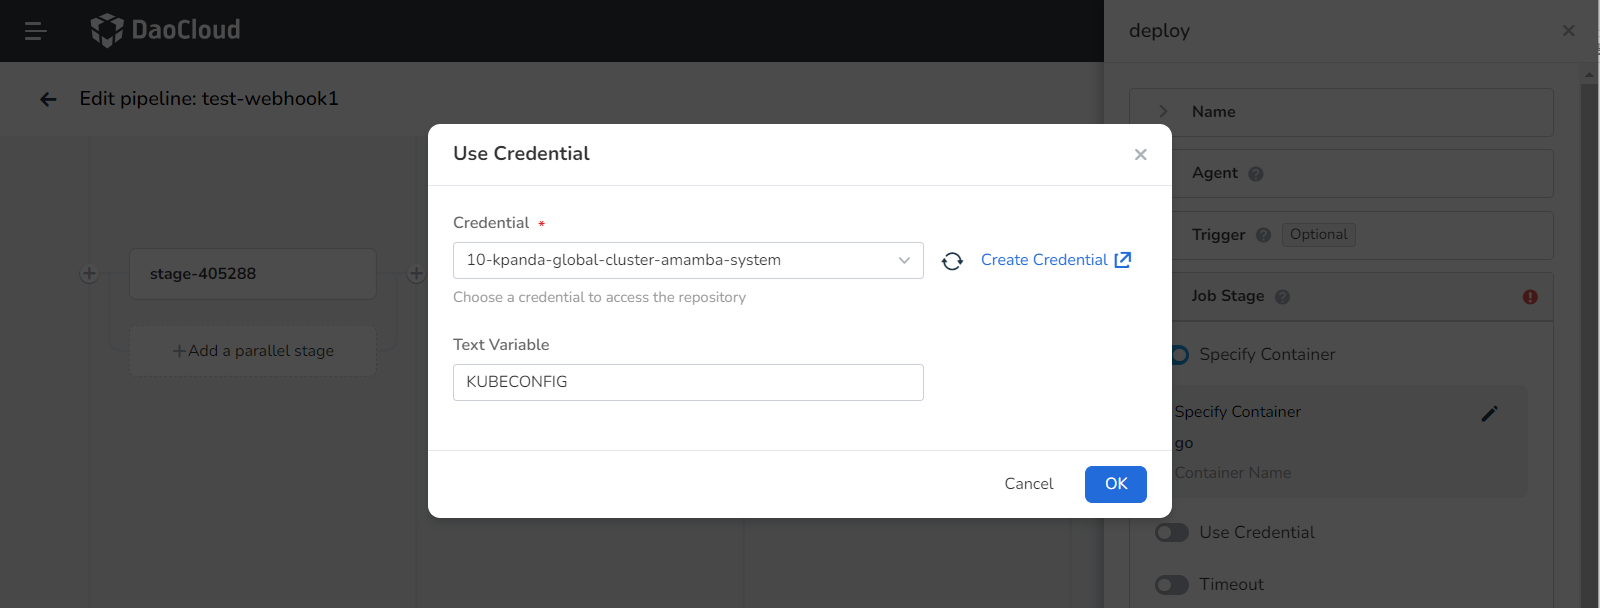
-
In the step module, select to enable Use Credential , fill in the relevant parameters in the pop-up dialog box, then click OK .
- Credentials: Choose the kubeconfig type credential.
- kubeconfig Variable: If you are using the kubectl apply deployment method, the variable value must be KUBECONFIG.
-
Click Add Step to deploy to the cluster, select shell under step type in the pop-up dialog box, and enter the following command in the command line, then click OK.
-
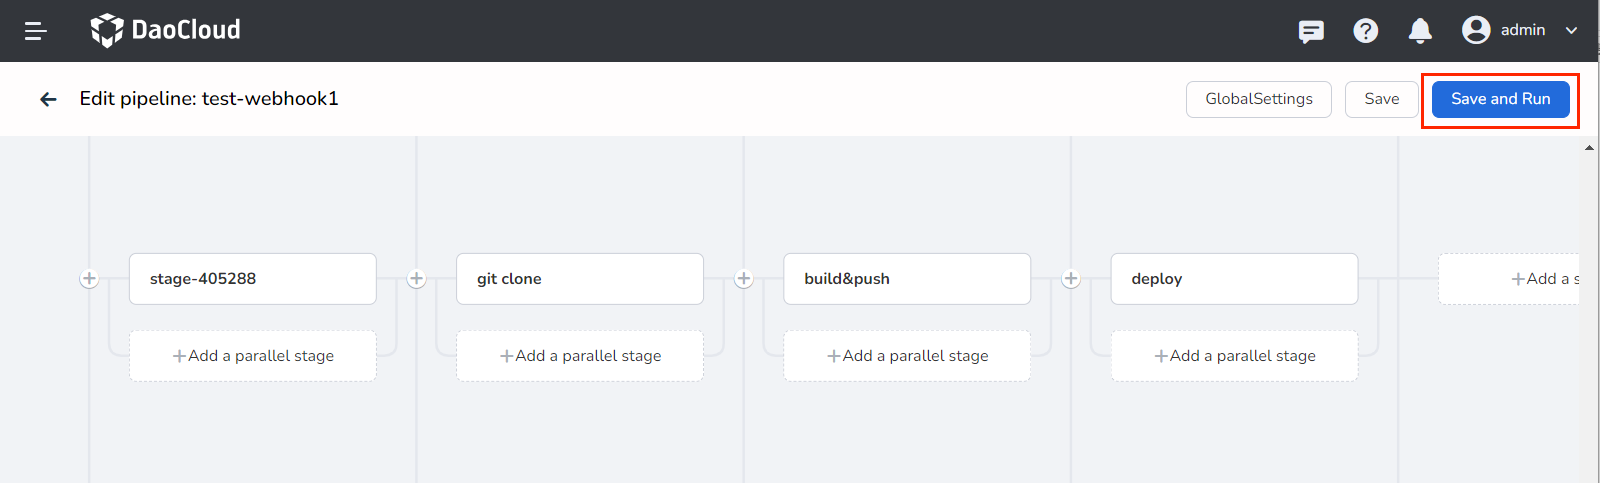
Save and run pipeline
-
After completing the previous step, click Save and Run .
-
In the pop-up dialog box, input the example parameters from step two. Click OK to successfully run the pipeline.
