Create an Argo CD Application
The Workbench implements continuous deployment based on the open-source software Argo CD. This page demonstrates how to implement continuous deployment of applications.
Prerequisites
- A workspace and a user are required to be created. The user needs to join the workspace and be assigned the workspace edit role. Refer to Creating a Workspace, Users and Roles.
- Prepare a Git repository. If the code repository where the manifest files of the continuously deployed application are located is not public, you need to import the repository to Workbench in advance. Refer to Import Repository.
- Both the vela-core and argo-cd components have been installed.
Creating an Argo CD application
-
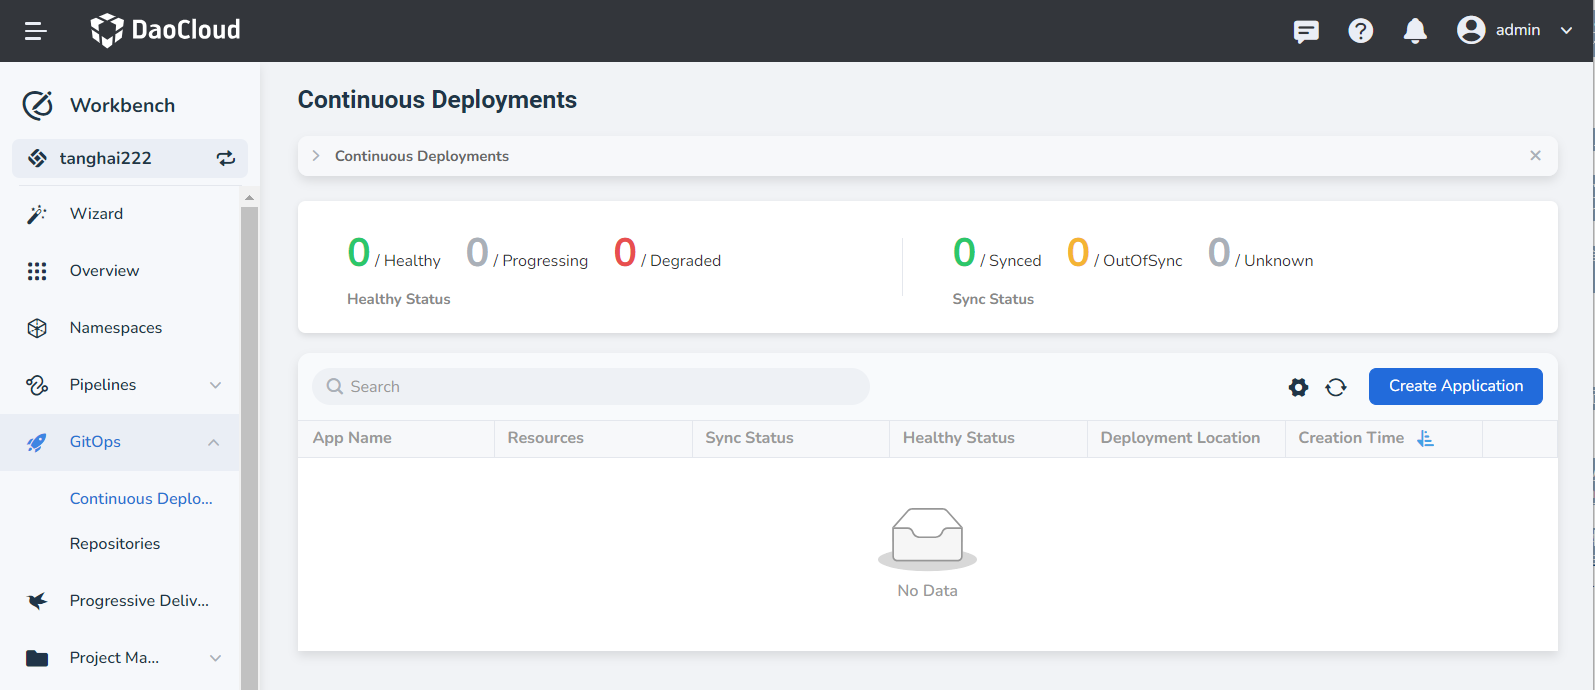
On the Workbench -> Continuous Deployments page, click the Create Application button.
-
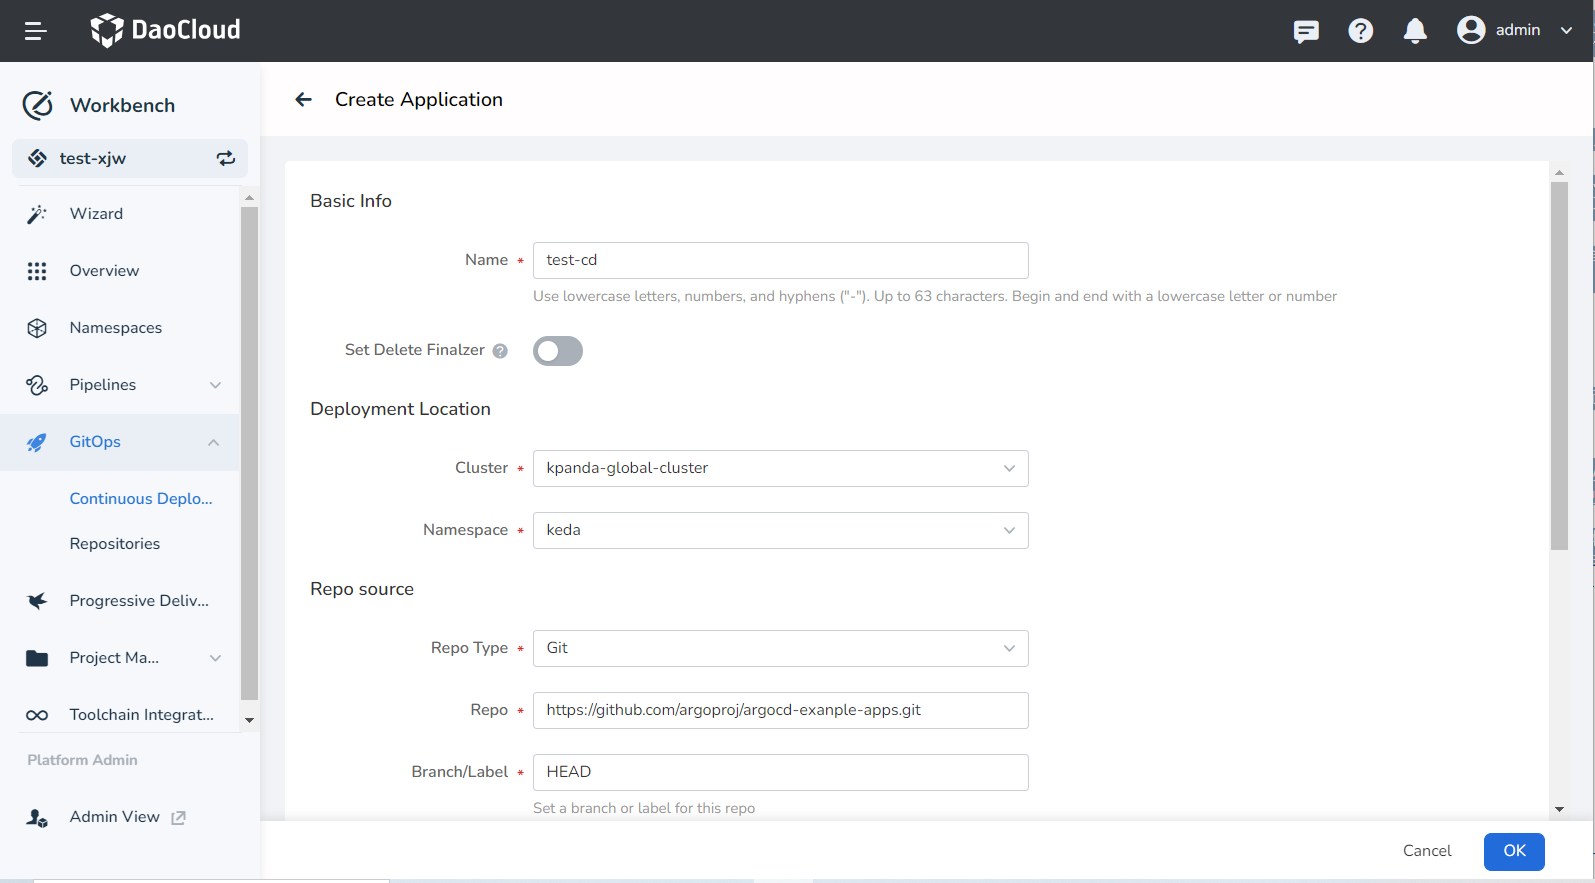
On the Create Application page, assign and configure Basic Info, Deployment Location, Repo Source, and Sync Policy, then click OK.
- Repo Source:
- Repo: Select an imported code repository or enter a public code repository address. For example:
https://github.com/argoproj/argocd-example-apps.git - Branch/Label: Set the branch or tag of the code repository, default is HEAD
- Path: Enter the manifest file path, for example, gustbook
- Repo: Select an imported code repository or enter a public code repository address. For example:
- Sync Policy:
- Manual Sync: Manually decide whether to sync
- Auto Sync: Automatically detect changes in the manifest files in the code repository, and immediately sync the application resources to the latest state once changes occur. It also supports resource cleanup and self-recovery options:
- Clear Resources: Delete resources no longer defined in the code repository during sync
- Auto Recovery: Ensure synchronization with the expected state in the code repository
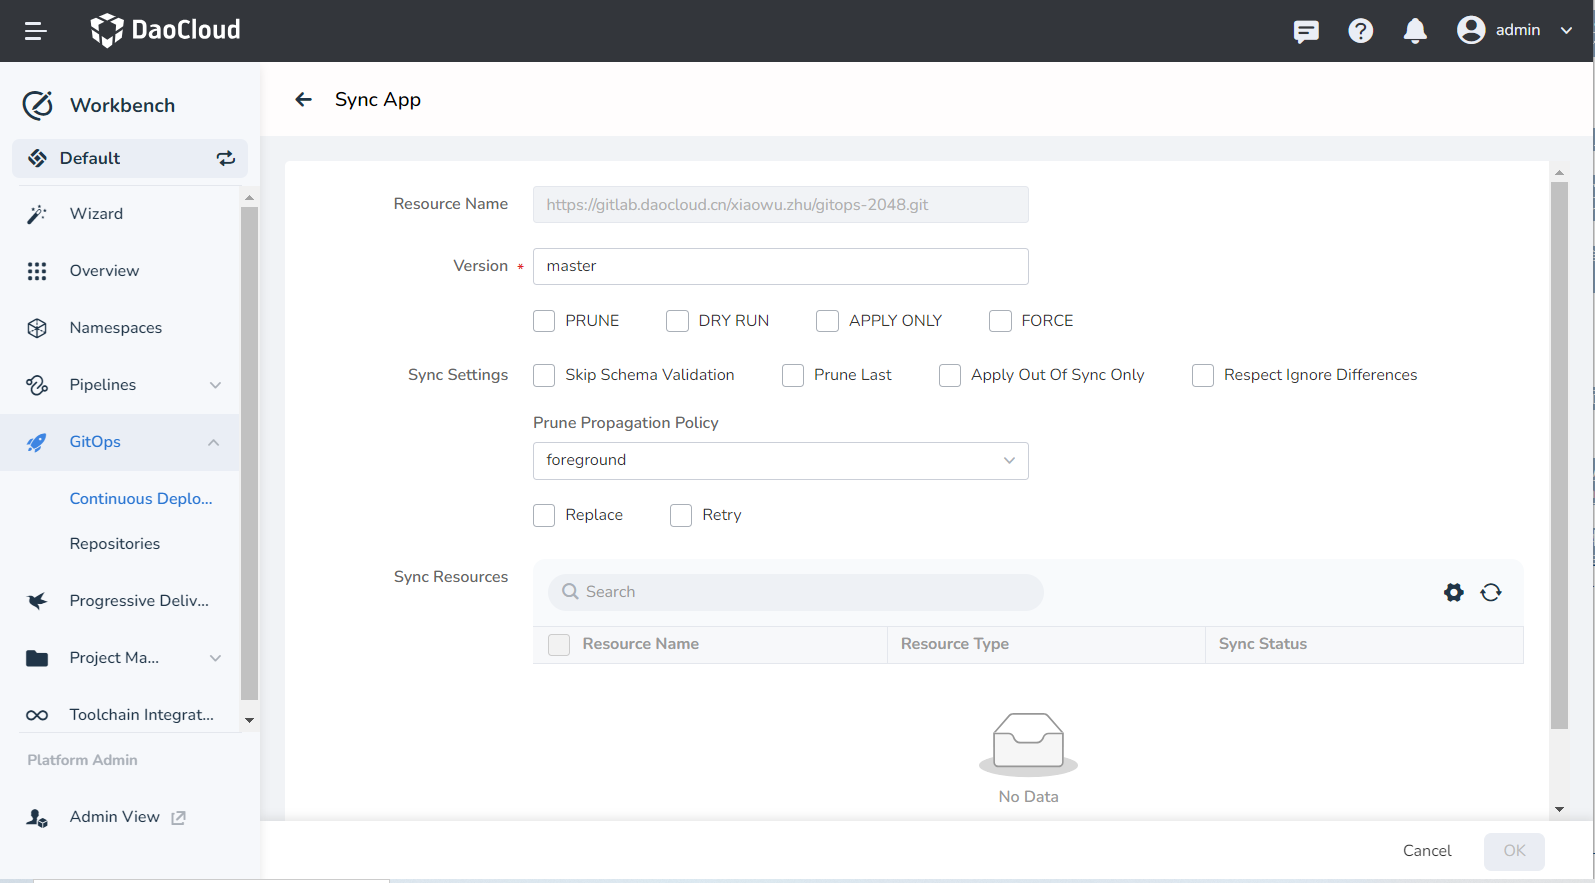
- Sync Settings:
- Skip Schema Validation: Skip the validation of application manifest files
- Prune Last: Only delete non-existent resources after all resources have been synced and are in a healthy state
- Apply Out Of Sync Only: Only apply unsynced resources
- Prune Propagation Policy: Choose a specific cleanup policy:
- Foreground: Delete the owner object only after all dependent objects have been deleted
- Background: Delete all dependent objects only after the owner object has been deleted
- Orphan: All dependent objects remain after the owner object is deleted
- Replace: Whether to replace existing resources
- Retry: Make application sync retry parametric, support setting maximum retry times, retry duration, maximum retry duration, factor
- Repo Source:
Viewing the application
-
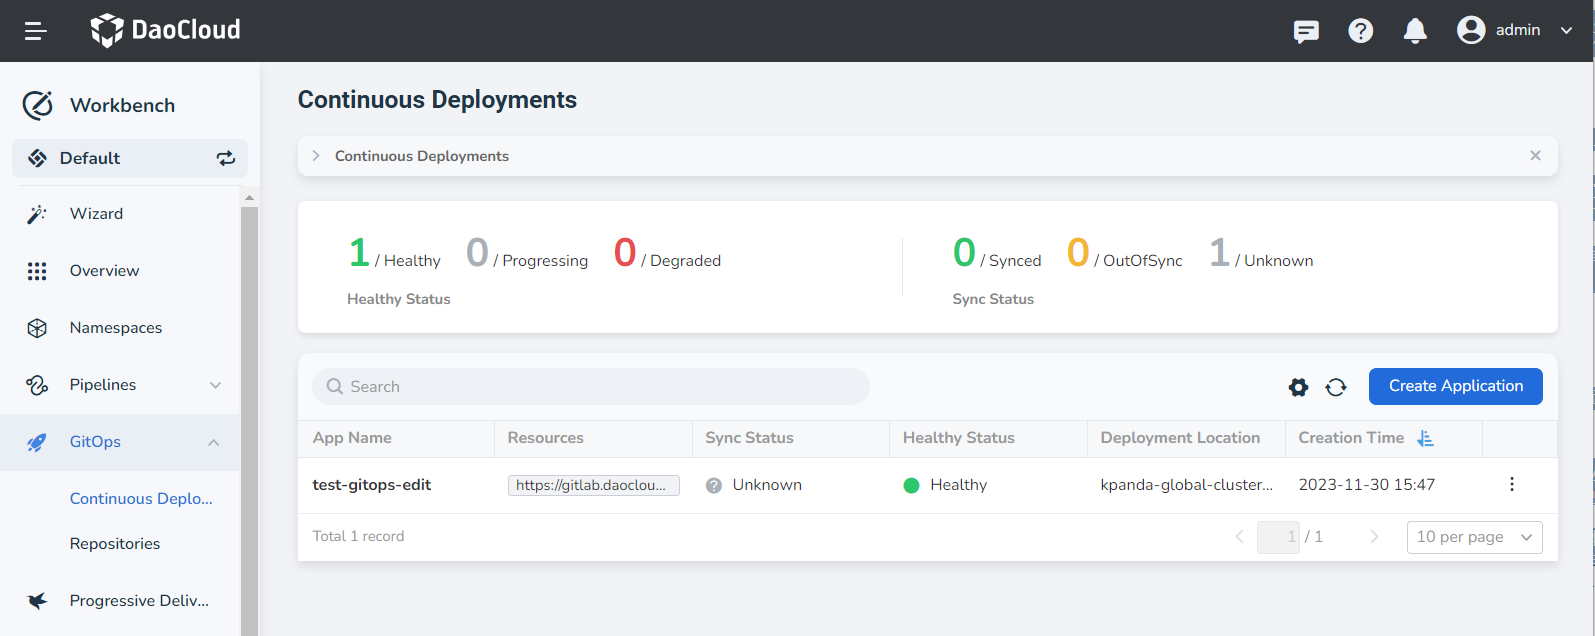
After successful creation, click the application name to enter the details page, where you can view the application details.
-
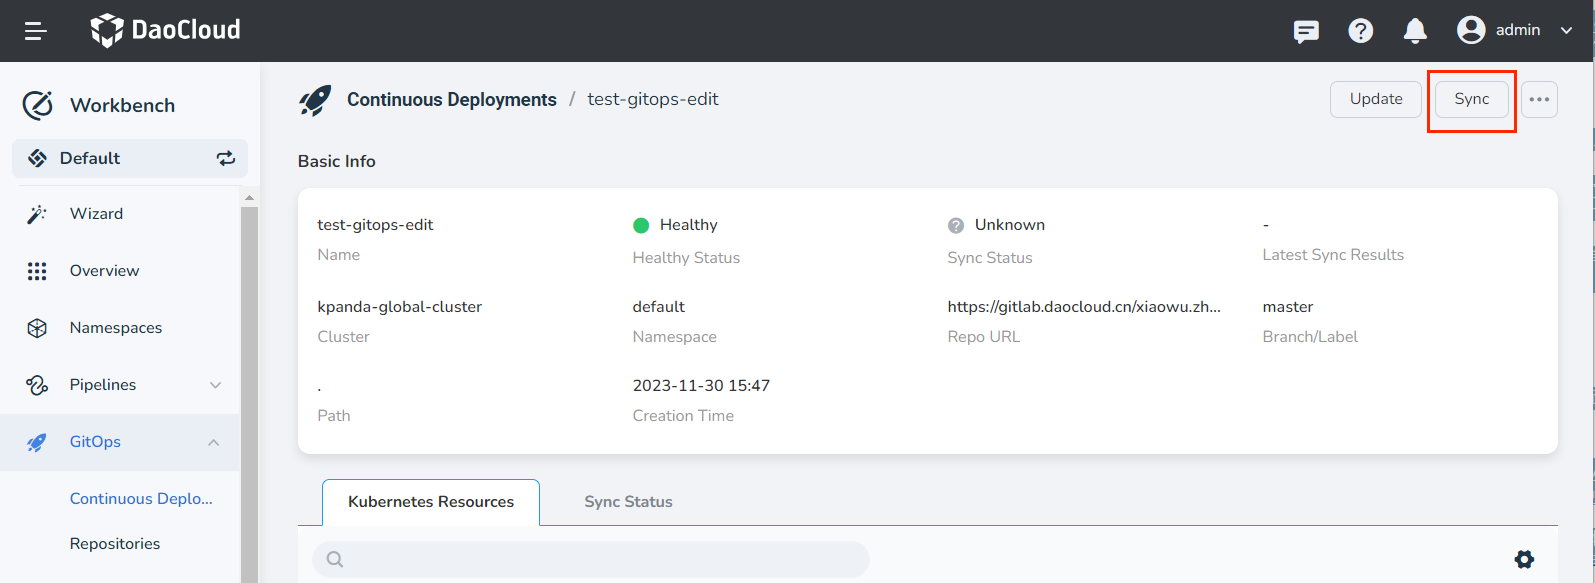
As the sync mode chosen is Manual Sync, we need to manually perform the sync, click Sync.
-
For specific parameter explanations during the sync process, refer to Manually Sync Application, click OK.
-
Wait for the sync to succeed, then view the sync result.