Deploy DCE 5.0 Enterprise on Other Linux Distributions
This page introduces how to deploy DCE 5.0 on other Linux distributions. Installer v0.7.0 and higher versions support this deployment method.
Other Linux is essentially because DCE does not provide the installation system offline package (OS package) for some Linux distributions, and customers need to make it themselves.
Authenticated OS
| Architecture | OS | OS Family | Recommended Kernel |
|---|---|---|---|
| AMD64 | UOS V20 (1050d) | Debian | 4.19.0-server-amd64 |
| AMD64 | AnolisOS 8.8 GA | Redhat | 5.10.134-13.an8.x86_64 |
| AMD64 | Ubuntu 22.04.3 | Debian | 5.15.0-78-generic |
Note
For operating systems that have not been verified, you can try deploying them following the instructions in this document.
Prerequisites
- Read Deployment Architecture in advance to confirm this deployment mode.
- Read Deployment Requirements in advance to confirm whether the network, hardware, ports, etc. meet the requirements.
- Read Preparation in advance to confirm machine resources and pre-check.
Make the offline OS package
Generate and install
-
Download tools.
-
Build the operating system offline package
-
Install the OS offline package
# Specify the path of the pkgs.yml package configuration file (if pkgs.yml is located in the same path as other_os_pkgs.sh, you can not set this environment variable) export PKGS_YML_PATH=/home/pkgs.yml # Specify the path of the os pkgs offline package export PKGS_TAR_PATH=/home/os-pkgs-${DISTRO}-${VERSION}.tar.gz # Specify the cluster master/worker node IP (multi-node IP addresses are separated by spaces) export HOST_IPS='192.168.10.11 192.168.10.12' # Specify the target node access information for installation (multi-node usernames and passwords must be consistent) export SSH_USER=root export SSH_PASS=dangerous # Run the installation command and output the log ./other_os_pkgs.sh install >>log.txt -
After the installation is successful, the following log will be output:
[root@master test]# cat log.txt |egrep 'INFO|WARN'
[WARN]   skip install yq ...
[INFO]   succeed to install package 'python-apt'
[INFO]   succeed to install package 'python3-apt'
[INFO]   succeed to install package 'aufs-tools'
[INFO]   succeed to install package 'apt-transport-https'
[INFO]   succeed to install package 'software-properties-common'
[INFO]   succeed to install package 'conntrack'
[INFO]   succeed to install package 'apparmor'
[WARN]   the package 'libseccomp2' has been installed
[INFO]   succeed to install package 'ntp'
[WARN]   the package 'openssl' has been installed
[INFO]   succeed to install package 'curl'
[INFO]   succeed to install package 'rsync'
[INFO]   succeed to install package 'socat'
[WARN]   the package 'unzip' has been installed
[WARN]   the package 'e2fsprogs' has been installed
[WARN]   the package 'xfsprogs' has been installed
[INFO]   succeed to install package 'ebtables'
[WARN]   the package 'bash-completion' has been installed
[WARN]   the package 'tar' has been installed
[INFO]   succeed to install package 'ipvsadm'
[INFO]   succeed to install package 'ipset'
[INFO]   All packages for Node (192.168.10.11) have been installed.
Notice
-
Check the installation status by
cat log.txt |egrep 'INFO|WARN':If the
failed to install packagekeyword appears, it means that the installation is not successful, and when it finally fails,the packages that failed to install are: ipset ipvsadm xfsprogswill be output. -
The package names corresponding to different versions (major version) of the same system family (os family) are different:
OS family Version Package Debian < 11 python-apt >= 11 python3-apt Redhat Major Version < 8 libselinux-python >= 8 python3-libselinux
Start offline installation
-
Download the full mode offline package, you can download the latest version in Download Center.
CPU Architecture Version Download URL AMD64 v0.6.1 https://qiniu-download-public.daocloud.io/DaoCloud_Enterprise/dce5/offline-v0.6.1-amd64.tar Unzip the offline package after downloading:
-
Refer to Create an offline OS package.
-
Download the offline addon package, which can be found in the download center for the latest version (optional).
-
Edit clusterConfig.yaml, which can be obtained under the offline package
offline/sampleand modified as needed.apiVersion: provision.daocloud.io/v1alpha3 kind: ClusterConfig metadata: spec: clusterName: test-cluster loadBalancer: type: metallb istioGatewayVip: 172.30.41.XXX/32 insightVip: 172.30.41.XXX/32 masterNodes: - nodeName: "g-master1" ip: 172.30.41.xxx ansibleUser: "root" ansiblePass: "******" fullPackagePath: "/root/offline" osRepos: type: none imagesAndCharts: type: builtin binaries: type: builtin kubeanConfig: |- allow_unsupported_distribution_setup: true debian_os_family_extensions: - "UnionTech OS Server 20\" "apiVersion: provision.daocloud.io/v1alpha3 kind: ClusterConfig metadata: spec: clusterName: test-cluster loadBalancer: type: metallb istioGatewayVip: 172.30.41.XXX/32 insightVip: 172.30.41.XXX/32 masterNodes: - nodeName: "g-master1" ip: 172.30.41.xxx ansibleUser: "root" ansiblePass: "******" fullPackagePath: "/root/offline" osRepos: type: none imagesAndCharts: type: builtin binaries: type: builtin kubeanConfig: |- allow_unsupported_distribution_setup: true redhat_os_family_extensions: - "Anolis OS"apiVersion: provision.daocloud.io/v1alpha3 kind: ClusterConfig metadata: spec: clusterName: test-cluster loadBalancer: type: metallb istioGatewayVip: 172.30.41.XXX/32 insightVip: 172.30.41.XXX/32 masterNodes: - nodeName: "g-master1" ip: 172.30.41.xxx ansibleUser: "root" ansiblePass: "******" fullPackagePath: "/root/offline" osRepos: type: none imagesAndCharts: type: builtin binaries: type: builtin kubeanConfig: |- allow_unsupported_distribution_setup: true debian_os_family_extensions: - "Debian"Parameter tips:
Parameter Description Required spec.kubeanConfig.allow_unsupported_distribution_setup Whether to skip detection of supported OS Yes spec.kubeanConfig.debian_os_family_extensions Can be filled by viewing ansible_os_familyRequired if the system is Debian spec.kubeanConfig.redhat_os_family_extensions Can be filled by viewing ansible_os_familyRequired if the system is Redhat How to view the system family identifier for the current distribution environment:
export USER=root
export PASS=xxxx
export ADDR=192.168.10.xxx
export ANSIBLE_HOST_KEY_CHECKING=False
ansible -m setup -a 'filter=ansible_os_family' -e "ansible_user=${USER} ansible_password=${PASS}" -i ${ADDR}, all
If success, the following information will be output:
-
Start the installation of DCE 5.0.
Note
Some parameters are introduced, and more parameters can be viewed through
./dce5-installer --help:-zminimal install-cspecifies the cluster configuration file, and does not need to specify-cwhen using NodePort to expose the console-denable debug mode--serialspecifies that all installation tasks are executed serially
-
After the installation is complete, the command line will prompt that the installation is successful. congratulations!
 Now you can use the default account and password (admin/changeme) to explore the new DCE 5.0 through the URL prompted on the screen!
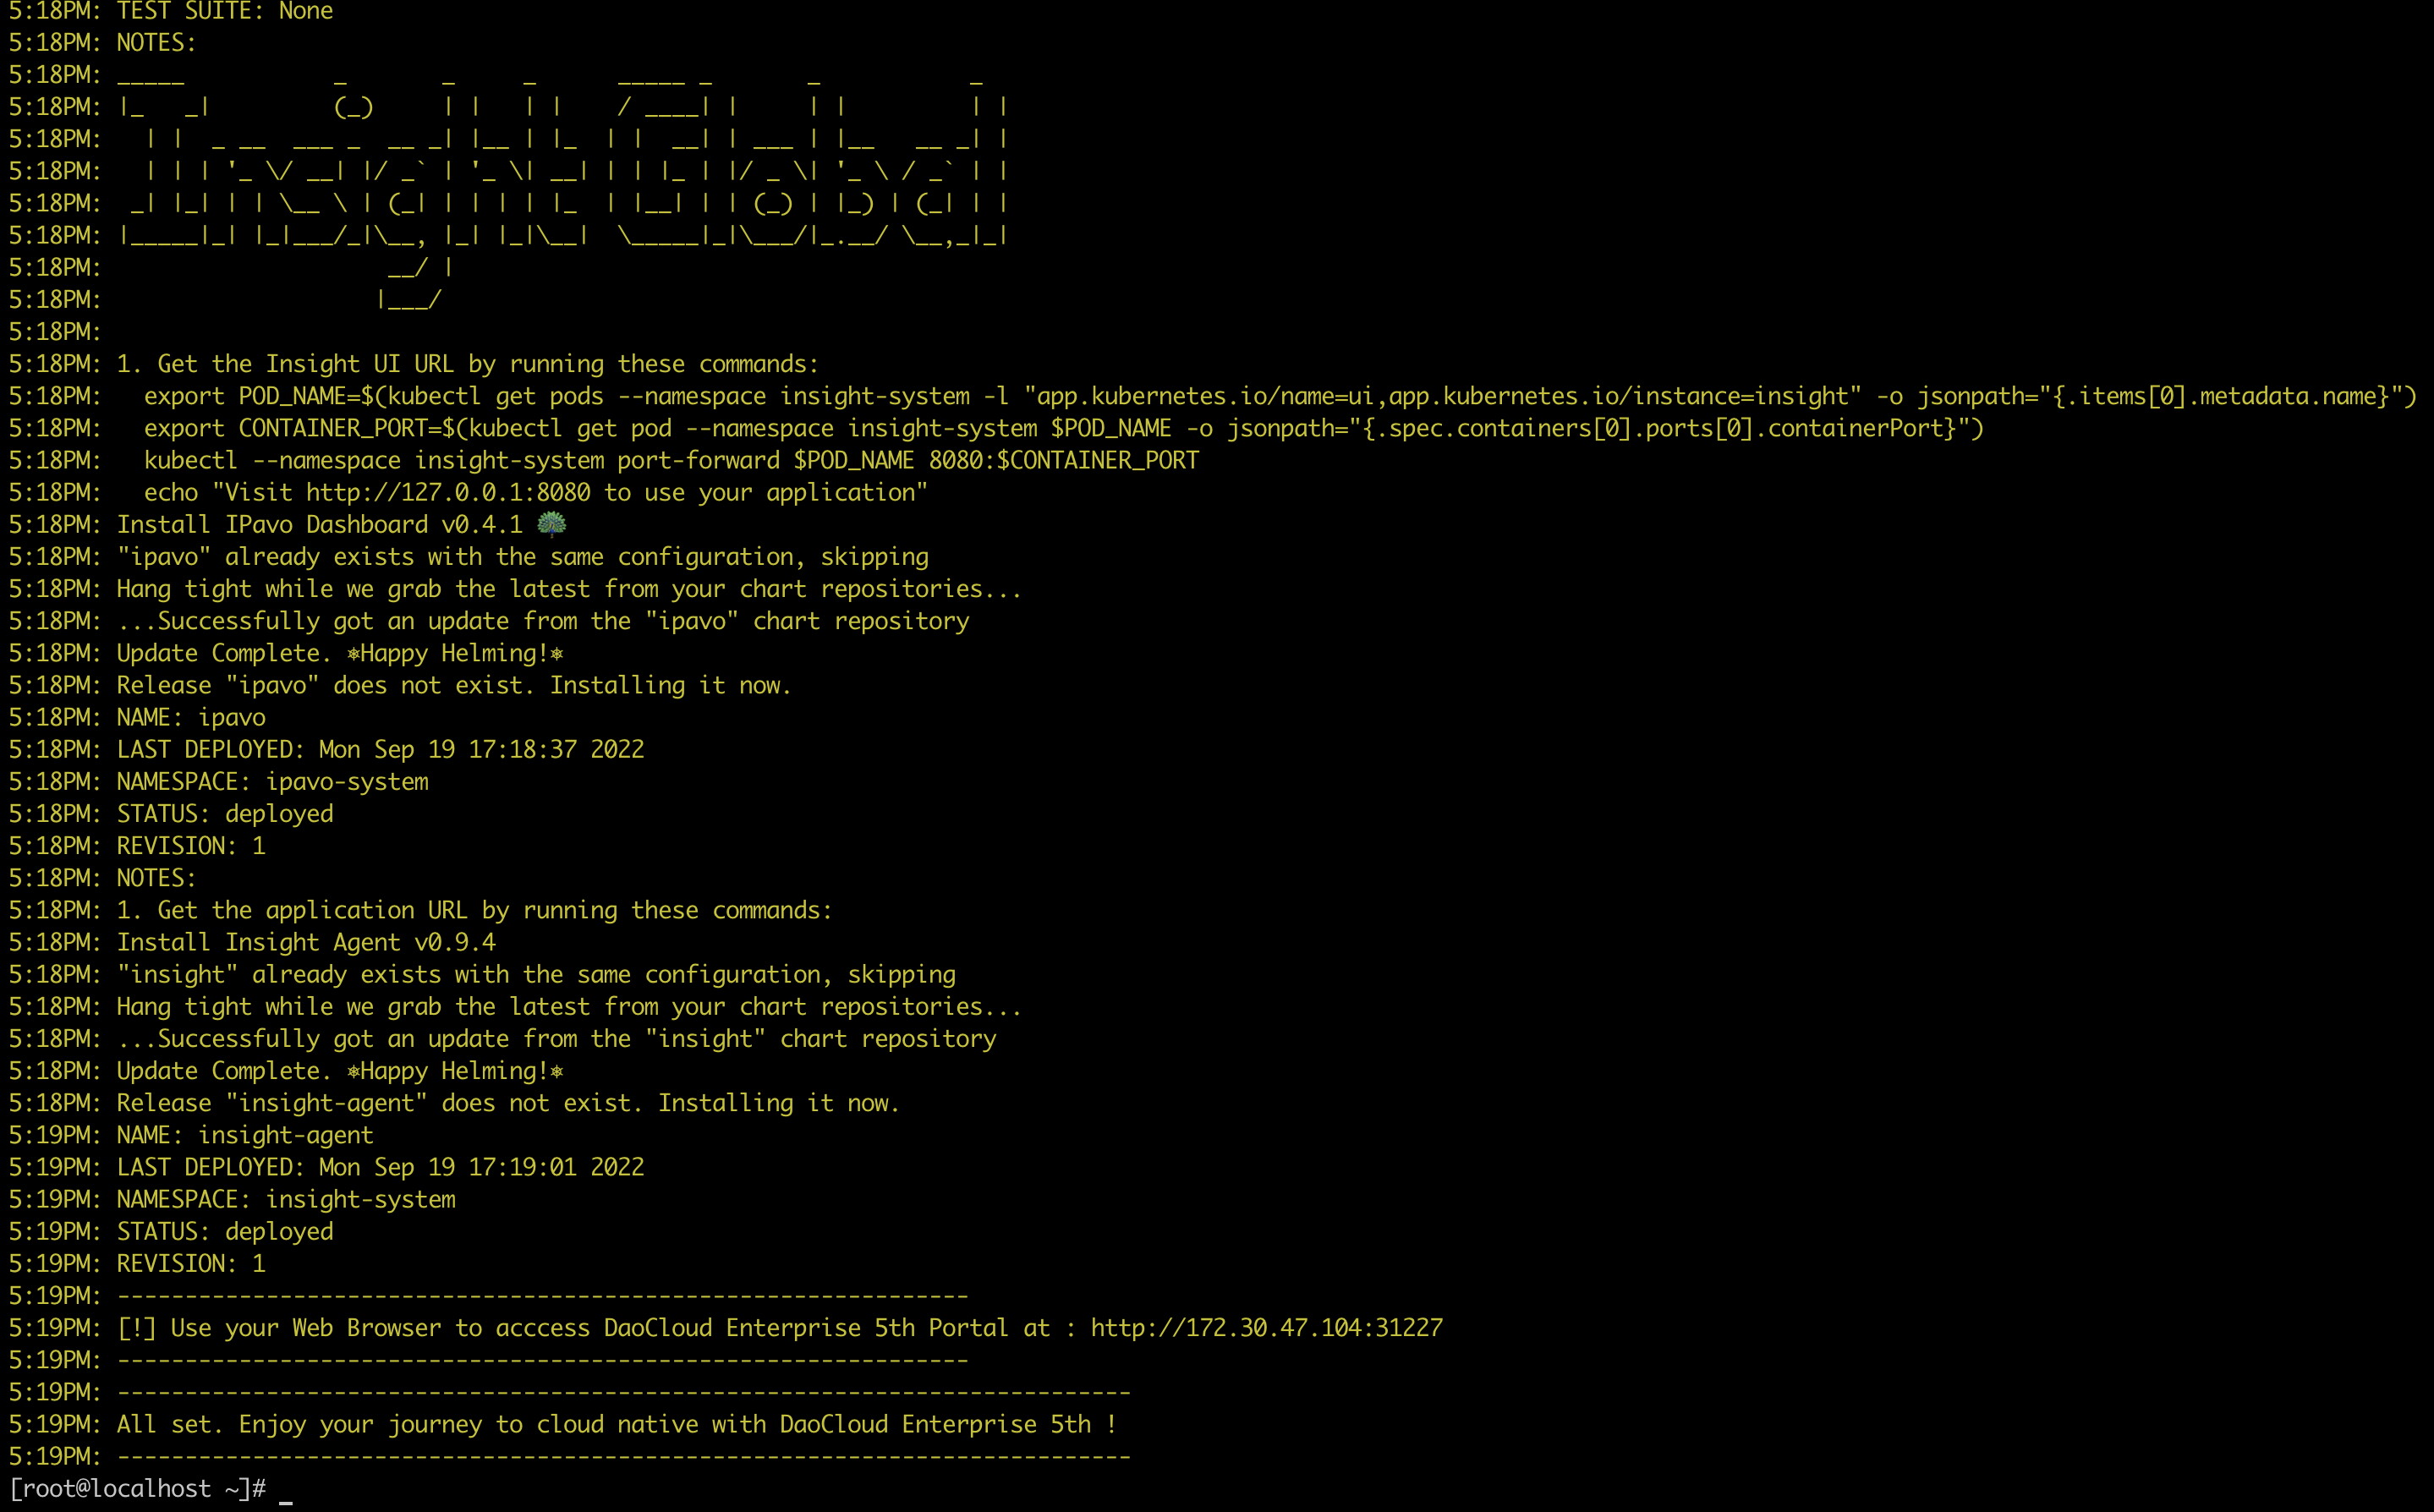
Success
Please record the prompted URL for your next visit.
-
After successfully installing DCE 5.0 Enterprise, please contact us for authorization: email info@daocloud.io or call 400 002 6898.