Registry Synchronization
Registry synchronization refers to the process of synchronizing and updating images between two or more registries. In software development or system management, this sync method is often used to ensure that the same software or operating system images are shared among multiple servers, so as to ensure consistency and reduce workload during deployment. Typically, image content can be synchronized in real-time to other servers via registry synchronization, ensuring that images on multiple servers are up-to-date.
DCE 5.0 container registry allows users to create synchronization policies and add destination repositories.
Note
Creating sync policies and adding destination repositories require admin privileges.
Create Sync policies
-
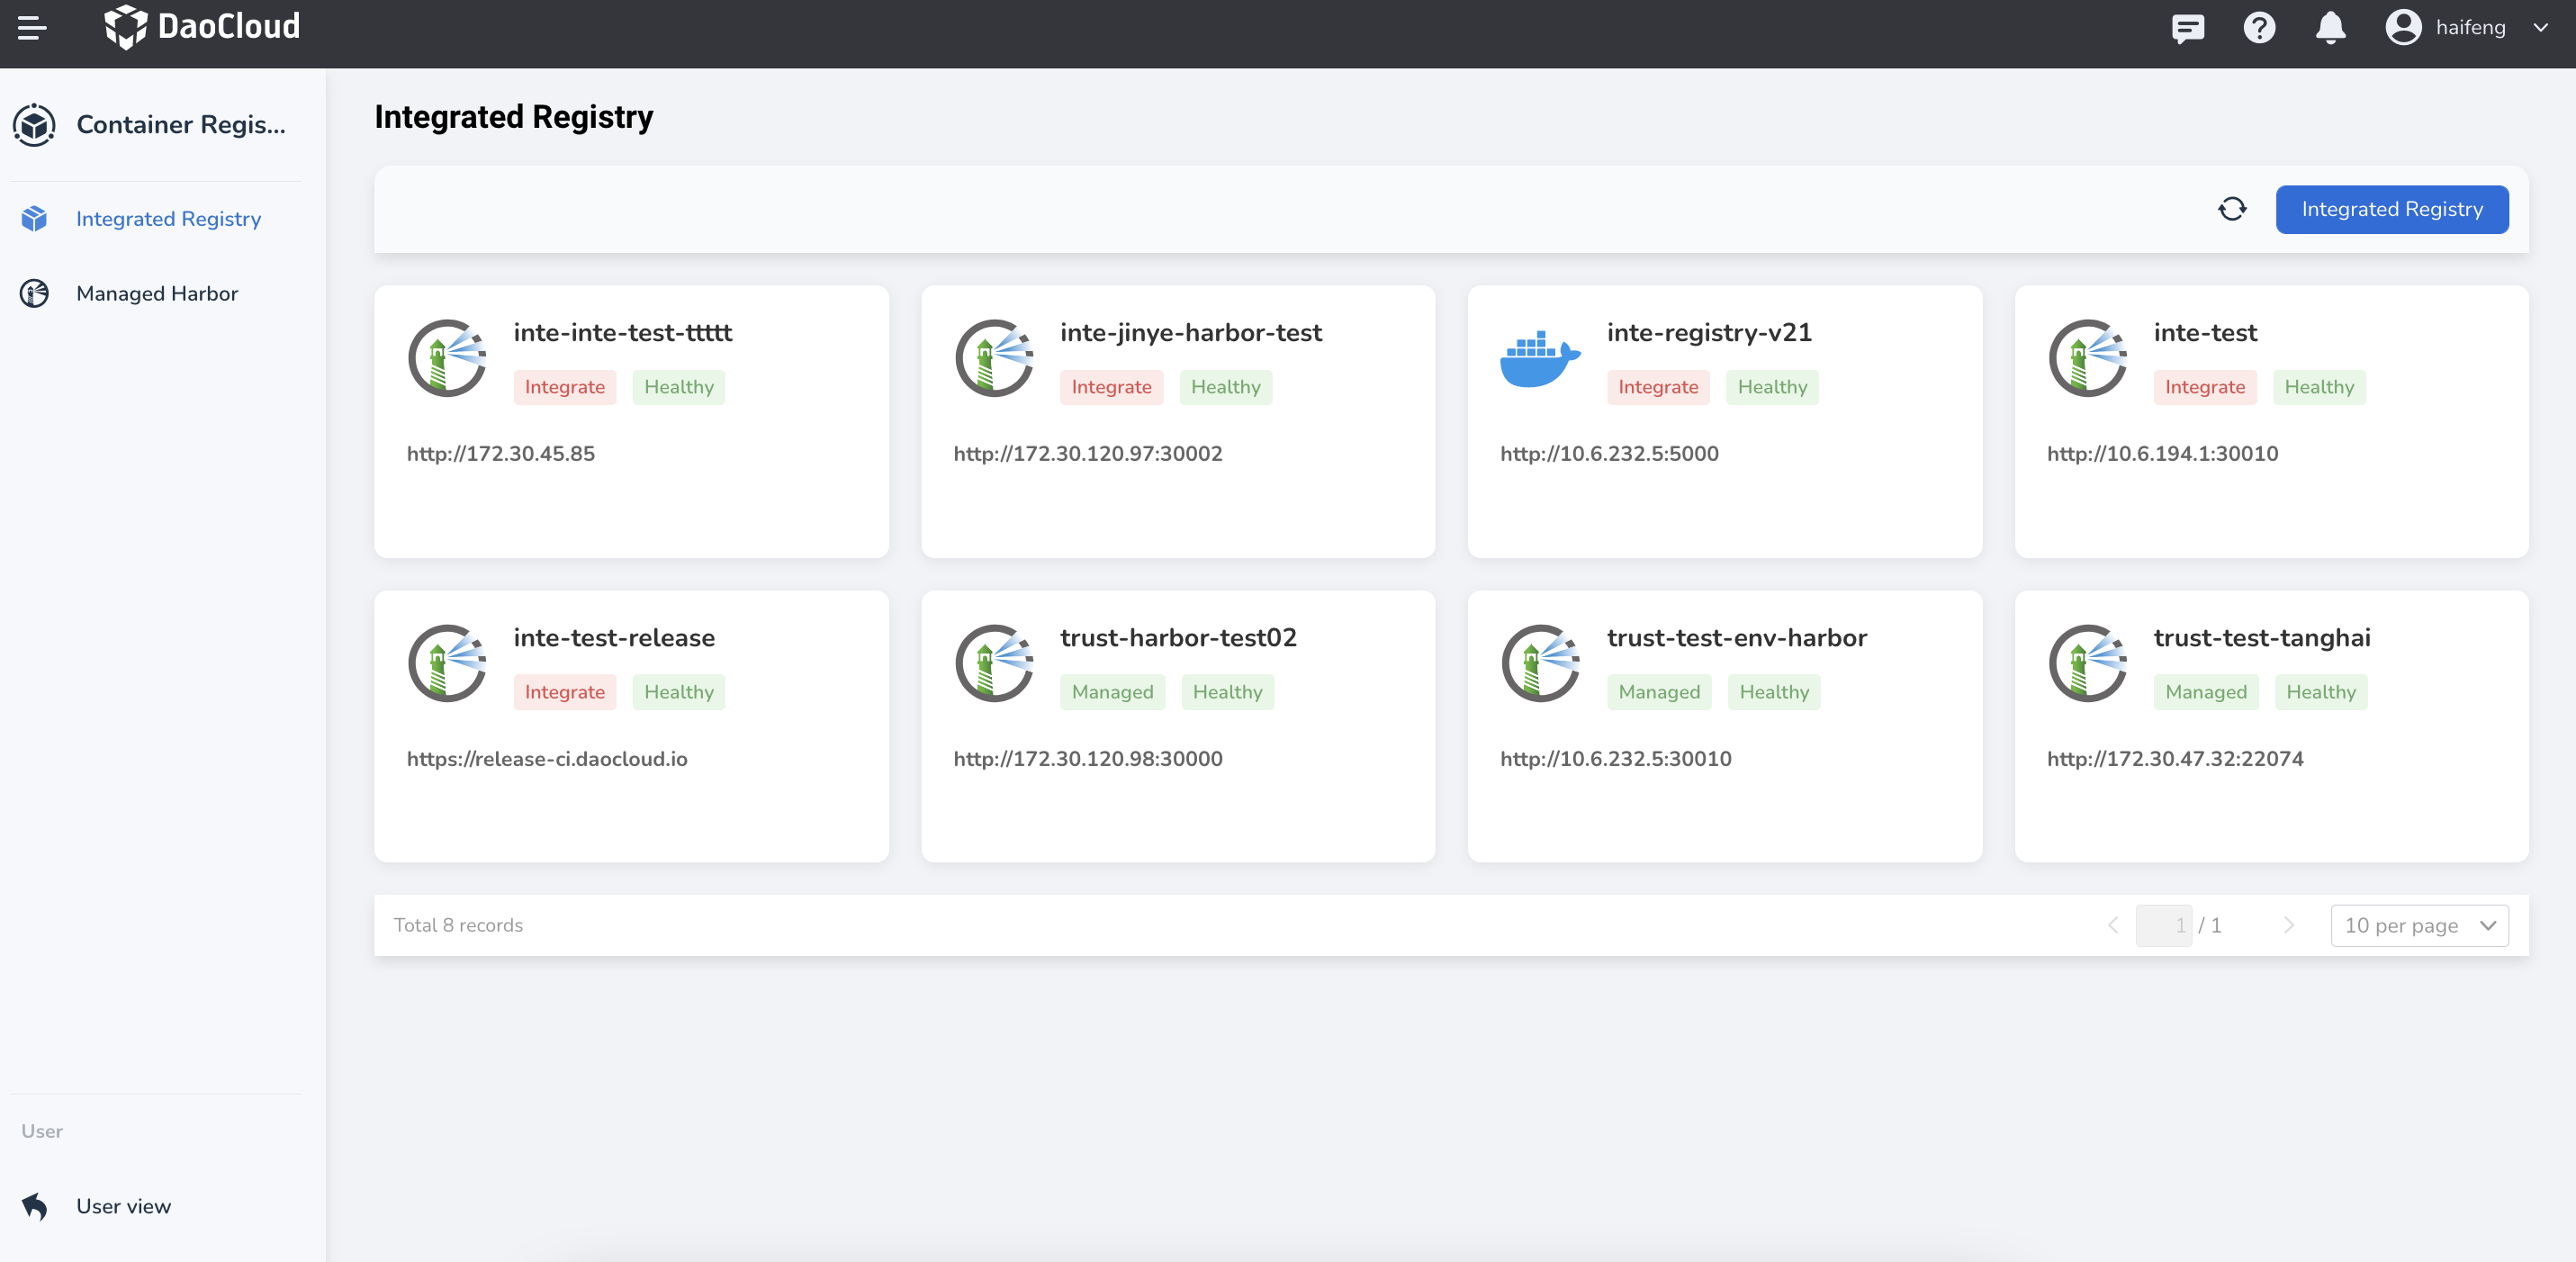
From the integrated or managed Harbor page, click a registry name.
-
In the left-hand navigation bar, click
Sync images->Sync policy, and then click theCreate sync policybutton.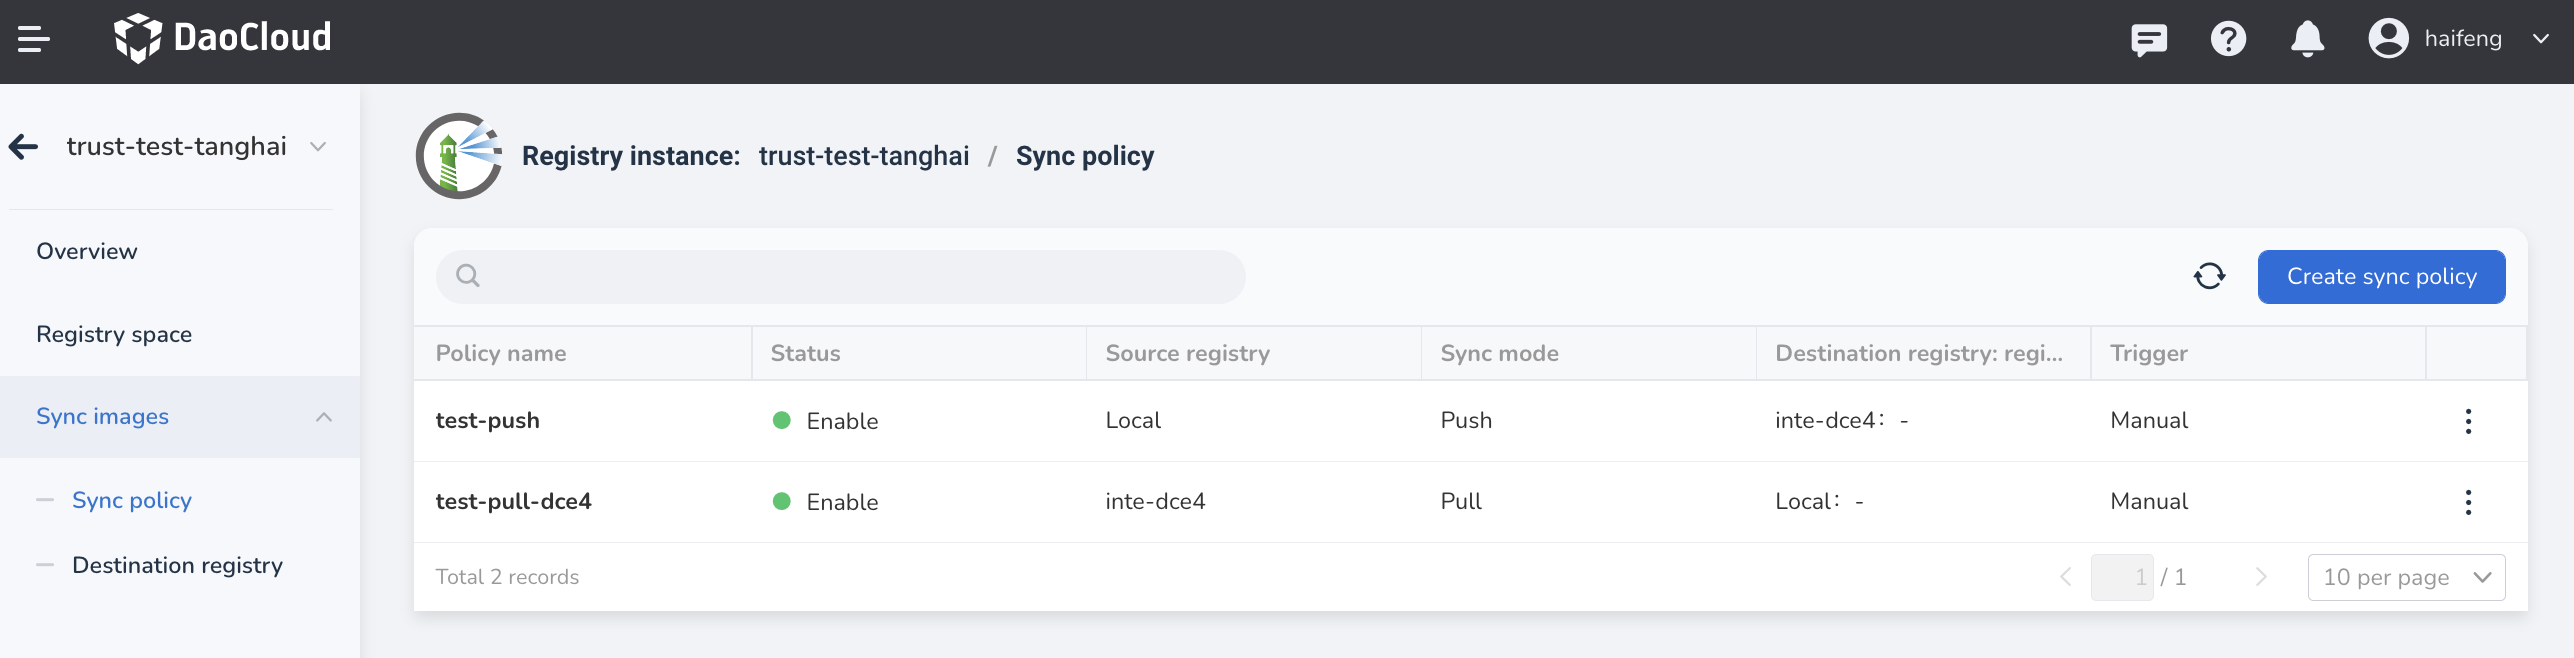
-
Fill in the parameters and click
OK.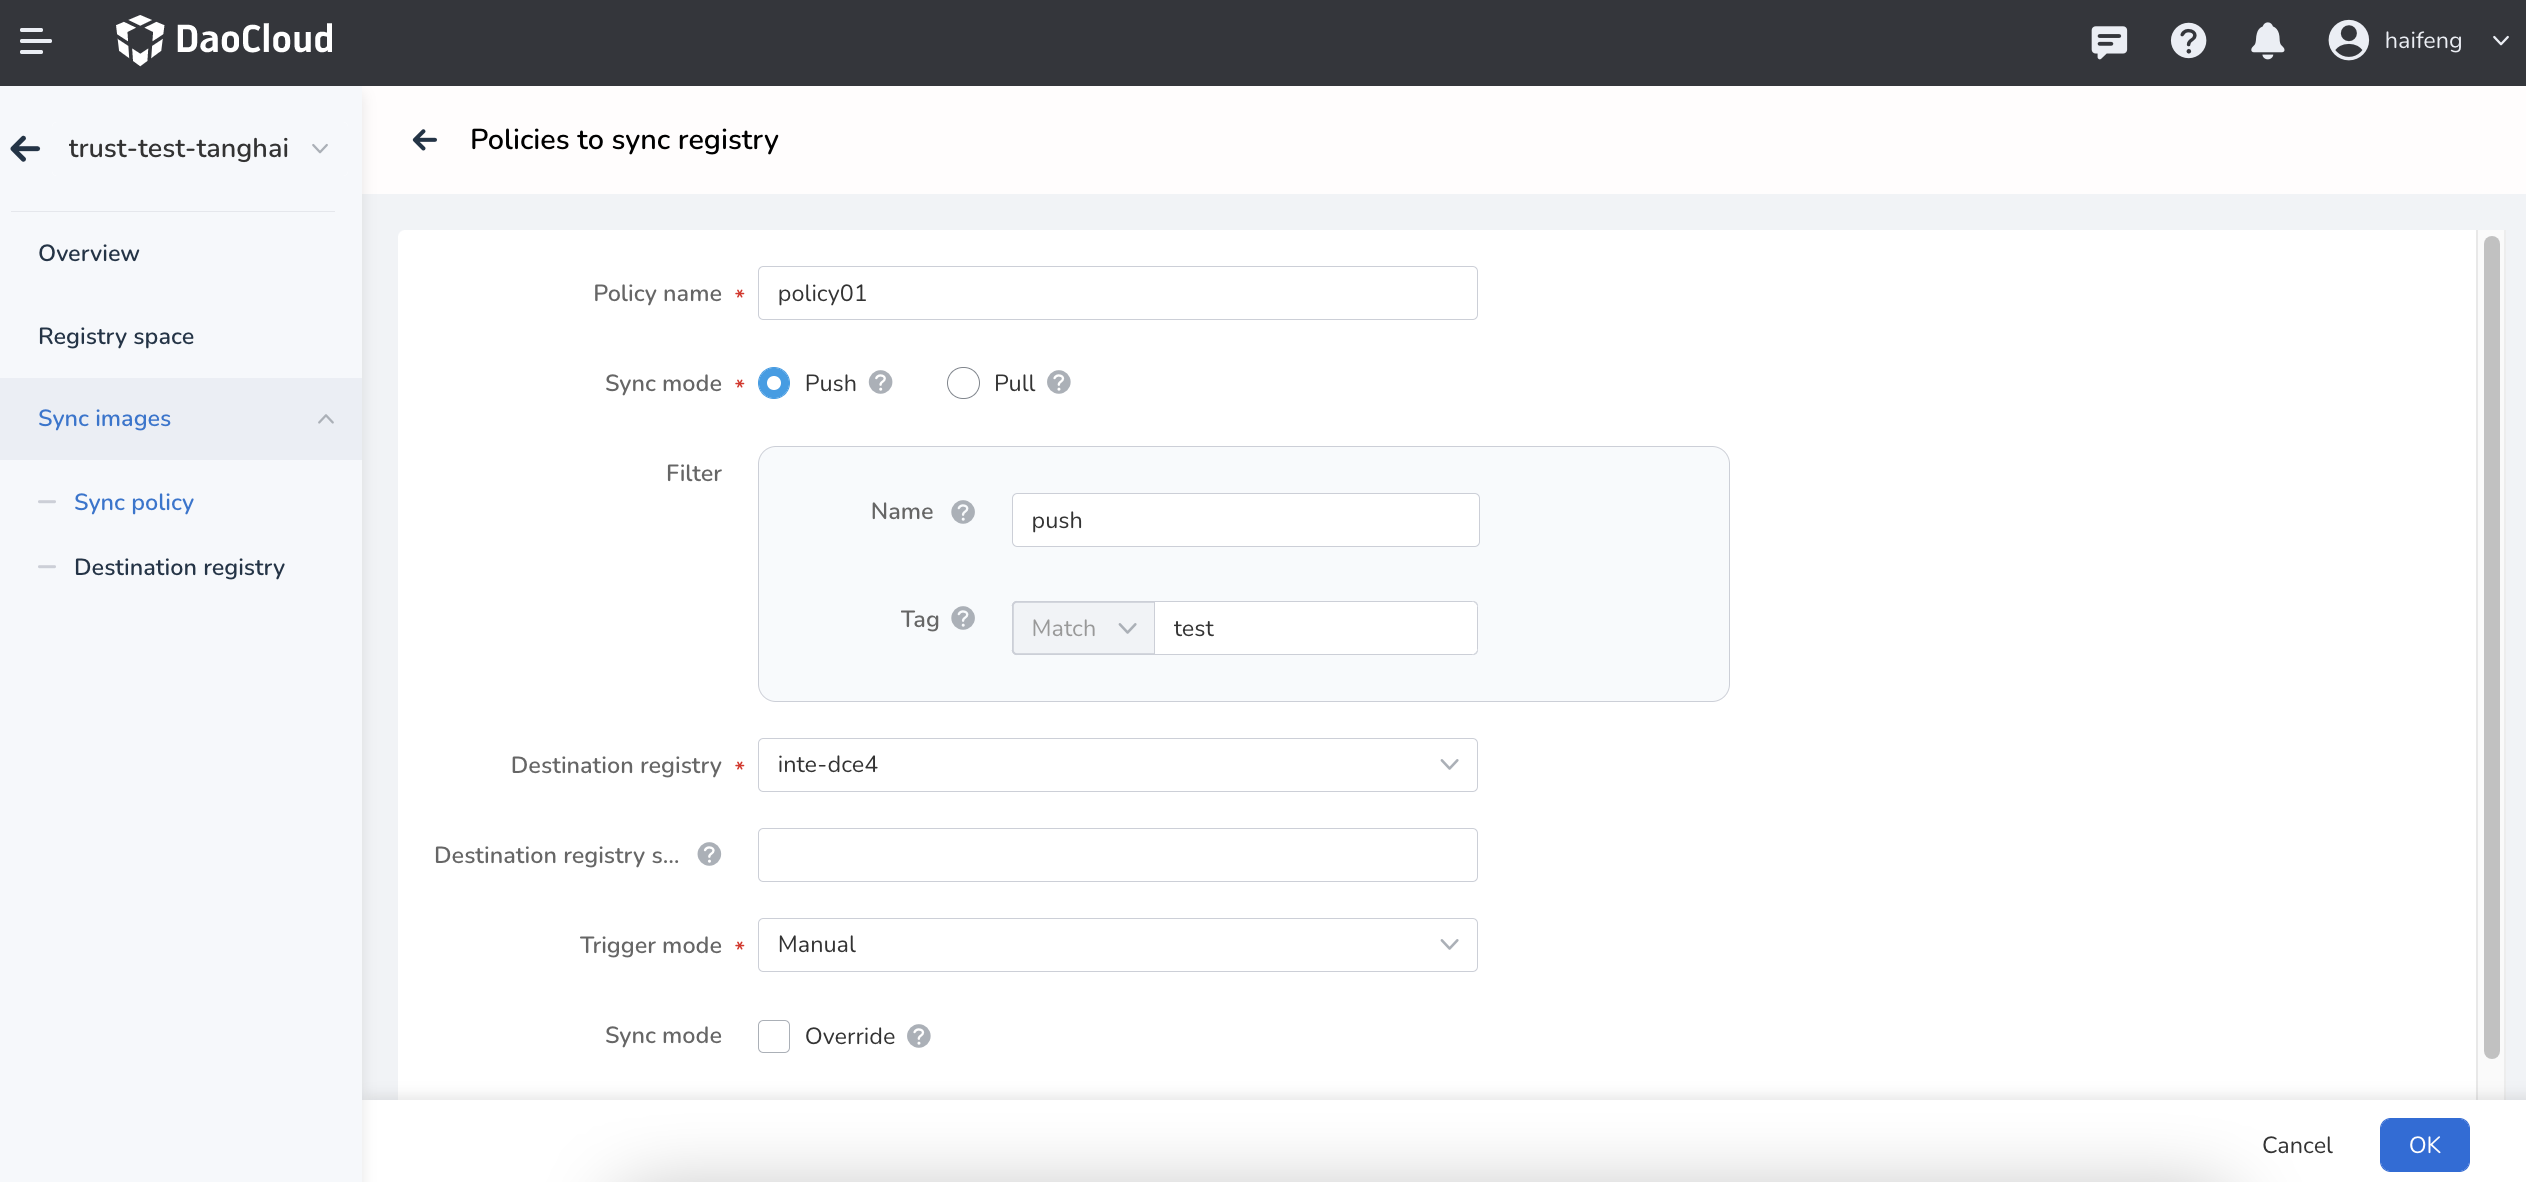
Sync mode: - Push: synchronize the image to the destination registry. - Pull: synchronize the destination registry's image to the current registry. - Overwrite: specify whether to overwrite if there are resources with the same name.
Filter: - Name: filter the resources under the current registry space by name. Leave blank or use
**to match all resources. - Tag: filter the resources under the current registry space by tag/version. Leave blank or use**to match all resources.Destination registry: if not filled in, the images will be placed in the same registry space as the source registry.
-
Return to the sync rule list, the newly created rule is enabled by default. Click the
⋮on the right-hand side to run sync, edit, disable, delete.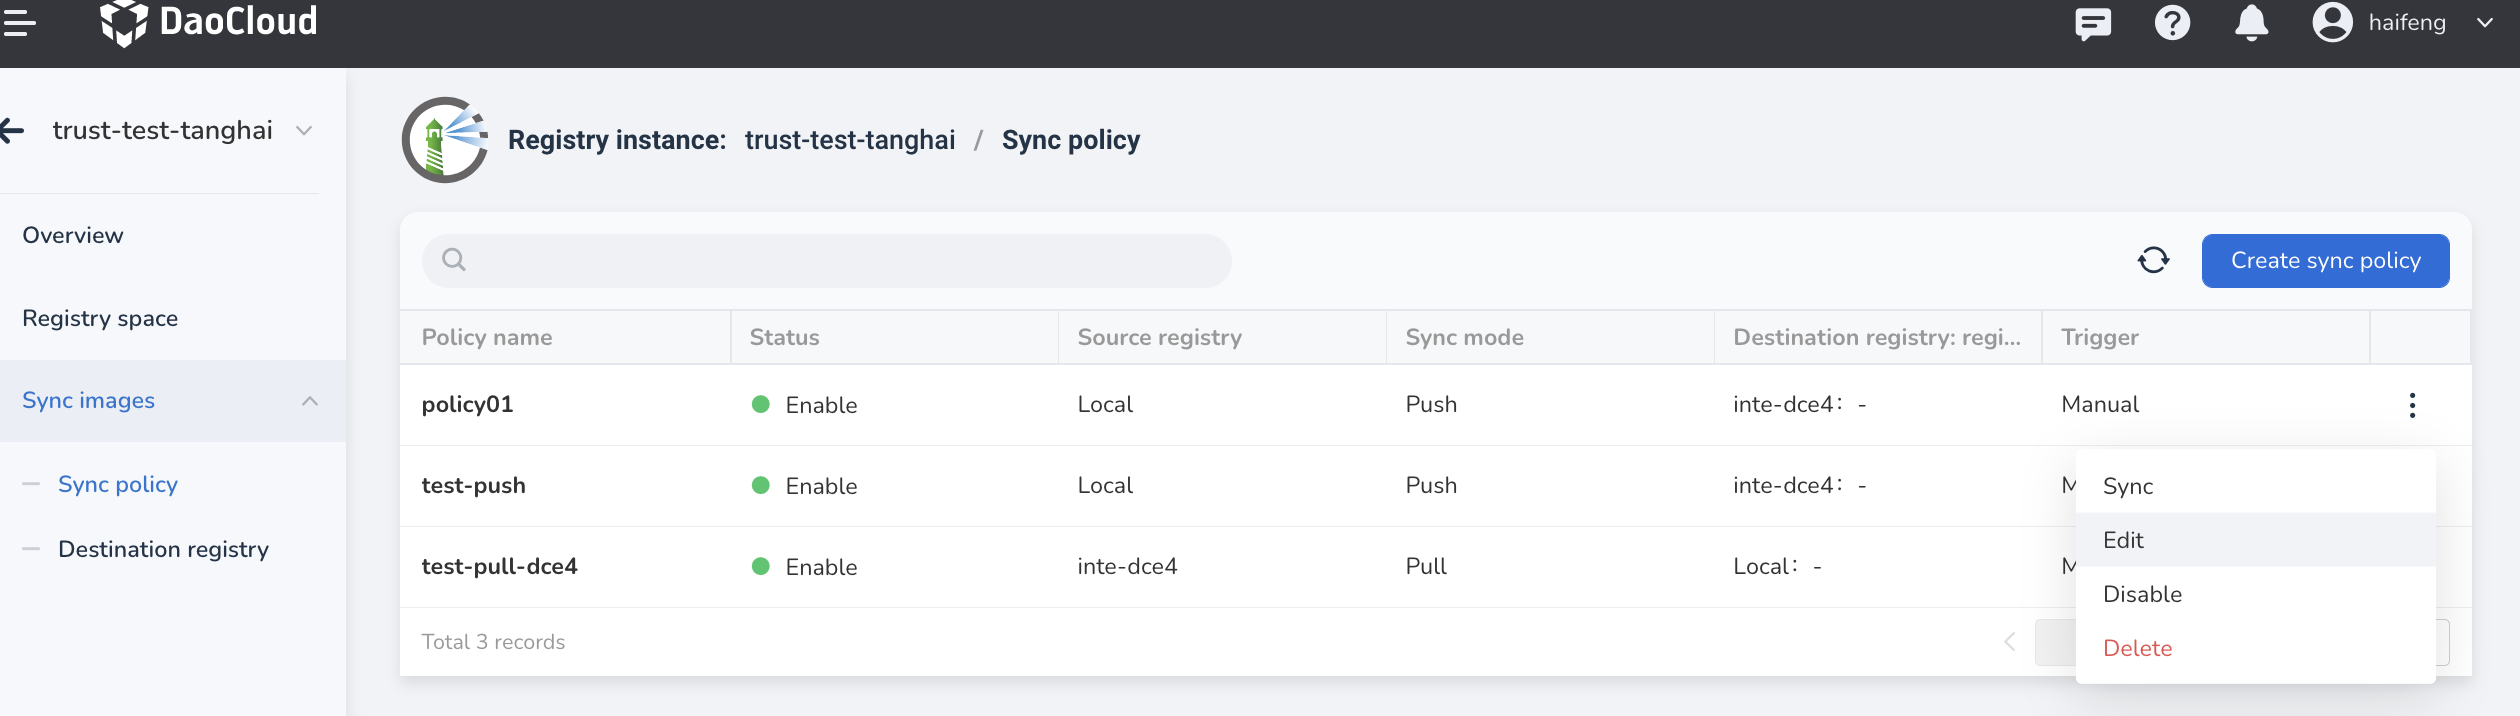
Add destination registry
-
From the integrated or managed Harbor page, click a registry name.
-
In the left-hand navigation bar, click
Sync images->Destination registry, and then click theAdd destination registrybutton.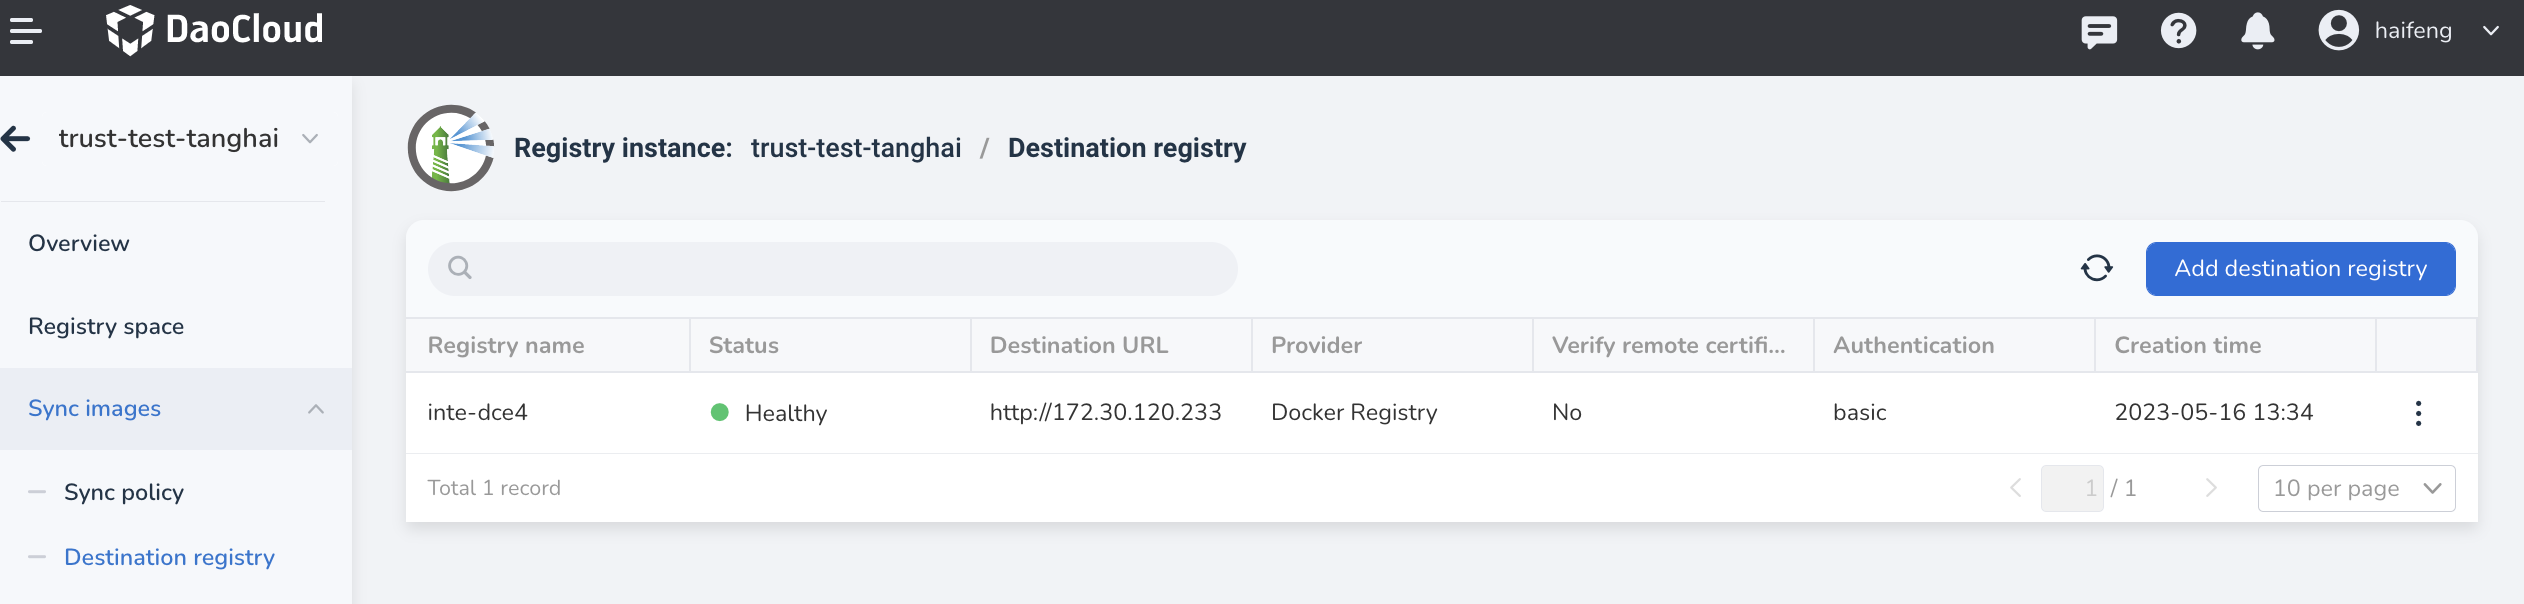
-
Add a destination registry.
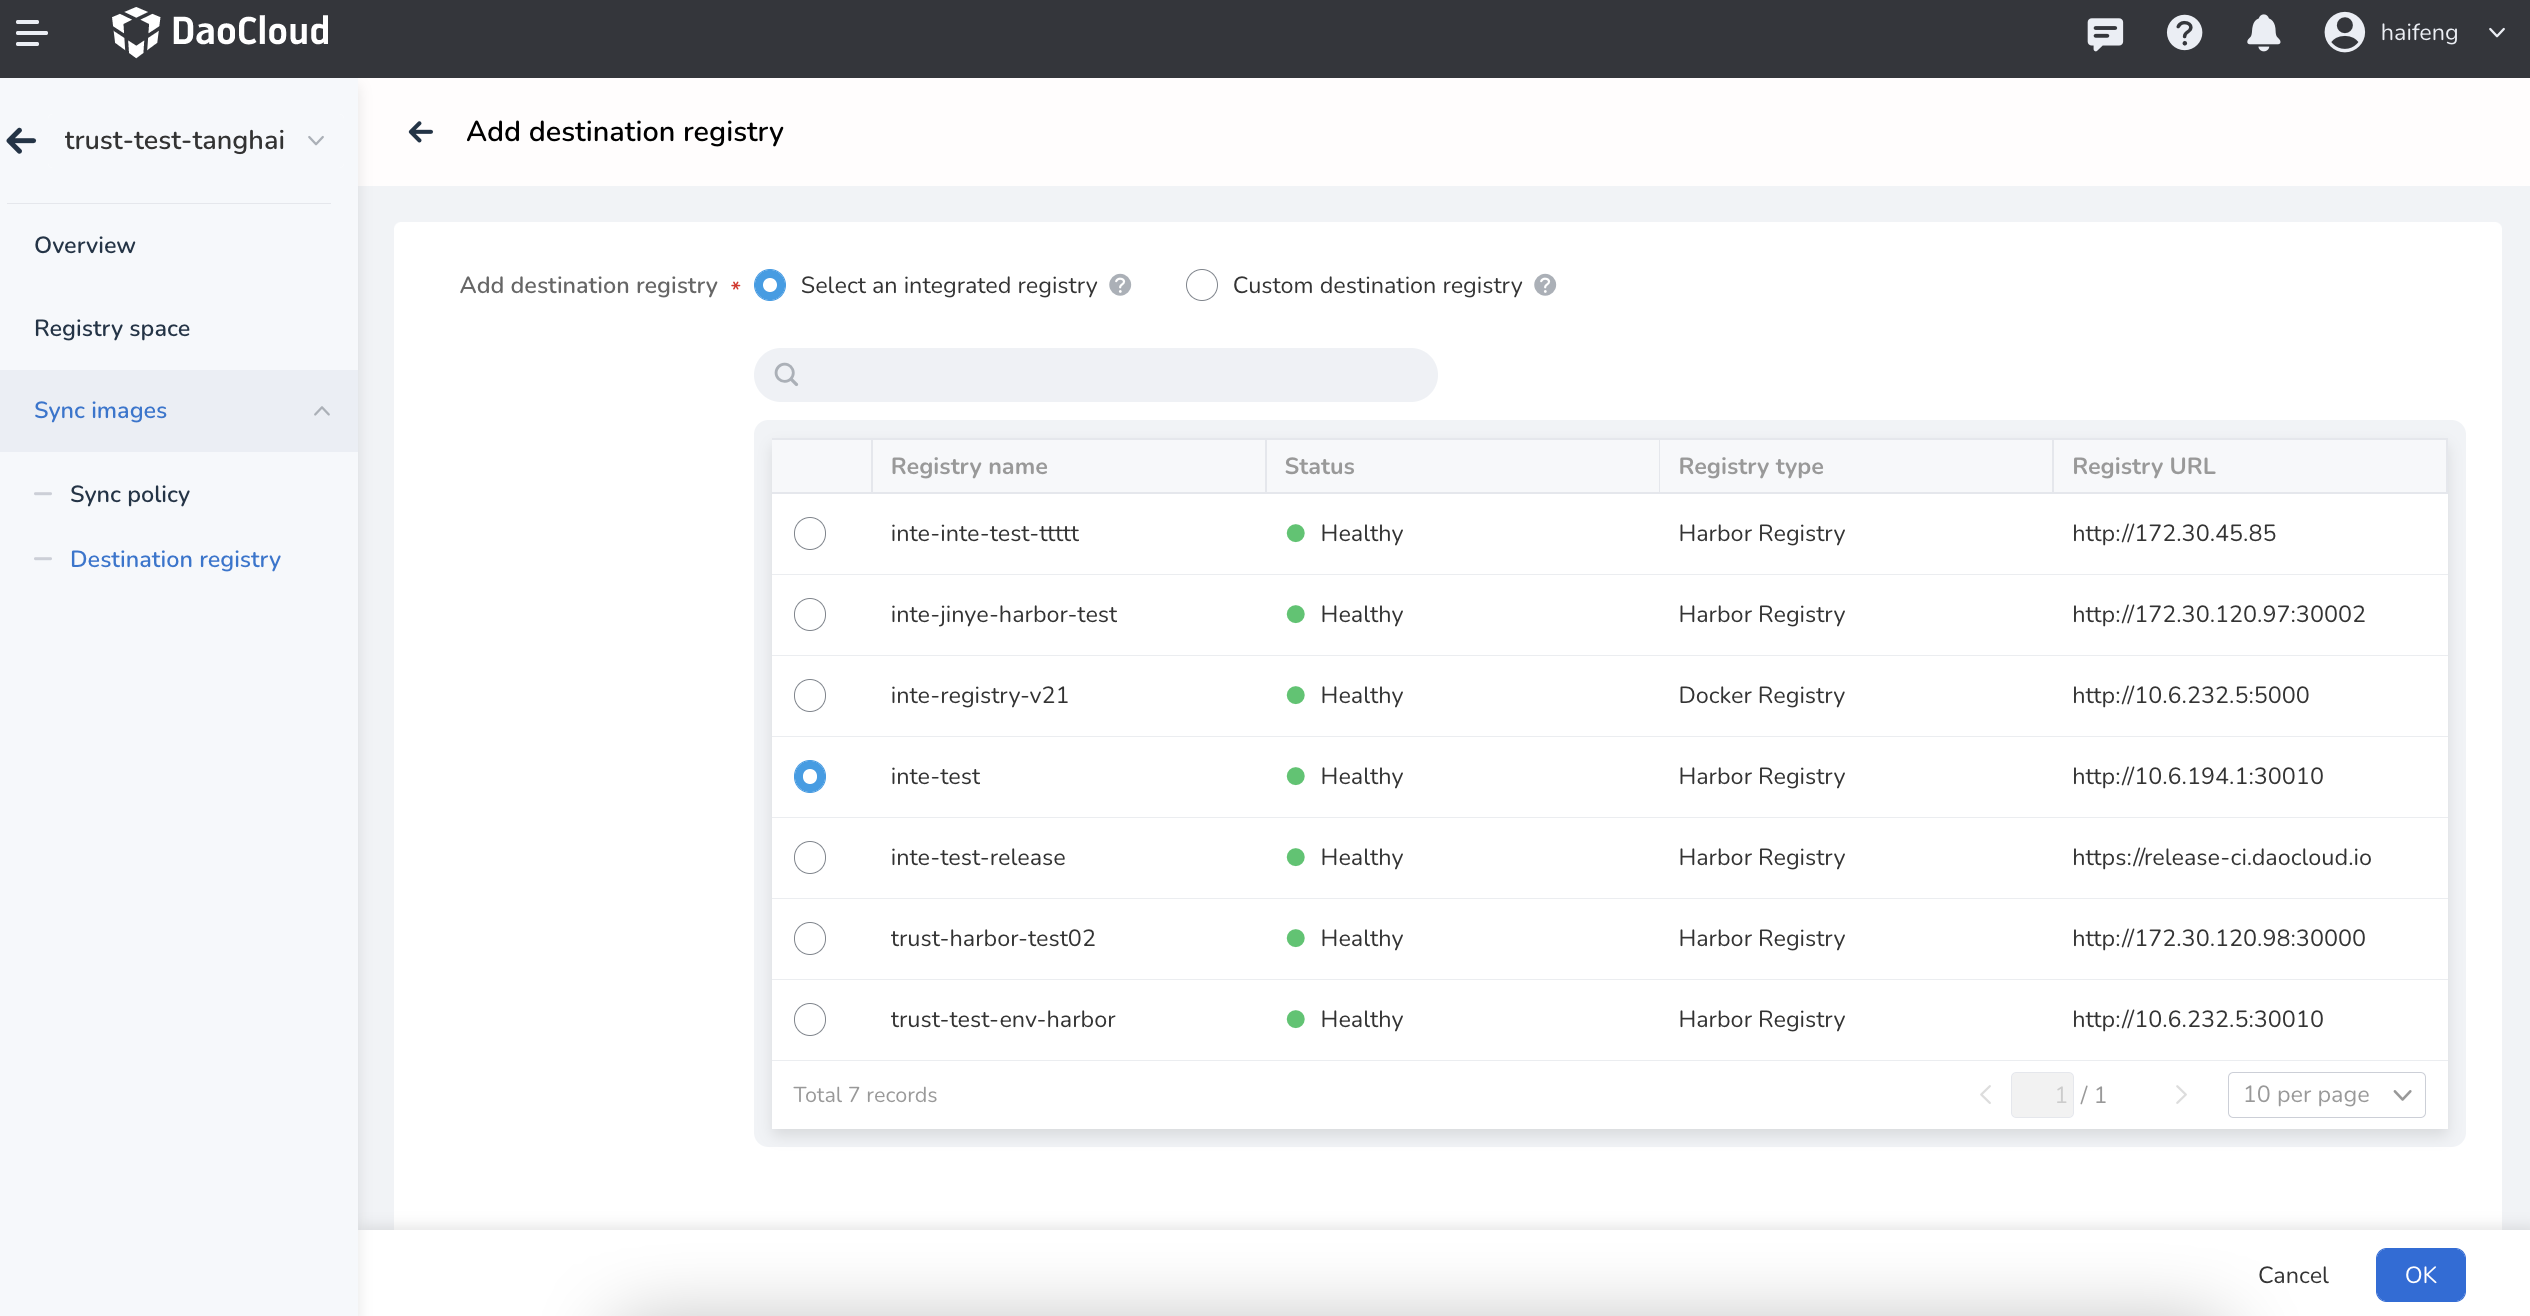

-
Return to the destination registry list, click the
⋮on the right-side to perform edit or delete.