Create Batch Deployments
Batch deployments can be created using either an image or a YAML file. This article explains how to create batch deployments using images.
Create by Image
Follow these steps to create a Deployment using an image.
-
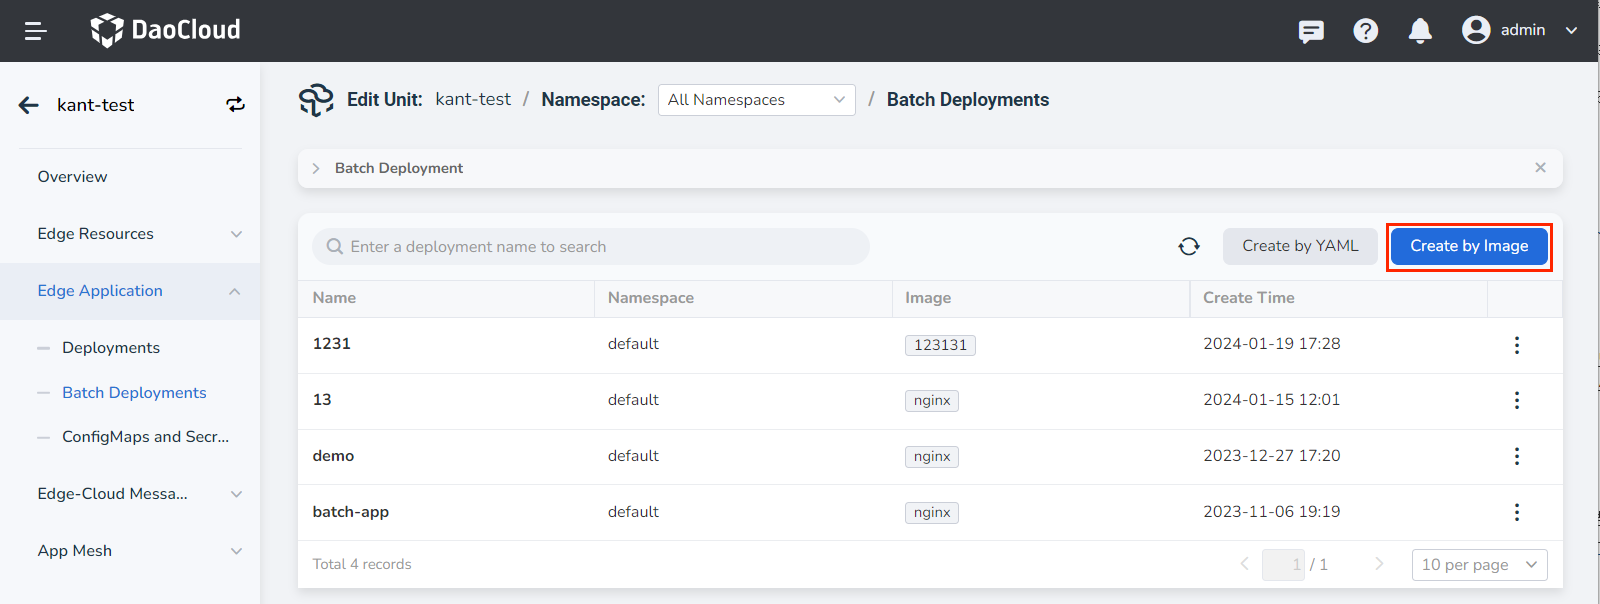
Go to the edge unit details page and select the menu Edge Application -> Batch Deployments.
-
Click the Create by Image button in the top-right corner of the batch deployment list.
-
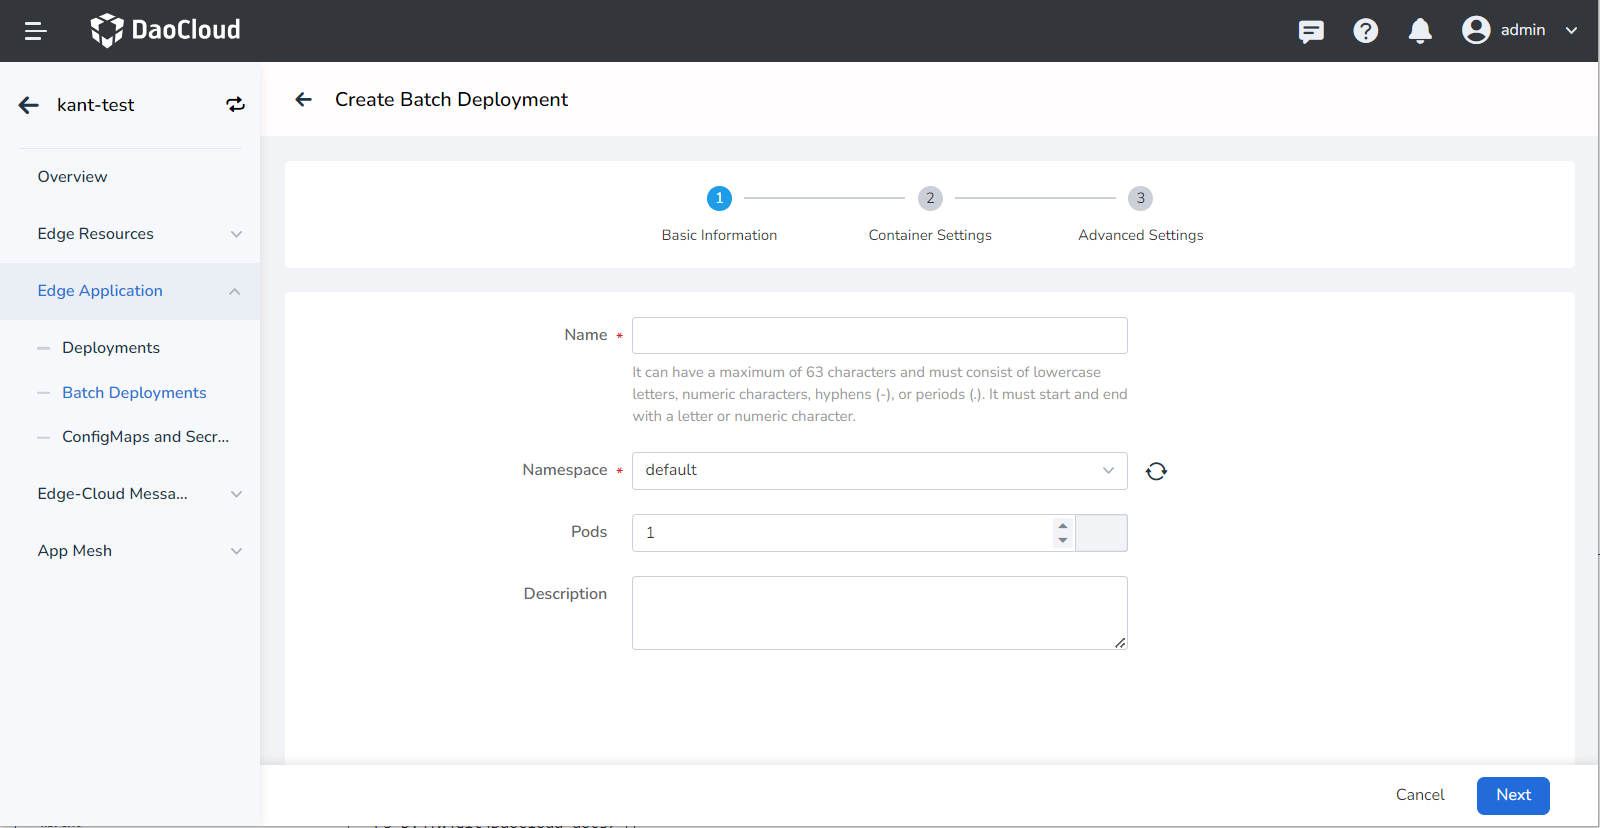
Fill in the basic information.
- Workload Name: Enter a name for the workload (up to 63 characters). The name must consist of lowercase letters, numbers, and hyphens ("-"), and it must start and end with a lowercase letter or number (e.g., deployment-01). The workload name must be unique within the same namespace, and it cannot be changed after the workload is created.
- Namespace: Select the namespace where you want to deploy the workload. By default, the default namespace is used. If the desired namespace is not available, you can create a new one as prompted on the page.
- Pods: Specify the number of Pods. By default, one instance is created, but you can modify this value.
- Description: Enter a description for the workload (optional).
-
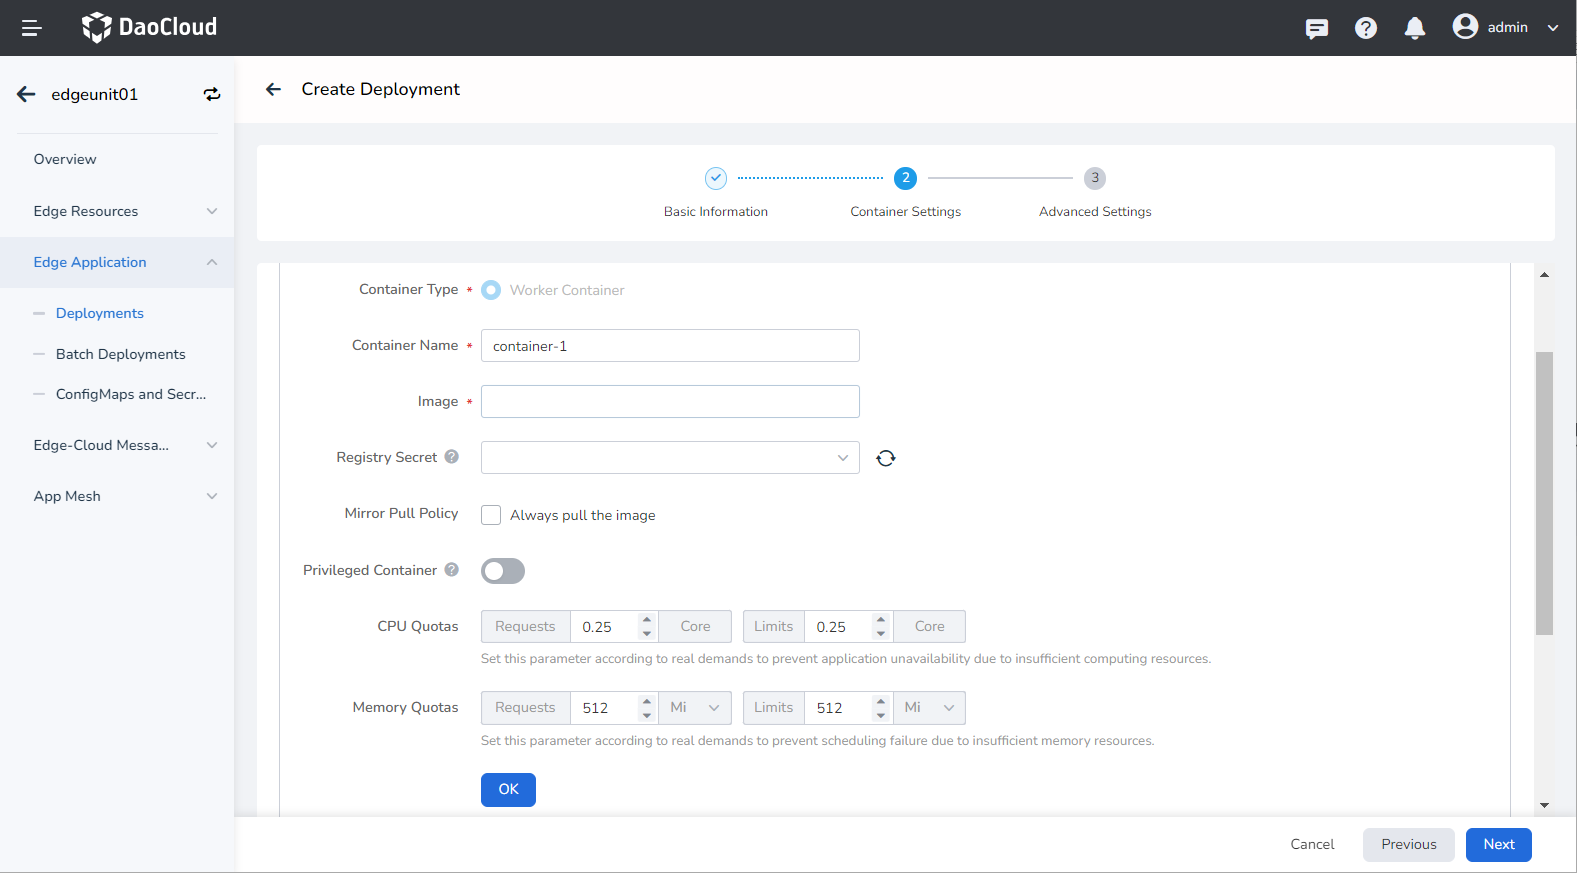
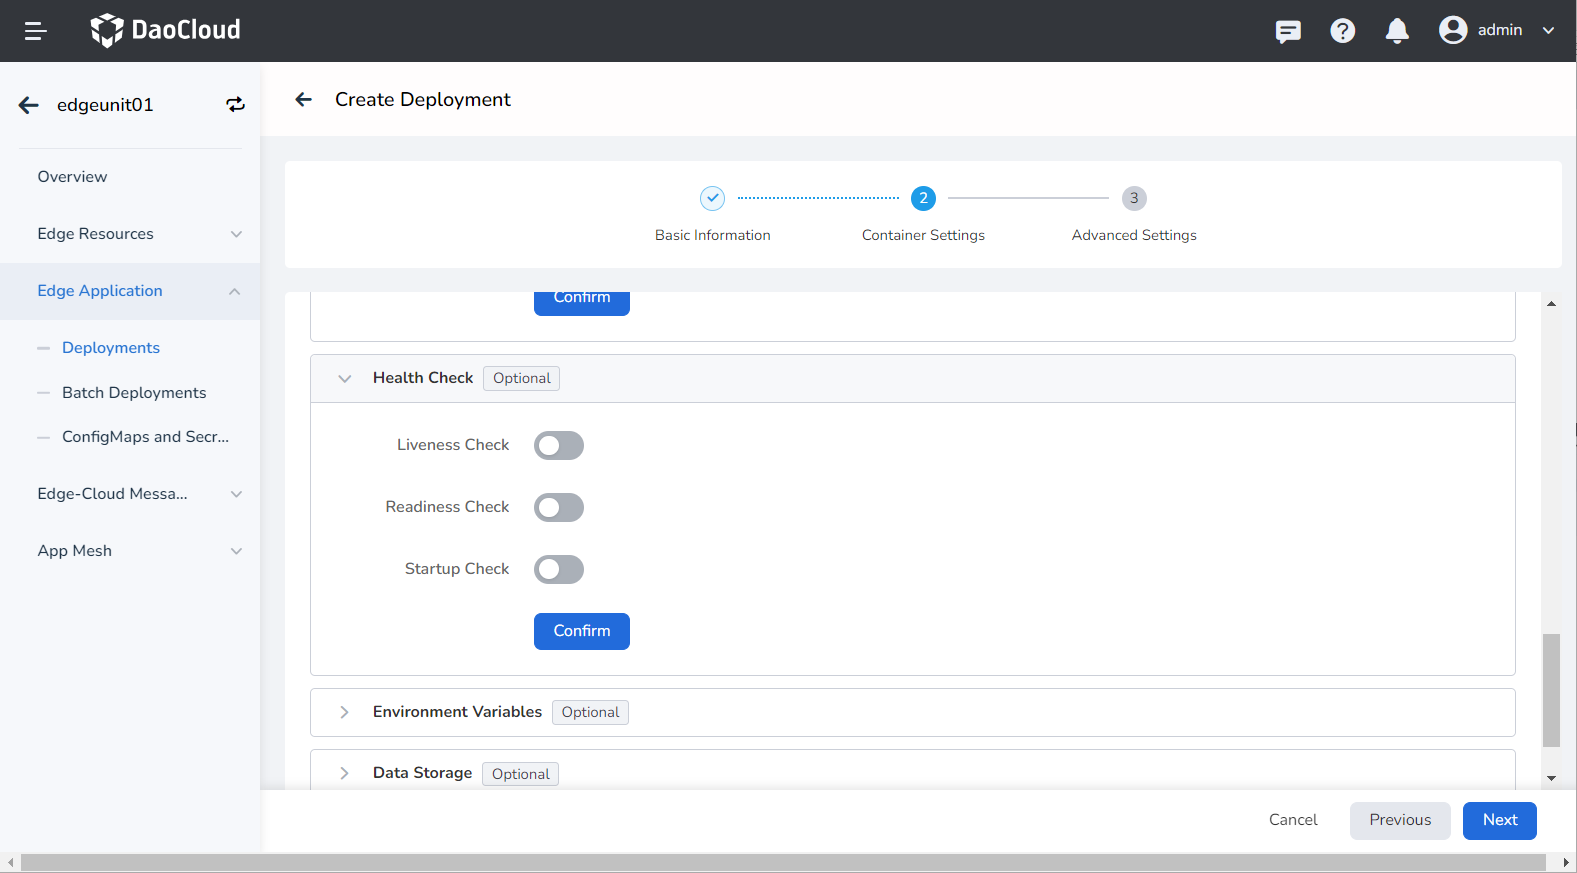
Fill in the container settings.
The container configuration consists of six parts: Basic Information, Lifecycle, Health Check, Environment Variables, Data Storage, and Security Settings. Click the respective tabs to view the requirements for each part.
Container configuration applies to individual containers. If you need to add multiple containers within a pod, click the "+" button to add them.
When configuring container parameters, make sure to correctly enter the container name and image parameters; otherwise, you won't be able to proceed. Follow these requirements and click OK after entering the configuration.
- Container Name: Enter a name for the container (up to 63 characters). The name can include lowercase letters, numbers, and hyphens ("-"). It must start and end with a lowercase letter or number (e.g., nginx-01).
- Image: Enter the image address or name. If you enter a image name, it will default to pulling from the official DockerHub. After integrating with the Docker Distribution module in DCE 5.0, you can click the image selection button to choose an image from the repository.
- Mirror Pull Policy: By selecting Always pull the image , the workload will pull the image from the repository every time it restarts/upgrades. If not selected, it will only pull the local image, and only pull from the container registry if the local image does not exist. For more details, refer to Image Pull Policy.
- Privileged Container: By default, containers cannot access any device on the host. Enabling privileged containers allows them to access all device on the host and have the same privileges as running processes on the host.
- CPU/Memory Quota: Specify the requested and limit values for CPU and memory resources. These values determine the minimum and maximum resources required by the container. Configure the resource allocation based on your needs to avoid resource waste and potential system failures. The default values are shown in the image.
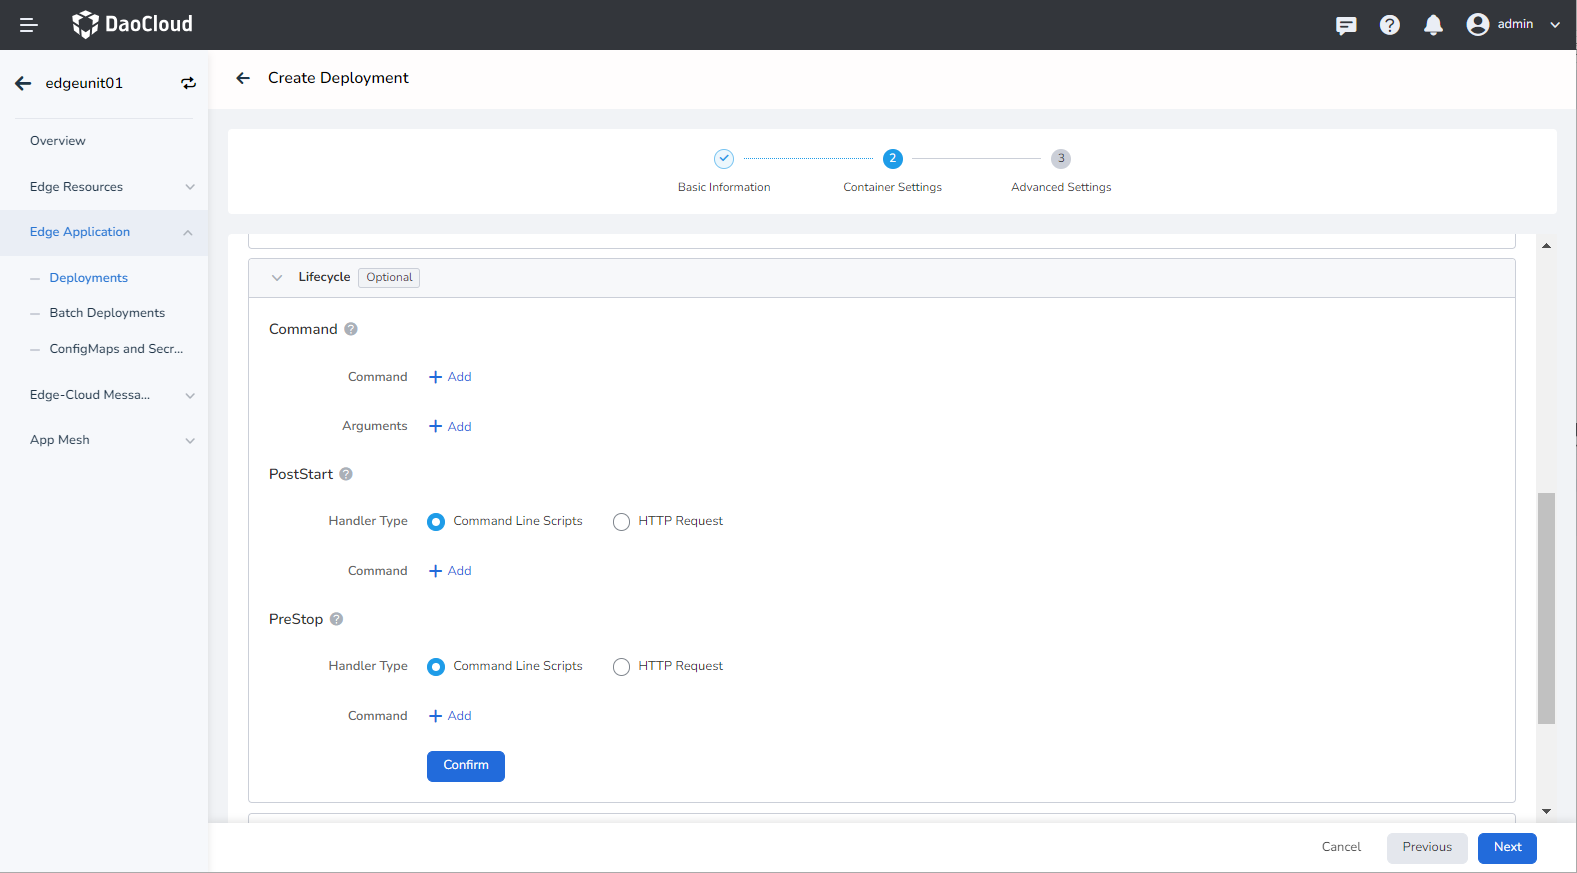
Set the commands to be executed when the container starts, after it starts, and before it stops. For more details, refer to Container Lifecycle.
Configure health checks for the container and application to improve availability. For more details, refer to Container Health Check.
Configure container parameters, add environment variables, or pass configurations to the pod. For more details, refer to Container Environment Variable.

Configure data volume mounting and data persistence settings for the container. For more details, refer to Container Data Storage.

Use Linux's built-in account privilege isolation mechanism to secure the container. You can limit the container's privileges by specifying a different user ID (UID) with different permissions. For example, entering 0 indicates using the root account's privileges.

-
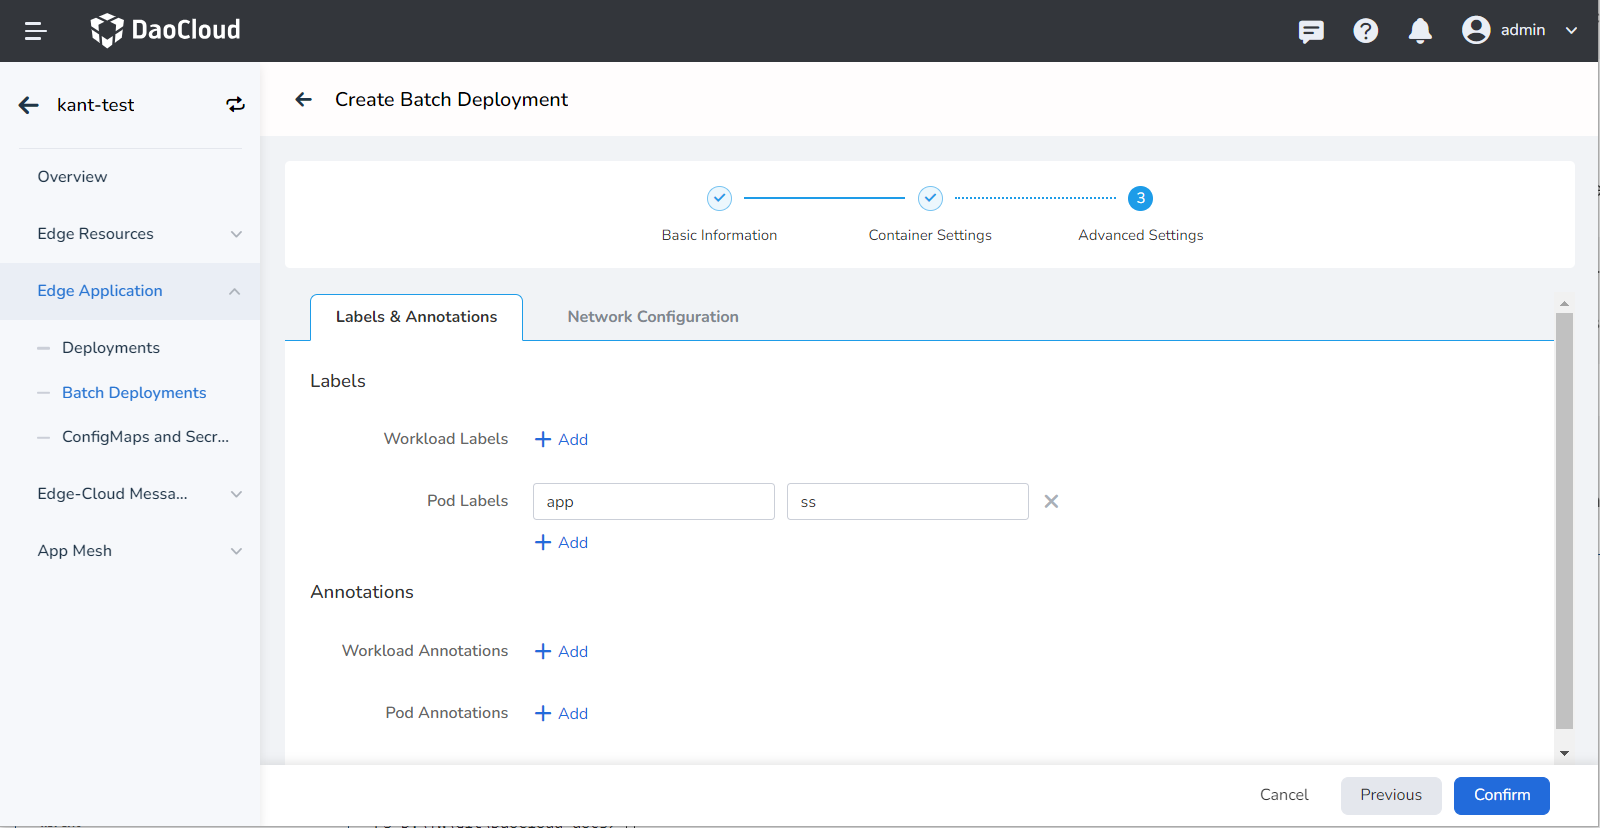
Fill in the advanced settings.
The advanced settings include Labels & Annotations and Network Configuration. Click the respective tabs to view the requirements for each part.
Click the Add button to add labels and annotations to the workload and pod.
Container access can be configured as Inaccessible, Port Mapping, or Host Network.
- Inaccessible: The workload is not accessible from outside.
- Port Mapping: Virtualizes the container network and assigns a separate virtual network to each container. Communication between containers and the outside world requires port mapping with the host. After configuring port mapping, traffic destined for the host port will be redirected to the corresponding container port. For example, if container port 80 is mapped to host port 8080, traffic to host port 8080 will be directed to container port 80.
- Host Network: Uses the host (edge node) network, meaning there is no network isolation between the container and the host. They share the same IP address.

-
Click the OK button to complete the creation of the batch deployment.
Create by YAML
In addition to creating batch deployments using images, you can also create them more quickly using YAML files. Follow these steps:
-
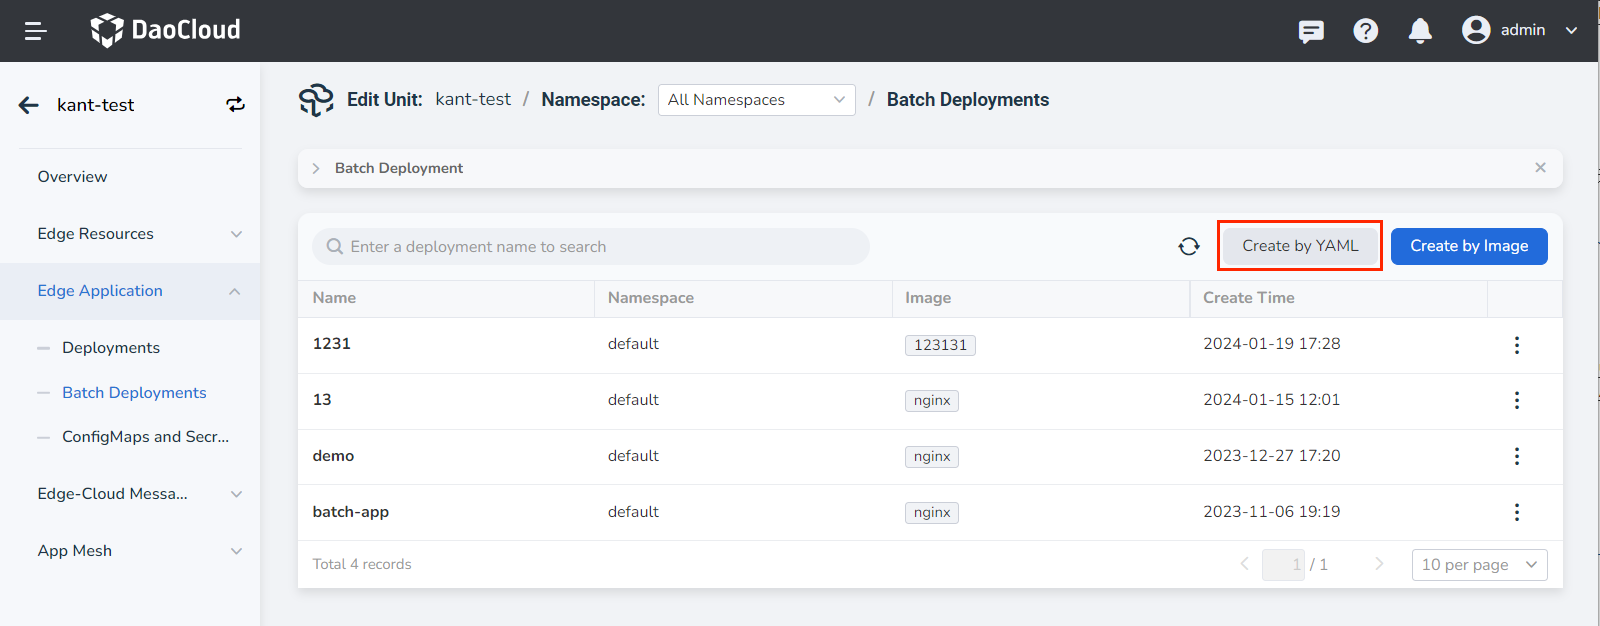
Go to the edge unit details page and select the left menu Edge Application -> Batch Deployments .
-
Click the Create by YAML button in the top-right corner of the batch deployment list.
-
Enter or paste the prepared YAML file and click OK to complete the creation.
Note
When using YAML to create batch deployments, it is recommended to add the following restrictions.
Labels are used to identify edge applications, and the workloadScope field is used to configure differentiation for edge applications deployed to node groups. The current differentiation supports image overriders and replica settings.
Here is an example:
apiVersion: apps.kubeedge.io/v1alpha1
kind: EdgeApplication
metadata:
  name: nginx-app2
  namespace: default
spec:
  workloadScope:
    targetNodeGroups:
      - name: test
        overriders:
          imageOverriders:
            - component: Repository
              operator: replace
              predicate:
                path: /spec/template/spec/containers/0/image
              value: nginx1
            - component: Tag
              operator: replace
              predicate:
                path: /spec/template/spec/containers/0/image
              value: v1
          replicas: 1
  workloadTemplate:
    manifests:
      - apiVersion: apps/v1
        kind: Deployment
        metadata:
          labels:
            kant.io/app: ''
          name: nginx-test2
          namespace: default
        spec:
          replicas: 10
          selector:
            matchLabels:
              app: nginx-test2
          template:
            metadata:
              labels:
                app: nginx-test2
            spec:
              containers:
                - image: nginx
                  imagePullPolicy: IfNotPresent
                  name: nginx