Create Worker Clusters
In DCE 5.0 Container Management, clusters can have four roles: global service cluster, management cluster, worker cluster, and integrated cluster. An integrated cluster can only be integrated from third-party vendors (see Integrate Cluster).
This page explains how to create a Worker Cluster. By default, when creating a new Worker Cluster, the operating system type and CPU architecture of the worker nodes should be consistent with the Global Service Cluster. If you want to create a cluster with a different operating system or architecture than the Global Management Cluster, refer to Creating an Ubuntu Worker Cluster on a CentOS Management Platform for instructions.
It is recommended to use the supported operating systems in DCE 5.0 to create the cluster. If your local nodes are not within the supported range, you can refer to Creating a Cluster on Non-Mainstream Operating Systems for instructions.
Prerequisites
Certain prerequisites must be met before creating a cluster:
- Prepare enough nodes to be joined into the cluster.
- It is recommended to use Kubernetes v1.29.5. For the specific version range, refer to the DCE 5.0 Supported Clusters. Currently, the supported version range for created worker clusters is
v1.28.0-v1.30.2. If you need to create a cluster with a lower version, refer to the Supported Cluster Versions and Deploy and Upgrade from a Compatiable Kubean Version. - The target host must allow IPv4 forwarding. If using IPv6 in Pods and Services, the target server needs to allow IPv6 forwarding.
- DCE 5.0 does not provide firewall management. You need to pre-define the firewall rules of the target host by yourself. To avoid errors during cluster creation, it is recommended to disable the firewall of the target host.
- See Node Availability Check.
Steps
-
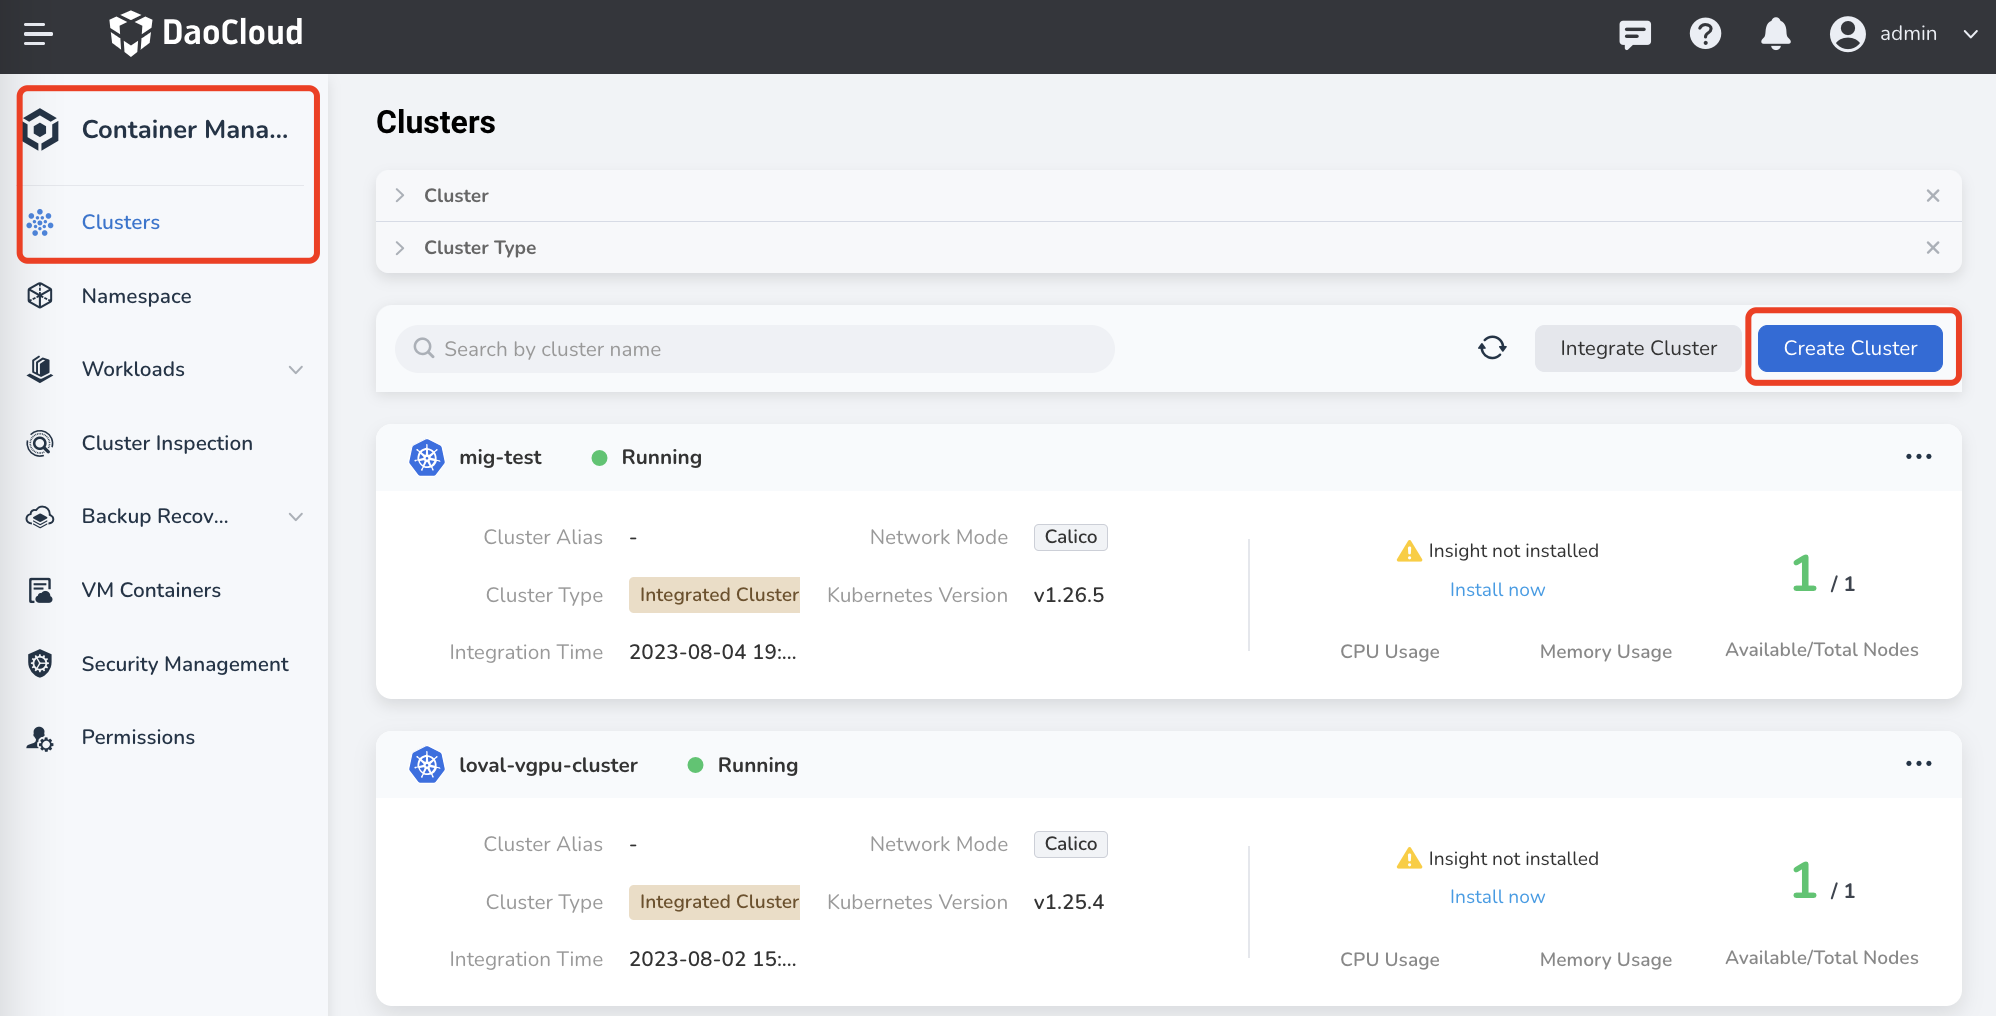
Enter the Container Management module, click Create Cluster on the upper right corner of the Clusters page.
-
Fill in the basic information by referring to the following instructions.
- Cluster Name: only contain lowercase letters, numbers, and hyphens ("-"). Must start and end with a lowercase letter or number and totally up to 63 characters.
- Managed By: Choose a cluster to manage this new cluster through its lifecycle, such as creating, upgrading, node scaling, deleting the new cluster, etc.
- Runtime: Select the runtime environment of the cluster. Currently support containerd and docker (see How to Choose Container Runtime).
- Kubernetes Version: Allow span of three major versions, such as from 1.23-1.25, subject to the versions supported by the management cluster.

-
Fill in the node configuration information and click Node Check .
-
High Availability: When enabled, at least 3 controller nodes are required. When disabled, only 1 controller node is needed.
It is recommended to use High Availability mode in production environments.
-
Credential Type: Choose whether to access nodes using username/password or public/private keys.
If using public/private key authentication, SSH keys for the nodes need to be configured in advance. Refer to Using SSH Key Authentication for Nodes.
-
Same Password: When enabled, all nodes in the cluster will have the same access password. Enter the unified password for accessing all nodes in the field below. If disabled, you can set separate usernames and passwords for each node.
- Custom Parameters: Set variables to control Ansible's interaction with remote hosts. For configurable variables, refer to Connecting to Hosts: Behavioral Inventory Parameters.
- Node Information: Set note names and IPs.
- NTP Time Synchronization: When enabled, time will be automatically synchronized across all nodes. Provide the NTP server address.

-
-
If node check is passed, click Next . If the check failed, update Node Information and check again.
-
Fill in the network configuration and click Next .
-
CNI: Provide network services for Pods in the cluster. CNI cannot be changed after the cluster is created. Supports cilium and calico. Set none means not installing CNI when creating the cluster. You may install a CNI later.
For CNI configuration details, see Cilium Installation Parameters or Calico Installation Parameters.
-
Container IP Range: Set an IP range for allocating IPs for containers in the cluster. IP range determines the max number of containers allowed in the cluster. Cannot be modified after creation.
- Service IP Range: Set an IP range for allocating IPs for container Services in the cluster. This range determines the max number of container Services that can be created in the cluster. Cannot be modified after creation.
-
-
Fill in the plug-in configuration and click Next .
-
Fill in advanced settings and click OK .
- kubelet_max_pods : Set the maximum number of Pods per node. The default is 110.
- hostname_override : Reset the hostname (not recommended).
- kubernetes_audit : Kubernetes audit log, enabled by default.
- auto_renew_certificate : Automatically renew the certificate of the control plane on the first Monday of each month, enabled by default.
- disable_firewalld&ufw : Disable the firewall to prevent the node from being inaccessible during installation.
- Insecure_registries : Set the address of you private container registry. If you use a private container registry, fill in its address can bypass certificate authentication of the container engine and obtain the image.
- yum_repos : Fill in the Yum source registry address. In an offline environment, the default address options are for reference only. Please fill them in according to your actual situation.
Tip
By default, the cluster certificates are valid for one year and are automatically renewed every month. This renewal process may cause restarts. To disable automatic certificate renewal or configure the certificate validity period, you can modify the advanced parameters:
Success
- After correctly filling in the above information, the page will prompt that the cluster is being created.
- Creating a cluster takes a long time, so you need to wait patiently. You can click the Back to Clusters button to let it running backend.
- To view the current status, click Real-time Log .
Note
- When the cluster is in an unknown state, it means that the current cluster has been disconnected.
- The data displayed by the system is the cached data before the disconnection, which does not represent real data.
- Any operations performed in the disconnected state will not take effect. Please check the cluster network connectivity or Host Status.
References
- Create an Ubuntu Work Cluster on a CentOS Management Platform
- Create a RedHat 9.2 Work Cluster on a CentOS Management Platform
- Create a Cluster on Non-Mainstream Operating Systems