Namespaces
Namespaces are an abstraction used in Kubernetes for resource isolation. A cluster can contain multiple namespaces with different names, and the resources in each namespace are isolated from each other. For a detailed introduction to namespaces, refer to Namespaces.
This page will introduce the related operations of the namespace.
Create a namespace
Supports easy creation of namespaces through forms, and quick creation of namespaces by writing or importing YAML files.
Note
- Before creating a namespace, you need to Integrate a Kubernetes cluster or Create a Kubernetes cluster in the container management module.
- The default namespace default is usually automatically generated after cluster initialization. But for production clusters, for ease of management, it is recommended to create other namespaces instead of using the default namespace directly.
Create with form
-
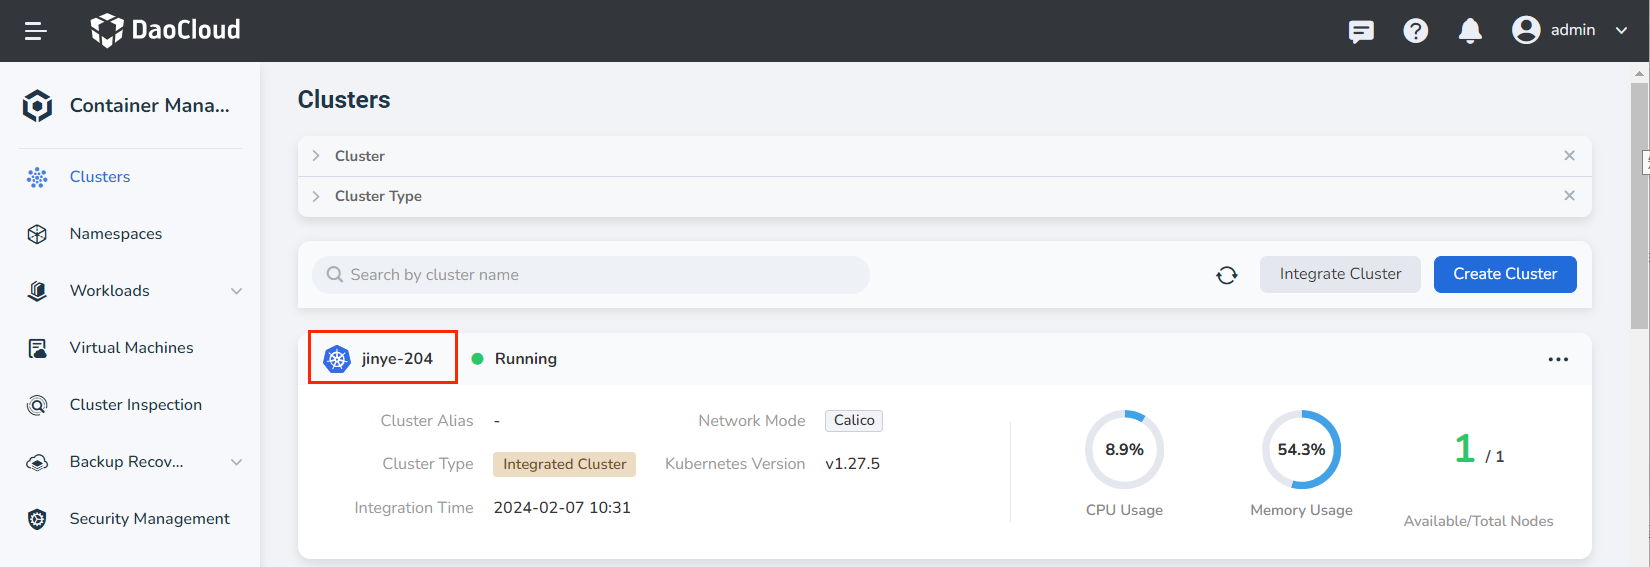
On the cluster list page, click the name of the target cluster.
-
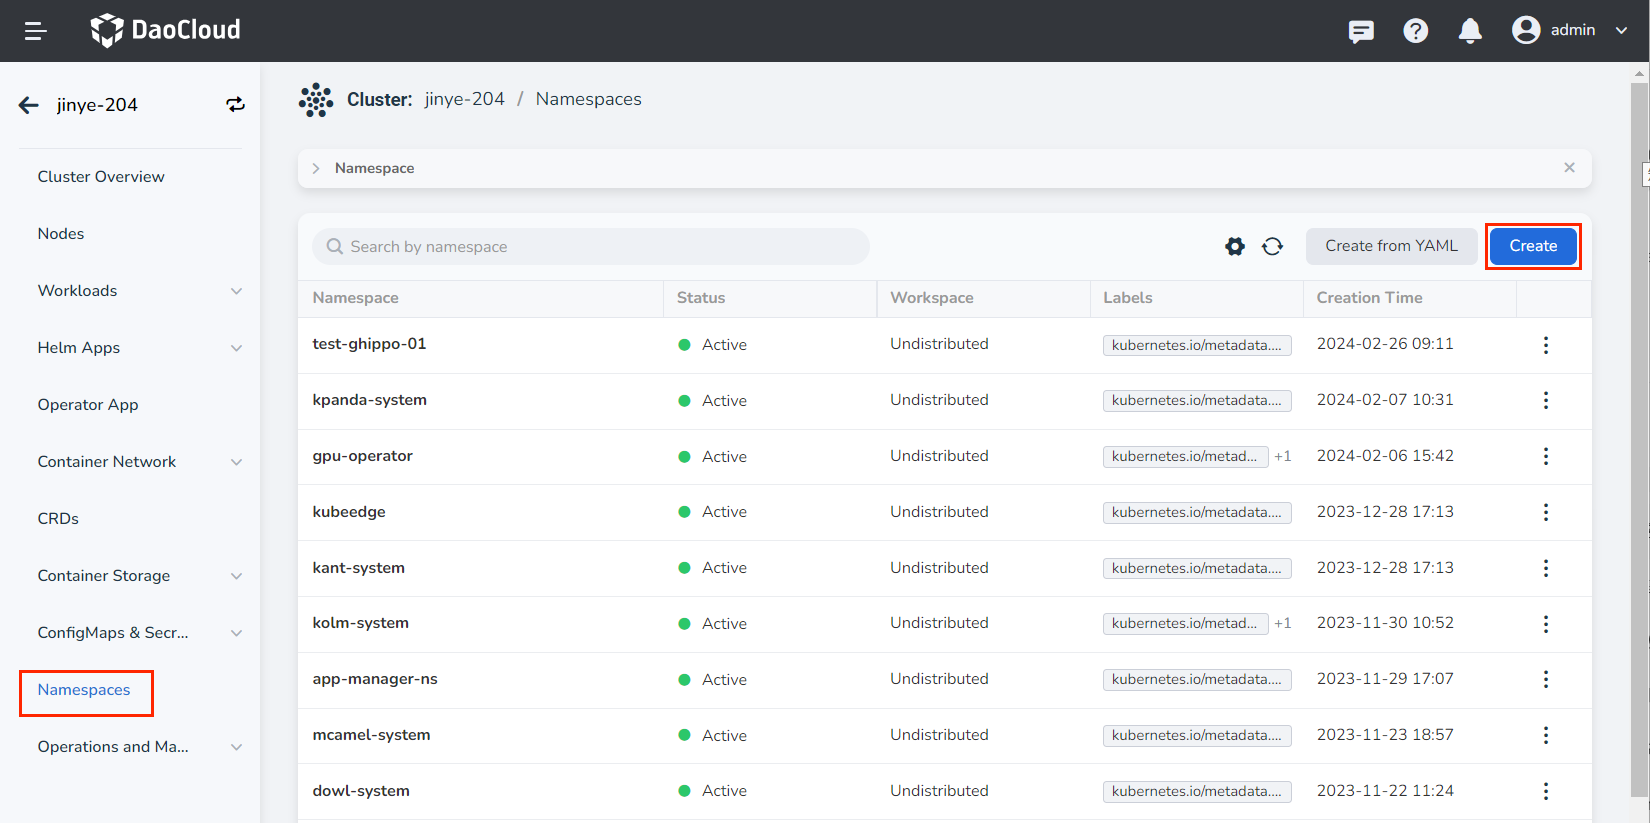
Click Namespace in the left navigation bar, then click the Create button on the right side of the page.
-
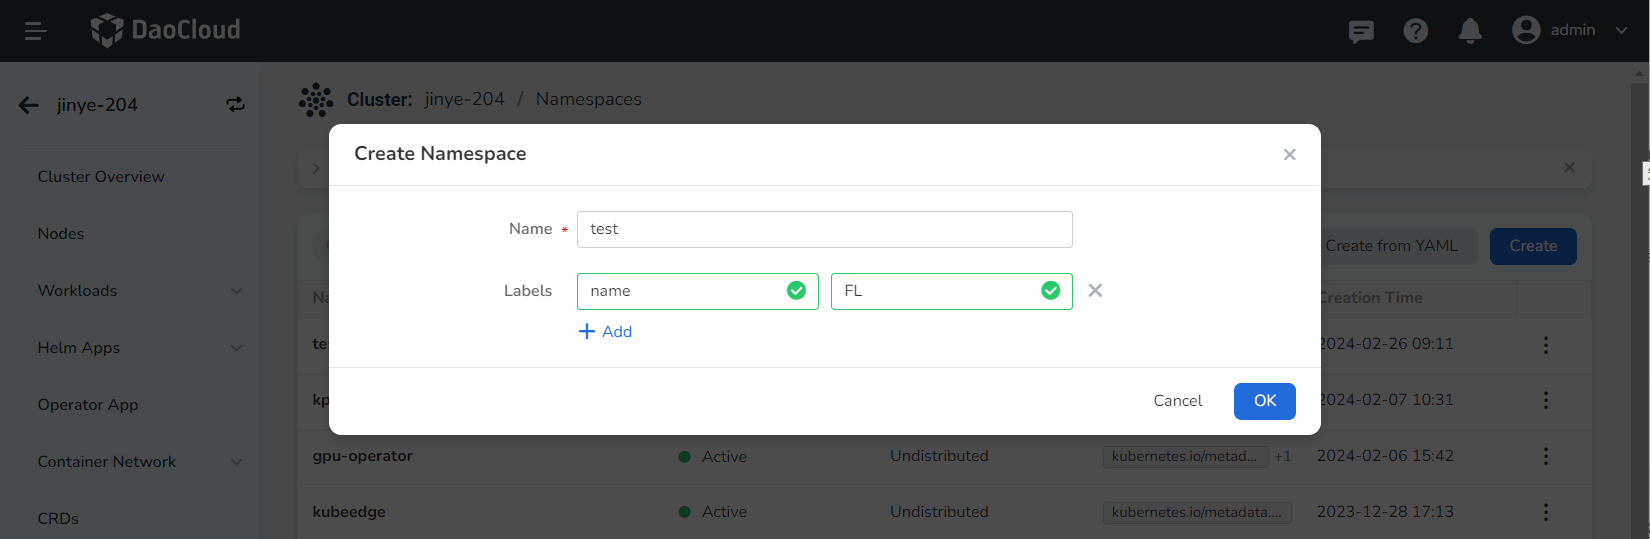
Fill in the name of the namespace, configure the workspace and labels (optional), and then click OK.
Info
-
After binding a namespace to a workspace, the resources of that namespace will be shared with the bound workspace. For a detailed explanation of workspaces, refer to Workspaces and Hierarchies.
-
After the namespace is created, you can still bind/unbind the workspace.
-
-
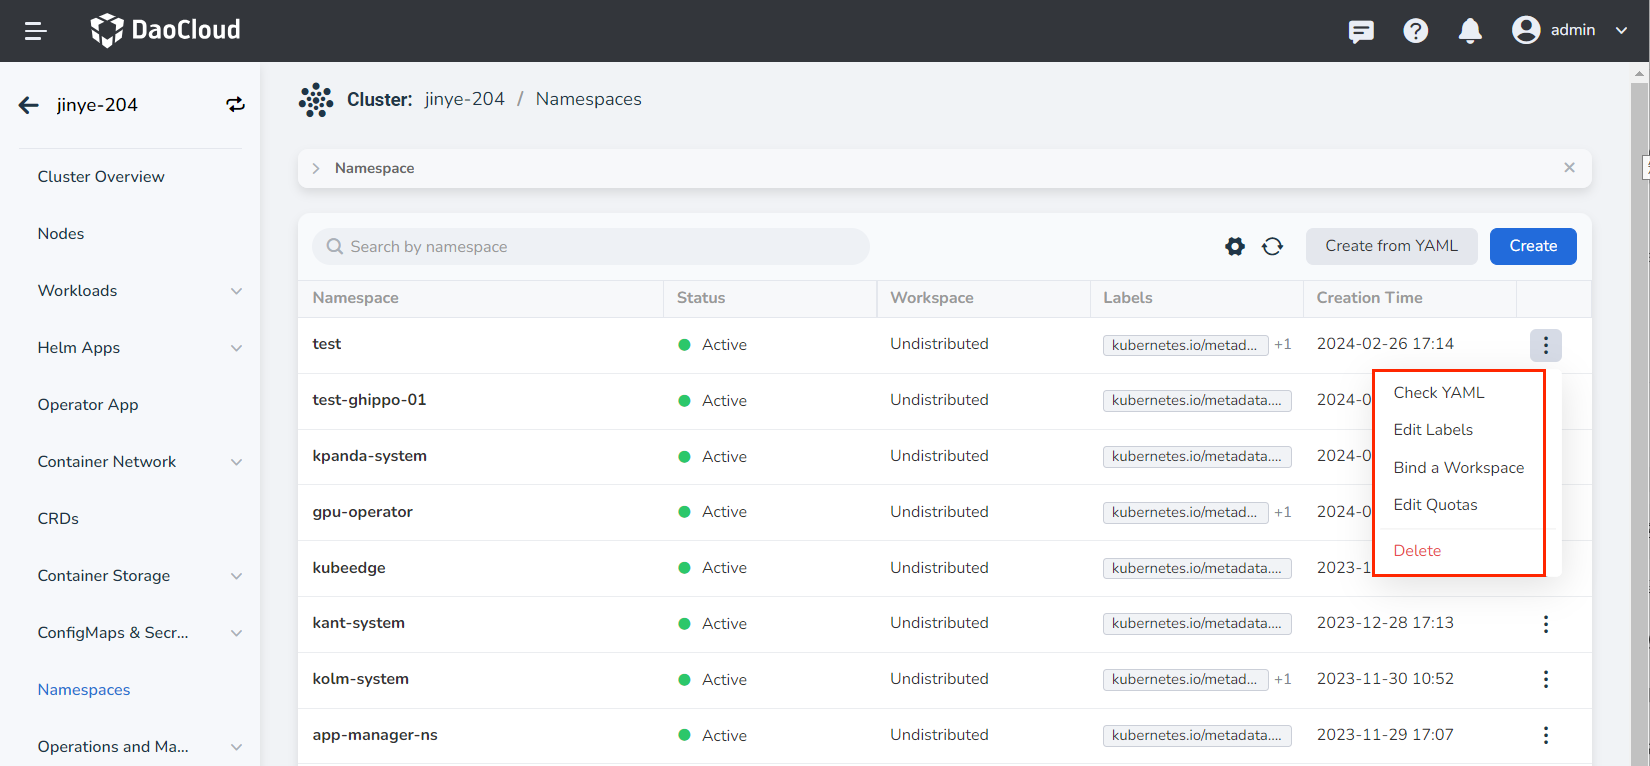
Click OK to complete the creation of the namespace. On the right side of the namespace list, click ┇ to select update, bind/unbind workspace, quota management, delete, and more from the pop-up menu.
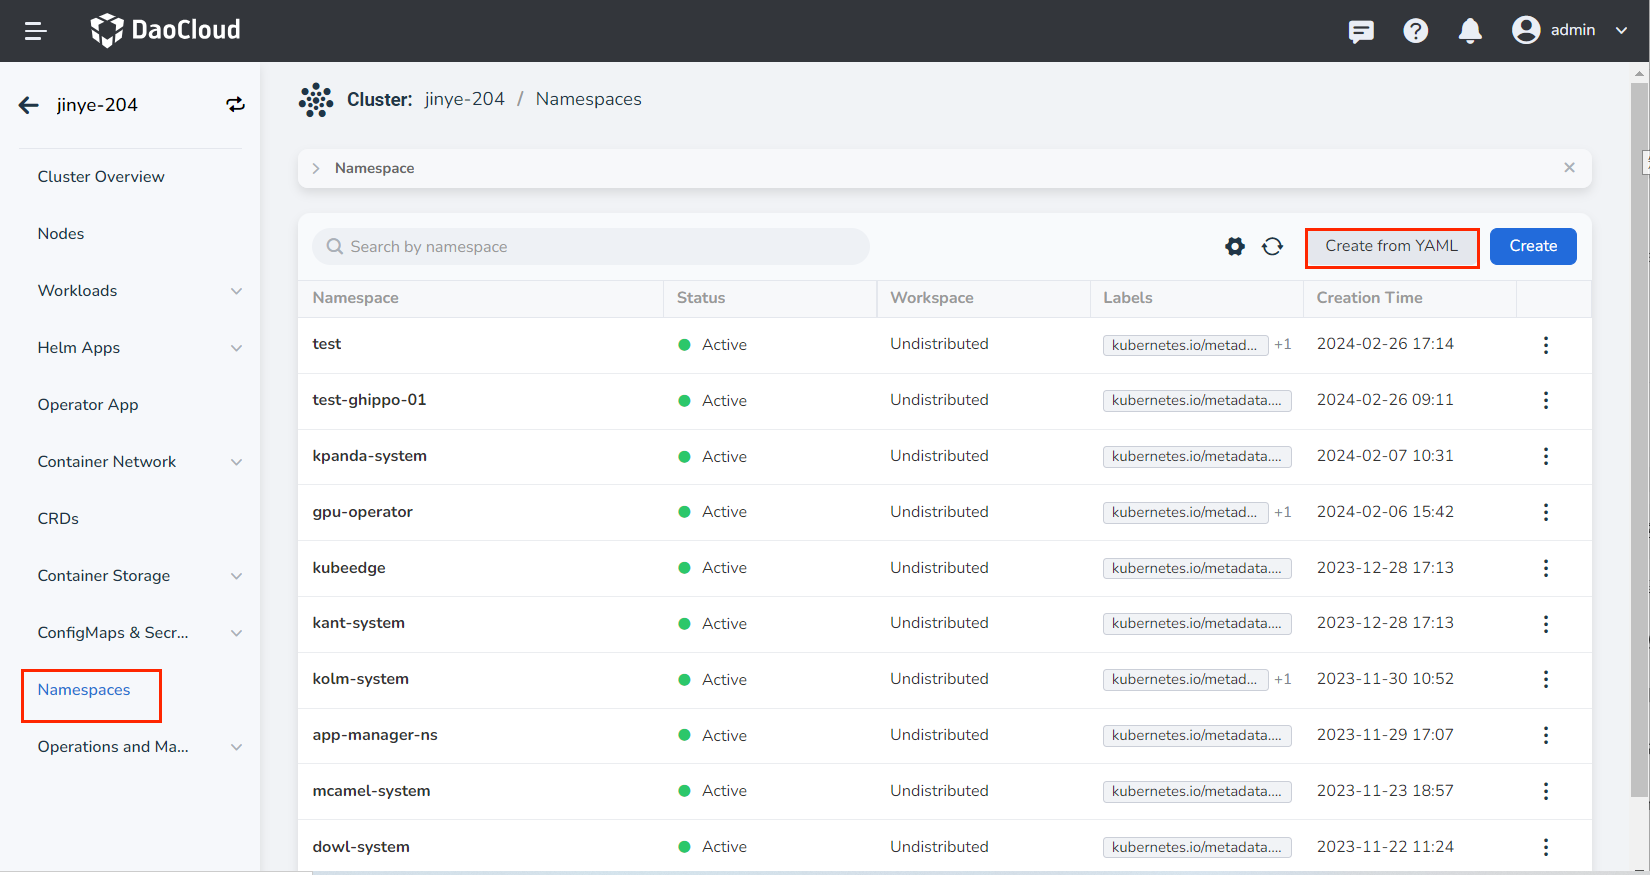
Create from YAML
-
On the Cluster List page, click the name of the target cluster.
-
Click Namespace in the left navigation bar, then click the YAML Create button on the right side of the page.
-
Enter or paste the prepared YAML content, or directly import an existing YAML file locally.
After entering the YAML content, click Download to save the YAML file locally.

-
Finally, click OK in the lower right corner of the pop-up box.