Node Taints
Taint can make a node exclude a certain type of Pod and prevent Pod from being scheduled on the node. One or more taints can be applied to each node, and Pods that cannot tolerate these taints will not be scheduled on that node.
Precautions
- The current operating user should have NS Editor role authorization or other higher permissions.
- After adding a taint to a node, only Pods that can tolerate the taint can be scheduled to the node.
Steps
-
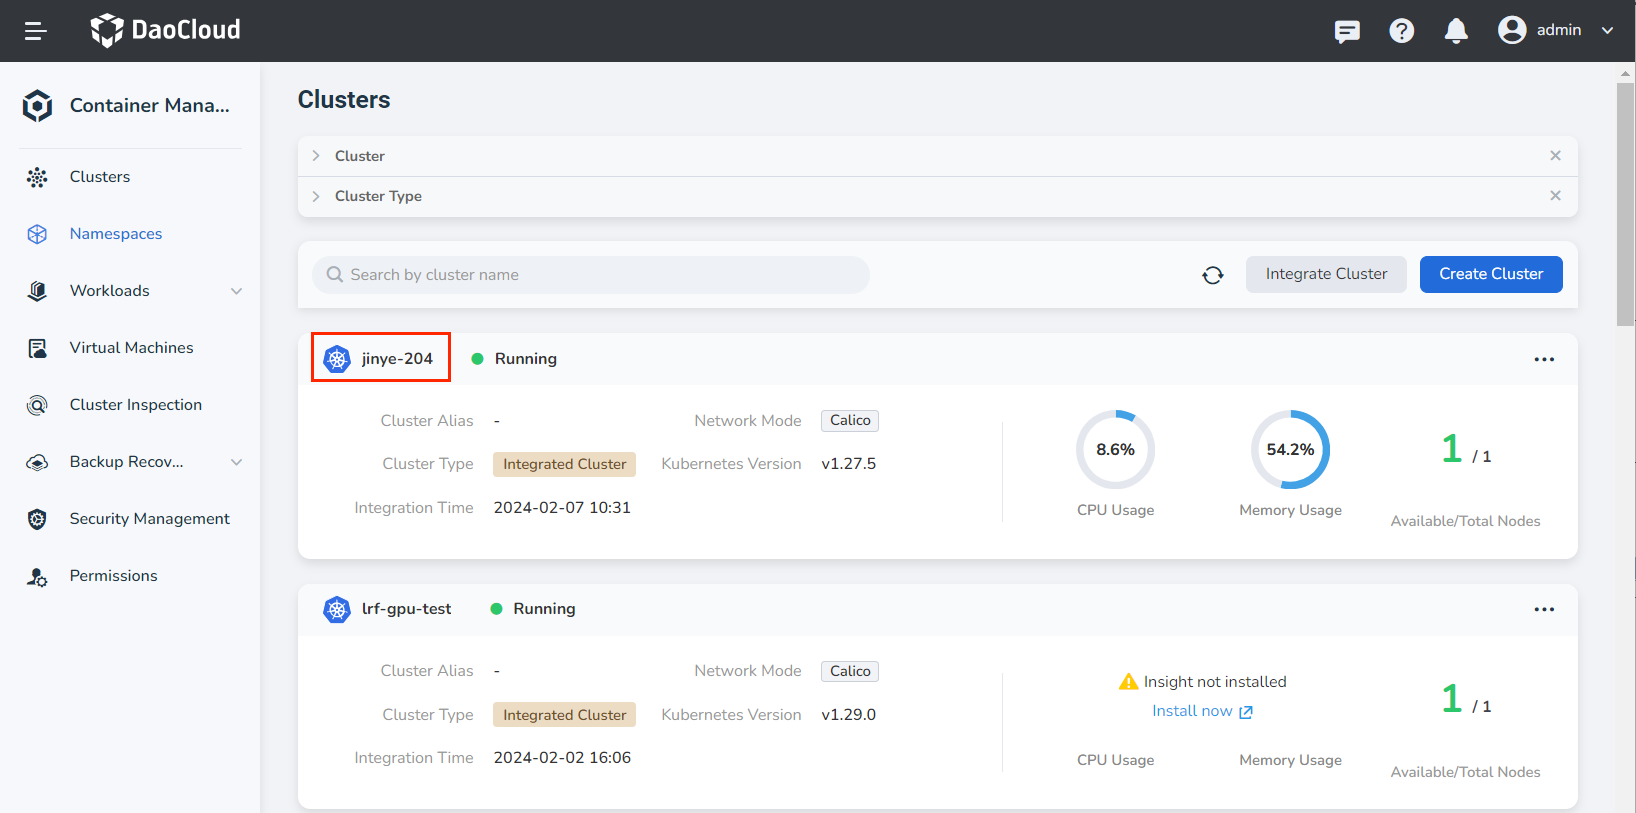
Find the target cluster on the Clusters page, and click the cluster name to enter the Cluster page.
-
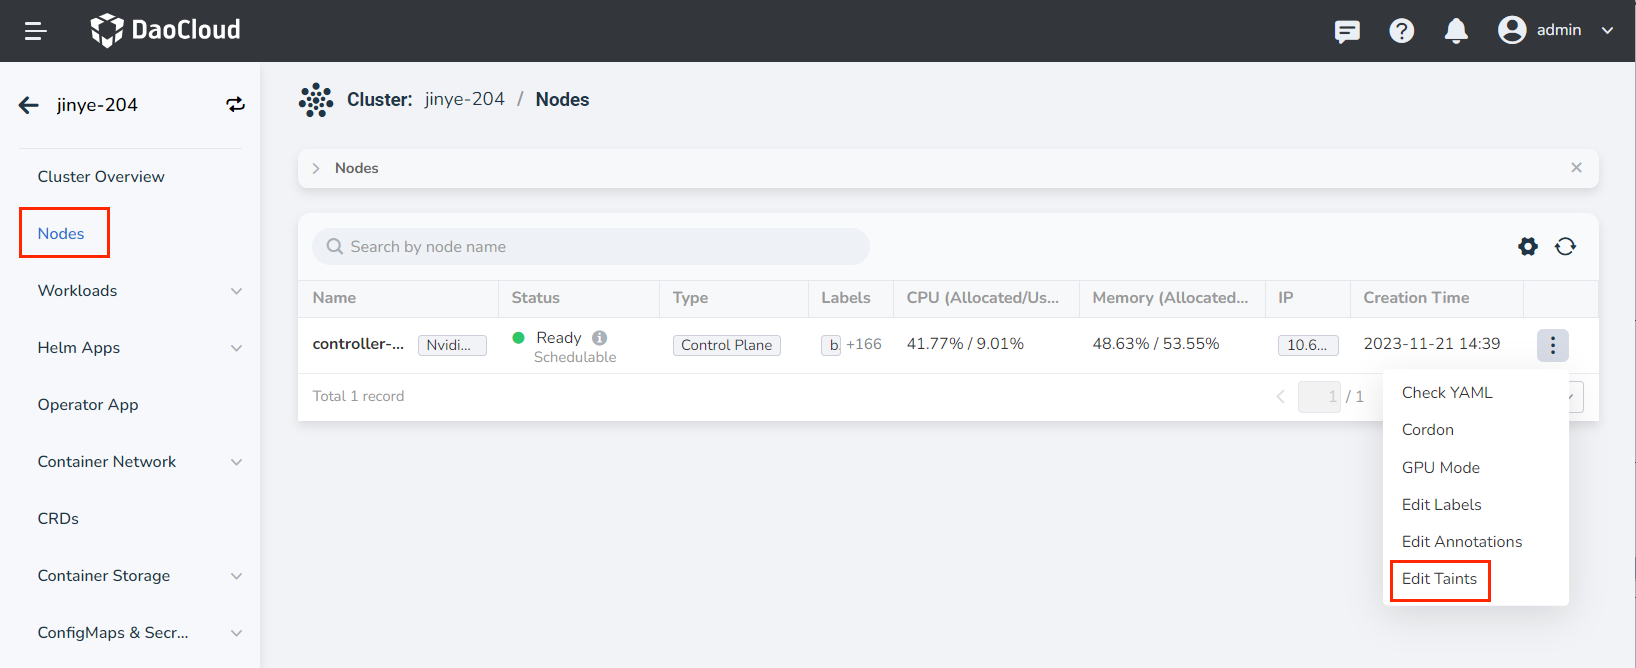
In the left navigation bar, click Nodes , find the node that needs to modify the taint, click the ┇ operation icon on the right and click the Edit Taints button.
-
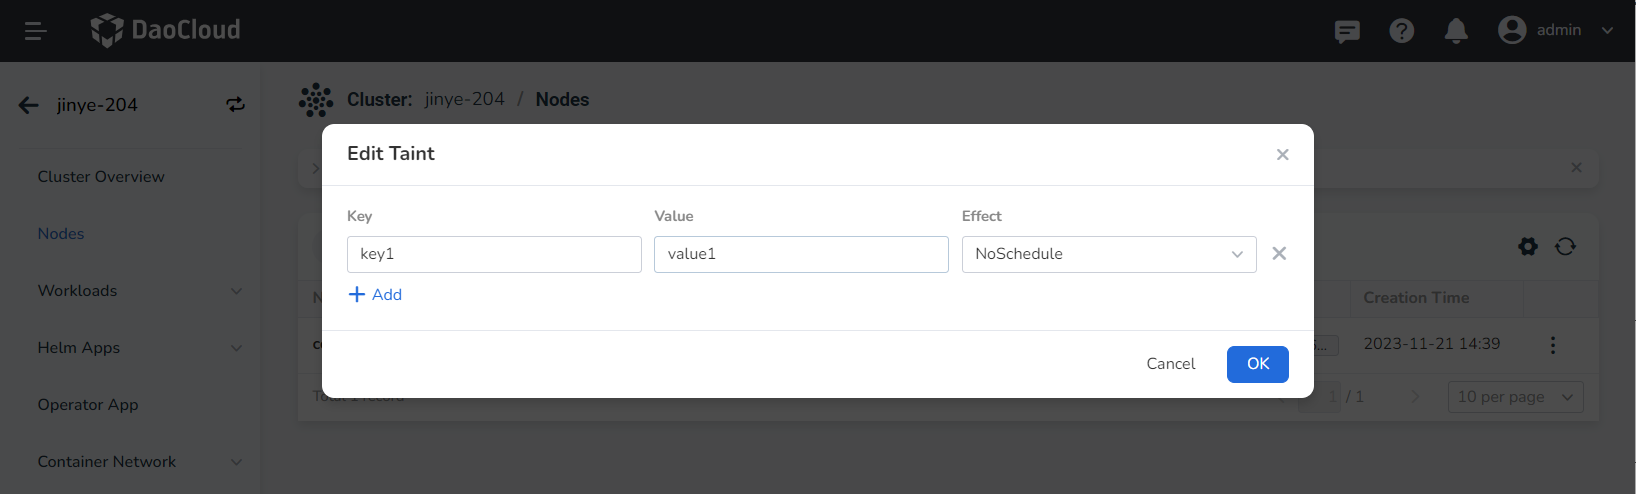
Enter the key value information of the taint in the pop-up box, select the taint effect, and click OK .
Click ➕ Add to add multiple taints to the node, and click X on the right side of the taint effect to delete the taint.
Currently supports three taint effects:
-
NoExecute: This affects pods that are already running on the node as follows:- Pods that do not tolerate the taint are evicted immediately
- Pods that tolerate the taint without specifying
tolerationSecondsin their toleration specification remain bound forever - Pods that tolerate the taint with a specified
tolerationSecondsremain bound for the specified amount of time. After that time elapses, the node lifecycle controller evicts the Pods from the node.
-
NoSchedule: No new Pods will be scheduled on the tainted node unless they have a matching toleration. Pods currently running on the node are not evicted. -
PreferNoSchedule: This is a "preference" or "soft" version ofNoSchedule. The control plane will try to avoid placing a Pod that does not tolerate the taint on the node, but it is not guaranteed, so this taint is not recommended to use in a production environment.
-
For more details about taints, refer to the Kubernetes documentation Taints and Tolerance.