Create an Elasticsearch Instance
In the list of Elasticsearch instances, do the following to create a new instance.
-
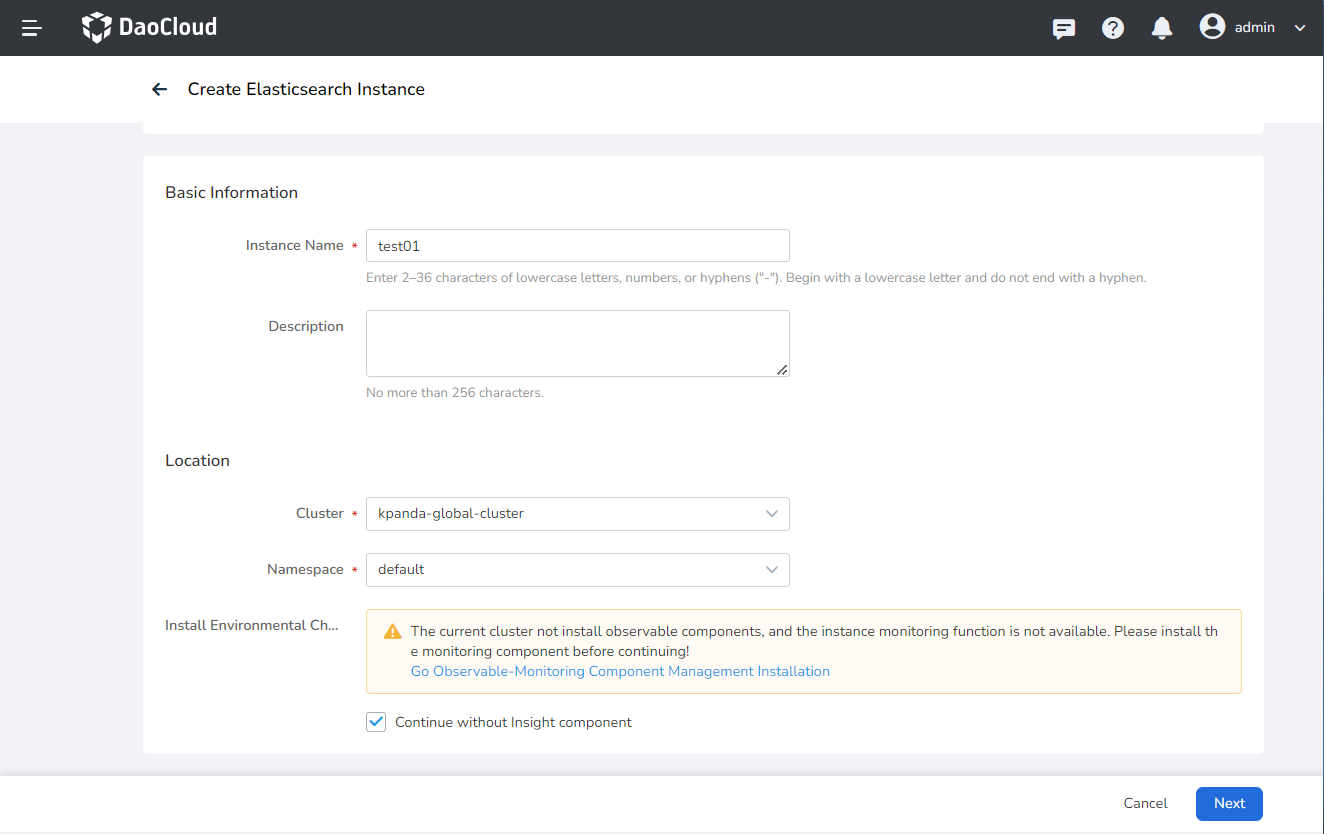
Click New Instance in the upper right corner.
-
Fill in the Basic Information of the instance. After passing the Install Environment Check , click Next .
If the installation environment check is not passed, the page will give the reason for failure and operation suggestions. The common reason is the lack of related components, you can install the corresponding components according to the page prompts.
-
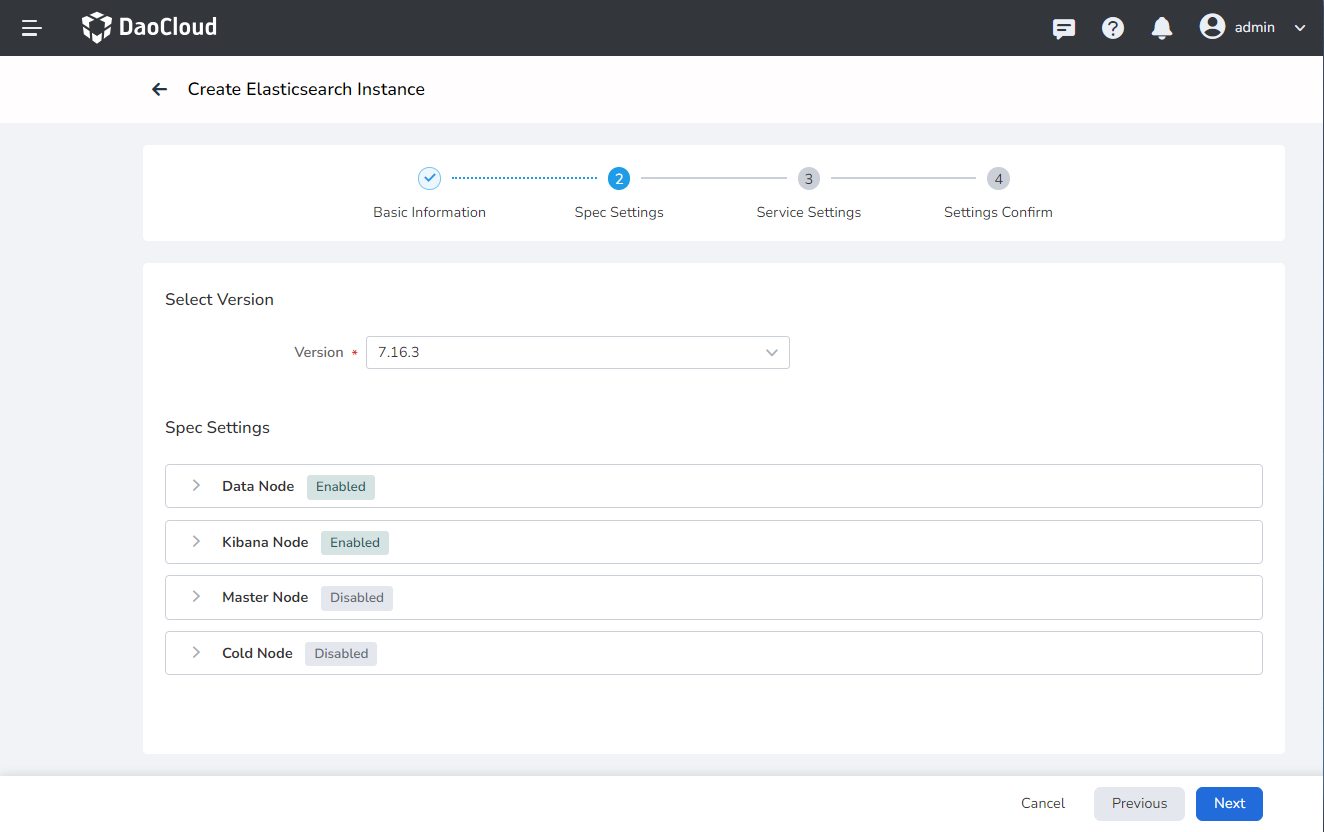
Choose the version: Choose which Elasticsearch version to create the instance based on, currently only supports 7.16.3
-
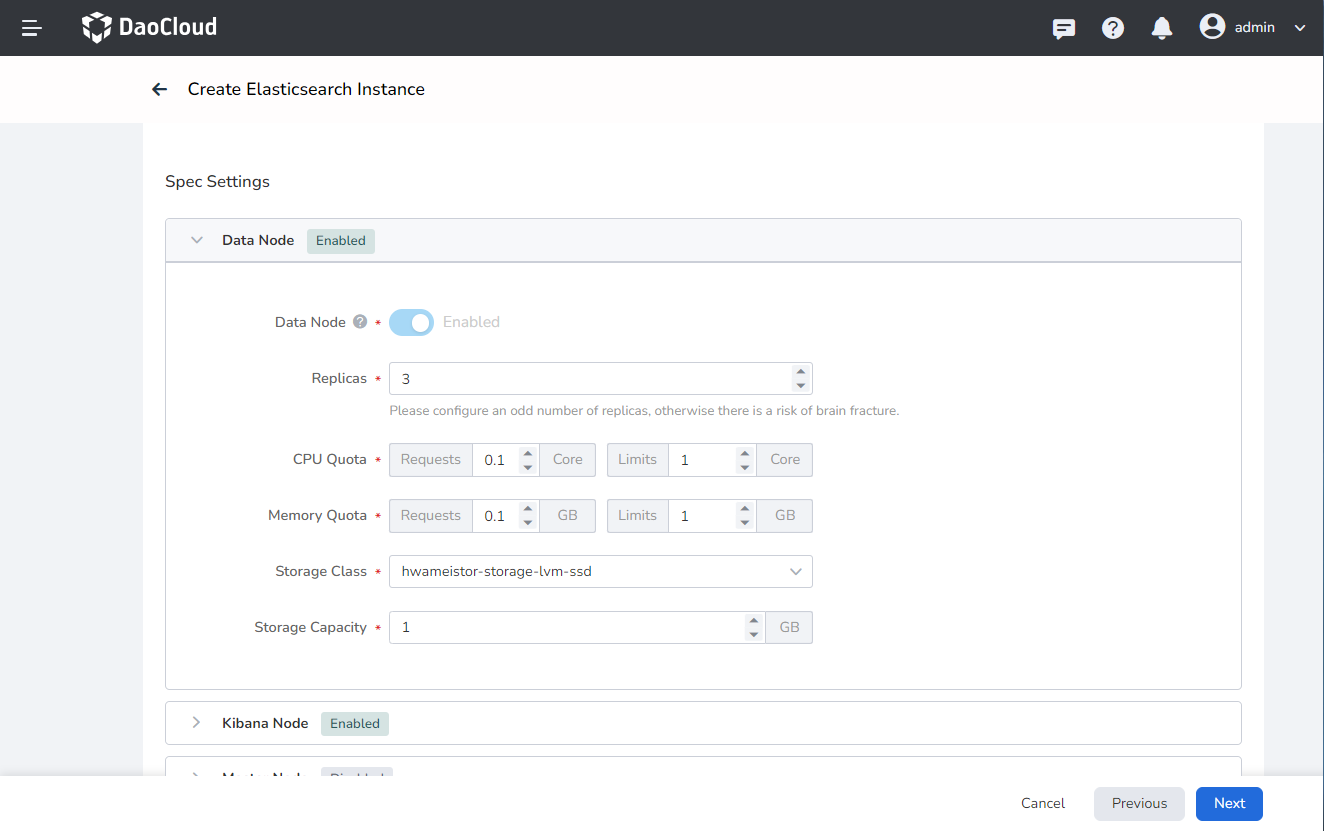
Refer to the following information to fill in the Spec Settings of the instance.
- Used for storing data, performing data-related operations such as adding, deleting, modifying, searching, aggregating, etc. Data nodes require high resources and need to configure sufficient resources.
- If the Dedicated Master Node is not enabled, the Data Node will act as the `Dedicated Master Node.
- At least 1 replica, up to 50 replicas, default 3 replicas.
- It is recommended that the number of replicas is an odd number, otherwise there is a risk of brain split.
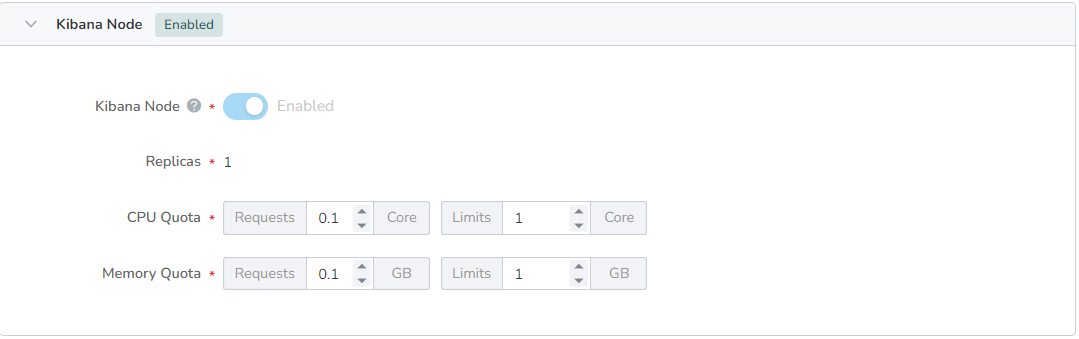
- Kibana is a visualization analysis platform for Elasticsearch, which can search, view data stored in indexes and interact with it.
- The Kibana Node is enabled by default, which is used to store Elasticsearch visualization data nodes.
- Default to 1 replica, cannot be modified.
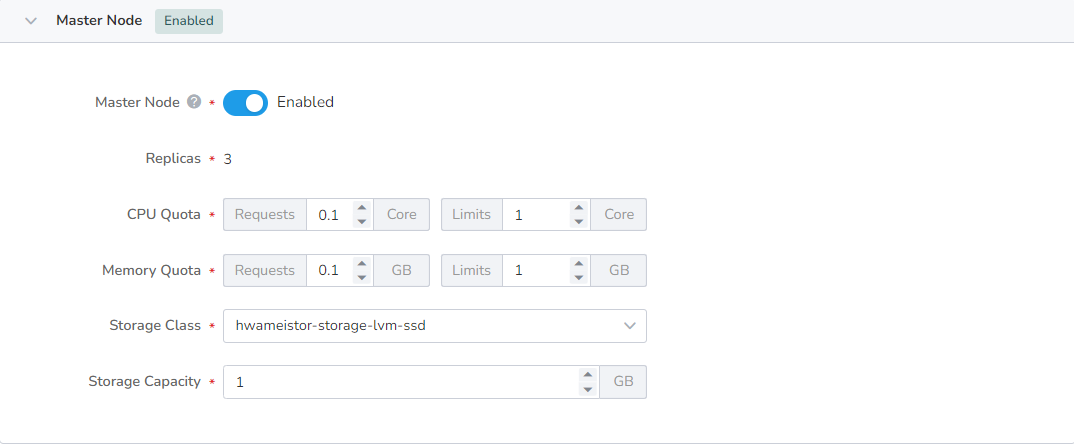
- The master node is responsible for lightweight operations within the cluster, such as creating/deleting indexes, monitoring the status of other types of nodes, deciding how to allocate data shards, etc.
- If the Dedicated Master Node is not enabled, the data node will act as the master node. This may result in a situation where the data node and the master node compete for resources, affecting system stability.
- After enabling the Dedicated Master Node , the master node is separated from the Data Node , which is beneficial to ensure the stability of the service.
- Default 3 replicas, cannot be modified.
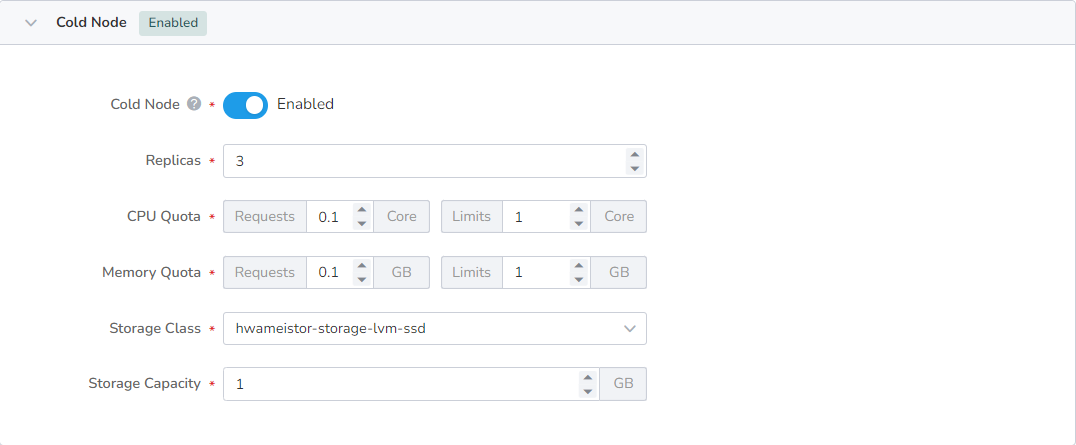
- Stores historical data and other data with low query frequency and basically no need for writing.
- At least 2 replicas, up to 50 replicas, default 3 replicas.
- If there are both "high query frequency/high write pressure" and "low query frequency/basic no write" data in the business, it is recommended to enable the Cold Data Node to achieve cold and hot data separation.
- After enabling the Cold Data Node , the Dedicated Master Node will be automatically enabled.
-
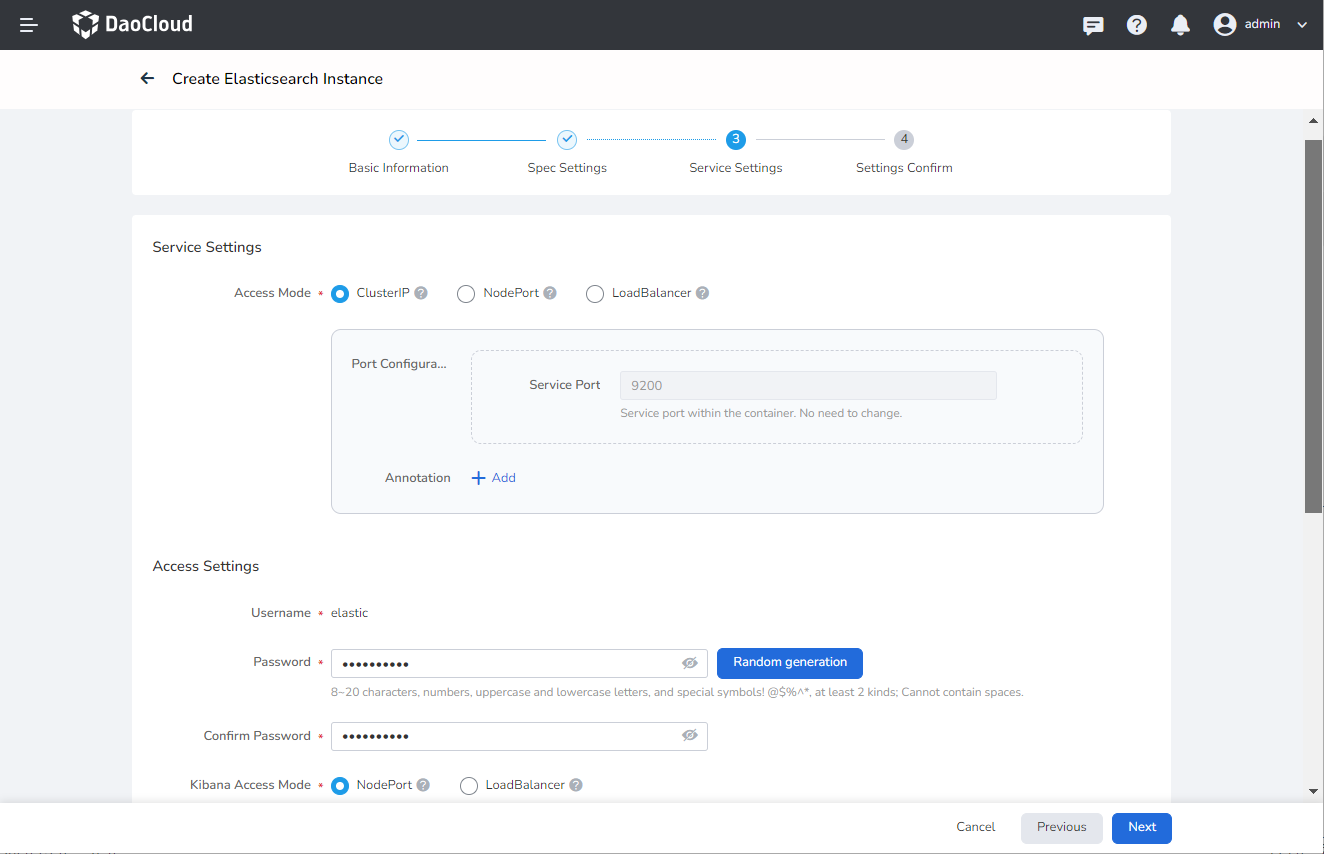
Refer to the following instructions to fill in Service Settings
- Access Mode: The type of Service corresponding to the Elasticsearch instance. For detailed explanations of various types, you can refer to Service type
- Access Settings: The username and password for accessing the Elasticsearch instance, and the access type of Kibana.
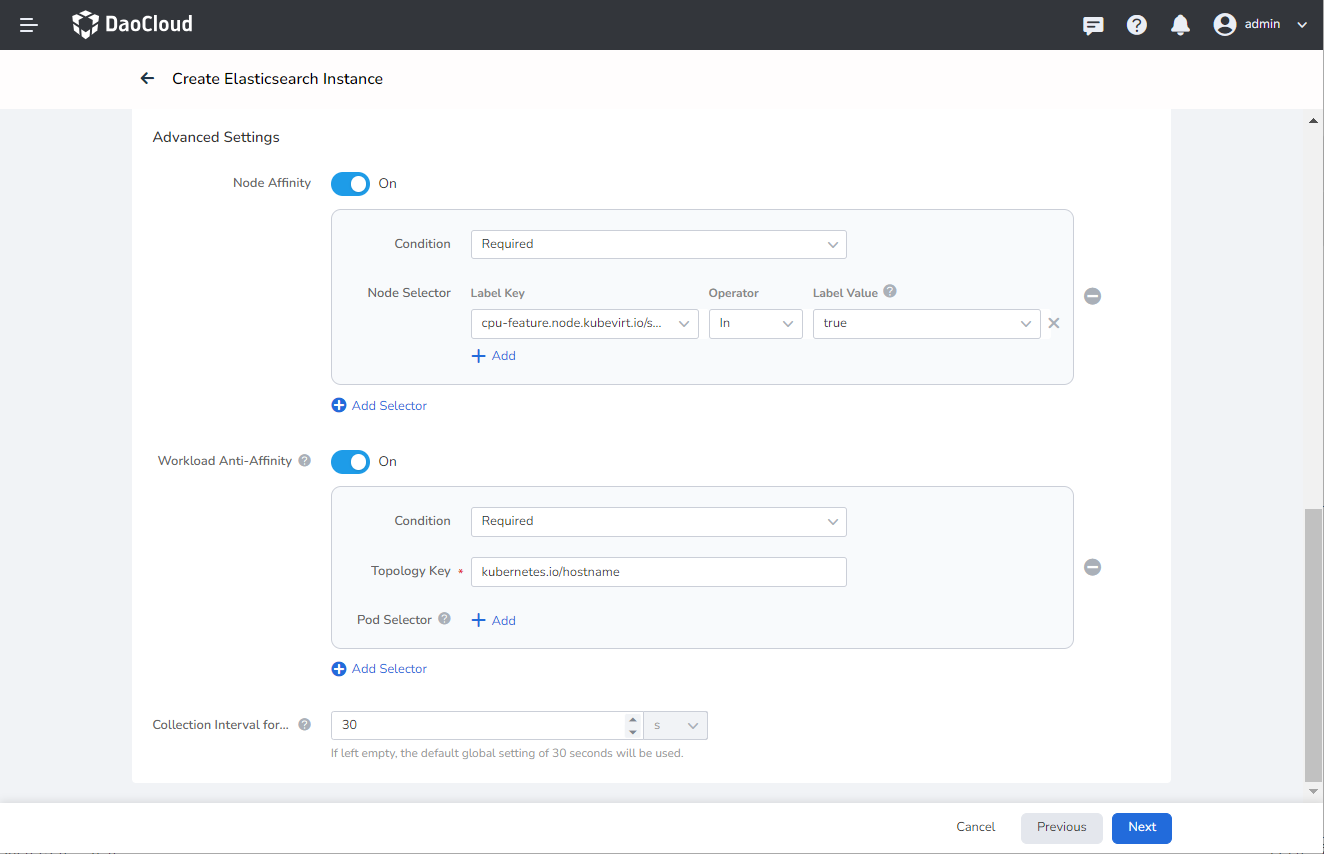
- Node Affinity: After enabling, the Elasticsearch instance can only be scheduled to nodes with specific labels.
- Workload Anti-Affinity: Distribute the Pods under the workload to multiple nodes within the topological domain (the scope of the anti-affinity effect) according to the anti-affinity, to avoid multiple Pods being centrally scheduled to a certain node, causing node overload. Related video tutorials can refer to Workload Anti-affinity
- Collection Interval for Monitoring: The data collection interval for instance monitoring. If not set, the global setting will be used. The default is 30s.
-
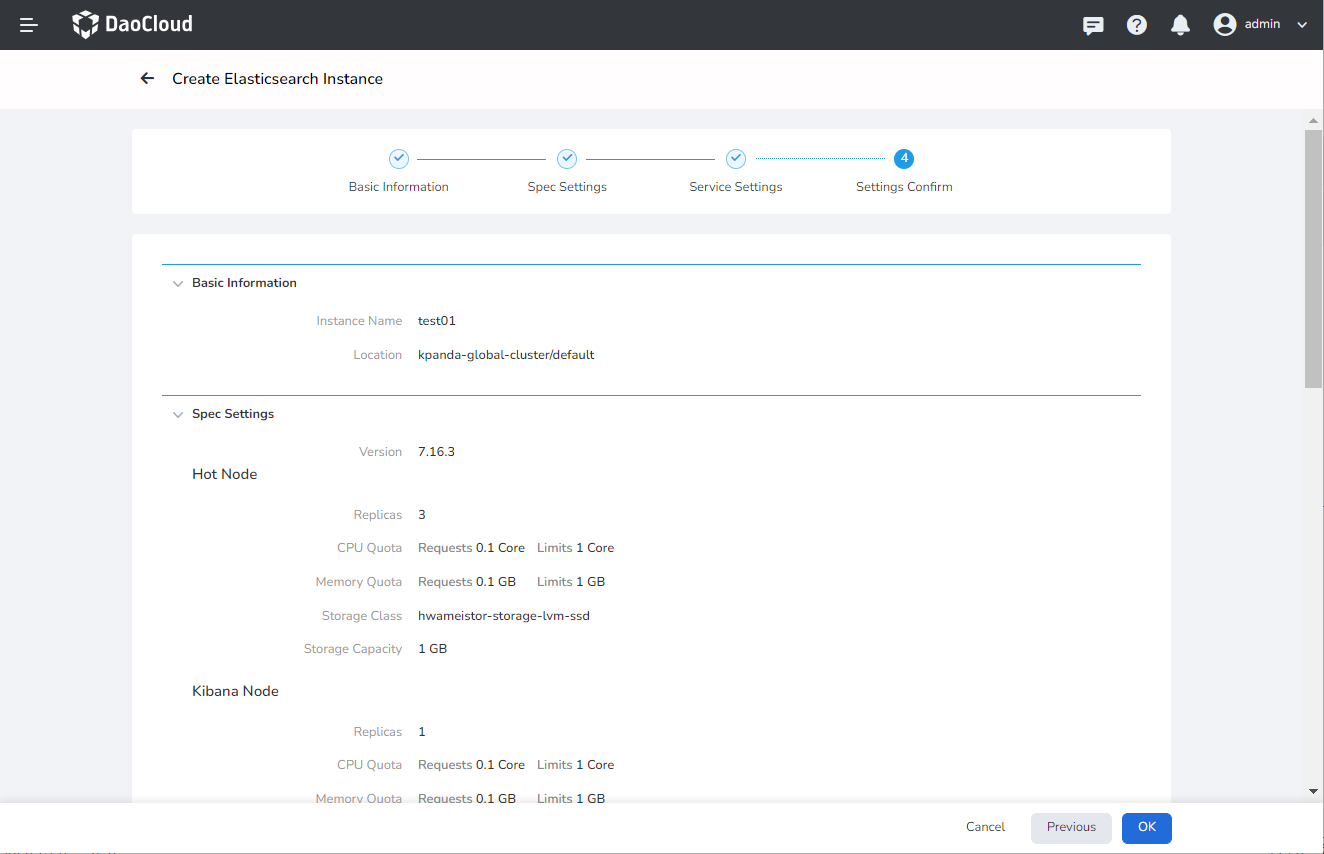
Check the information filled in, confirm that it is correct and click OK . If you need to modify, you can click Previous to return to modify the configuration.
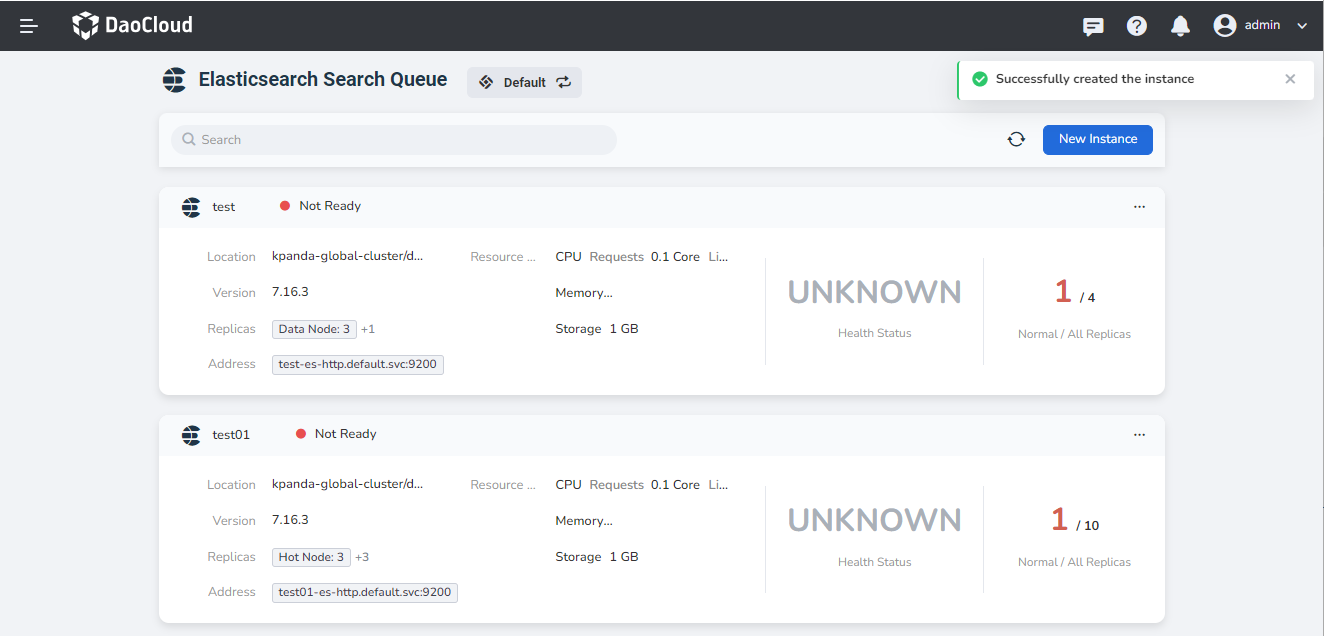
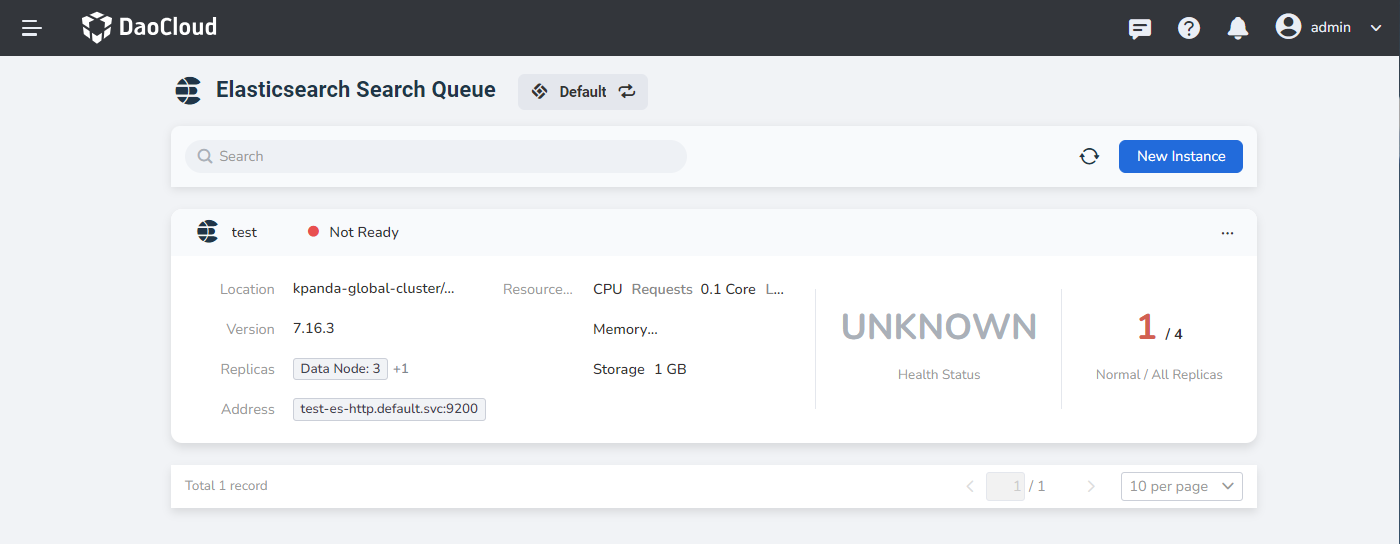
After the instance is successfully created, the page will automatically jump to the Elasticsearch instance list, where you can view the basic information and status of all instances.