Create RocketMQ Instance
This page explains the steps to create a RocketMQ instance.
-
From the left navigation bar, select Middleware -> RocketMQ Message Queue .

-
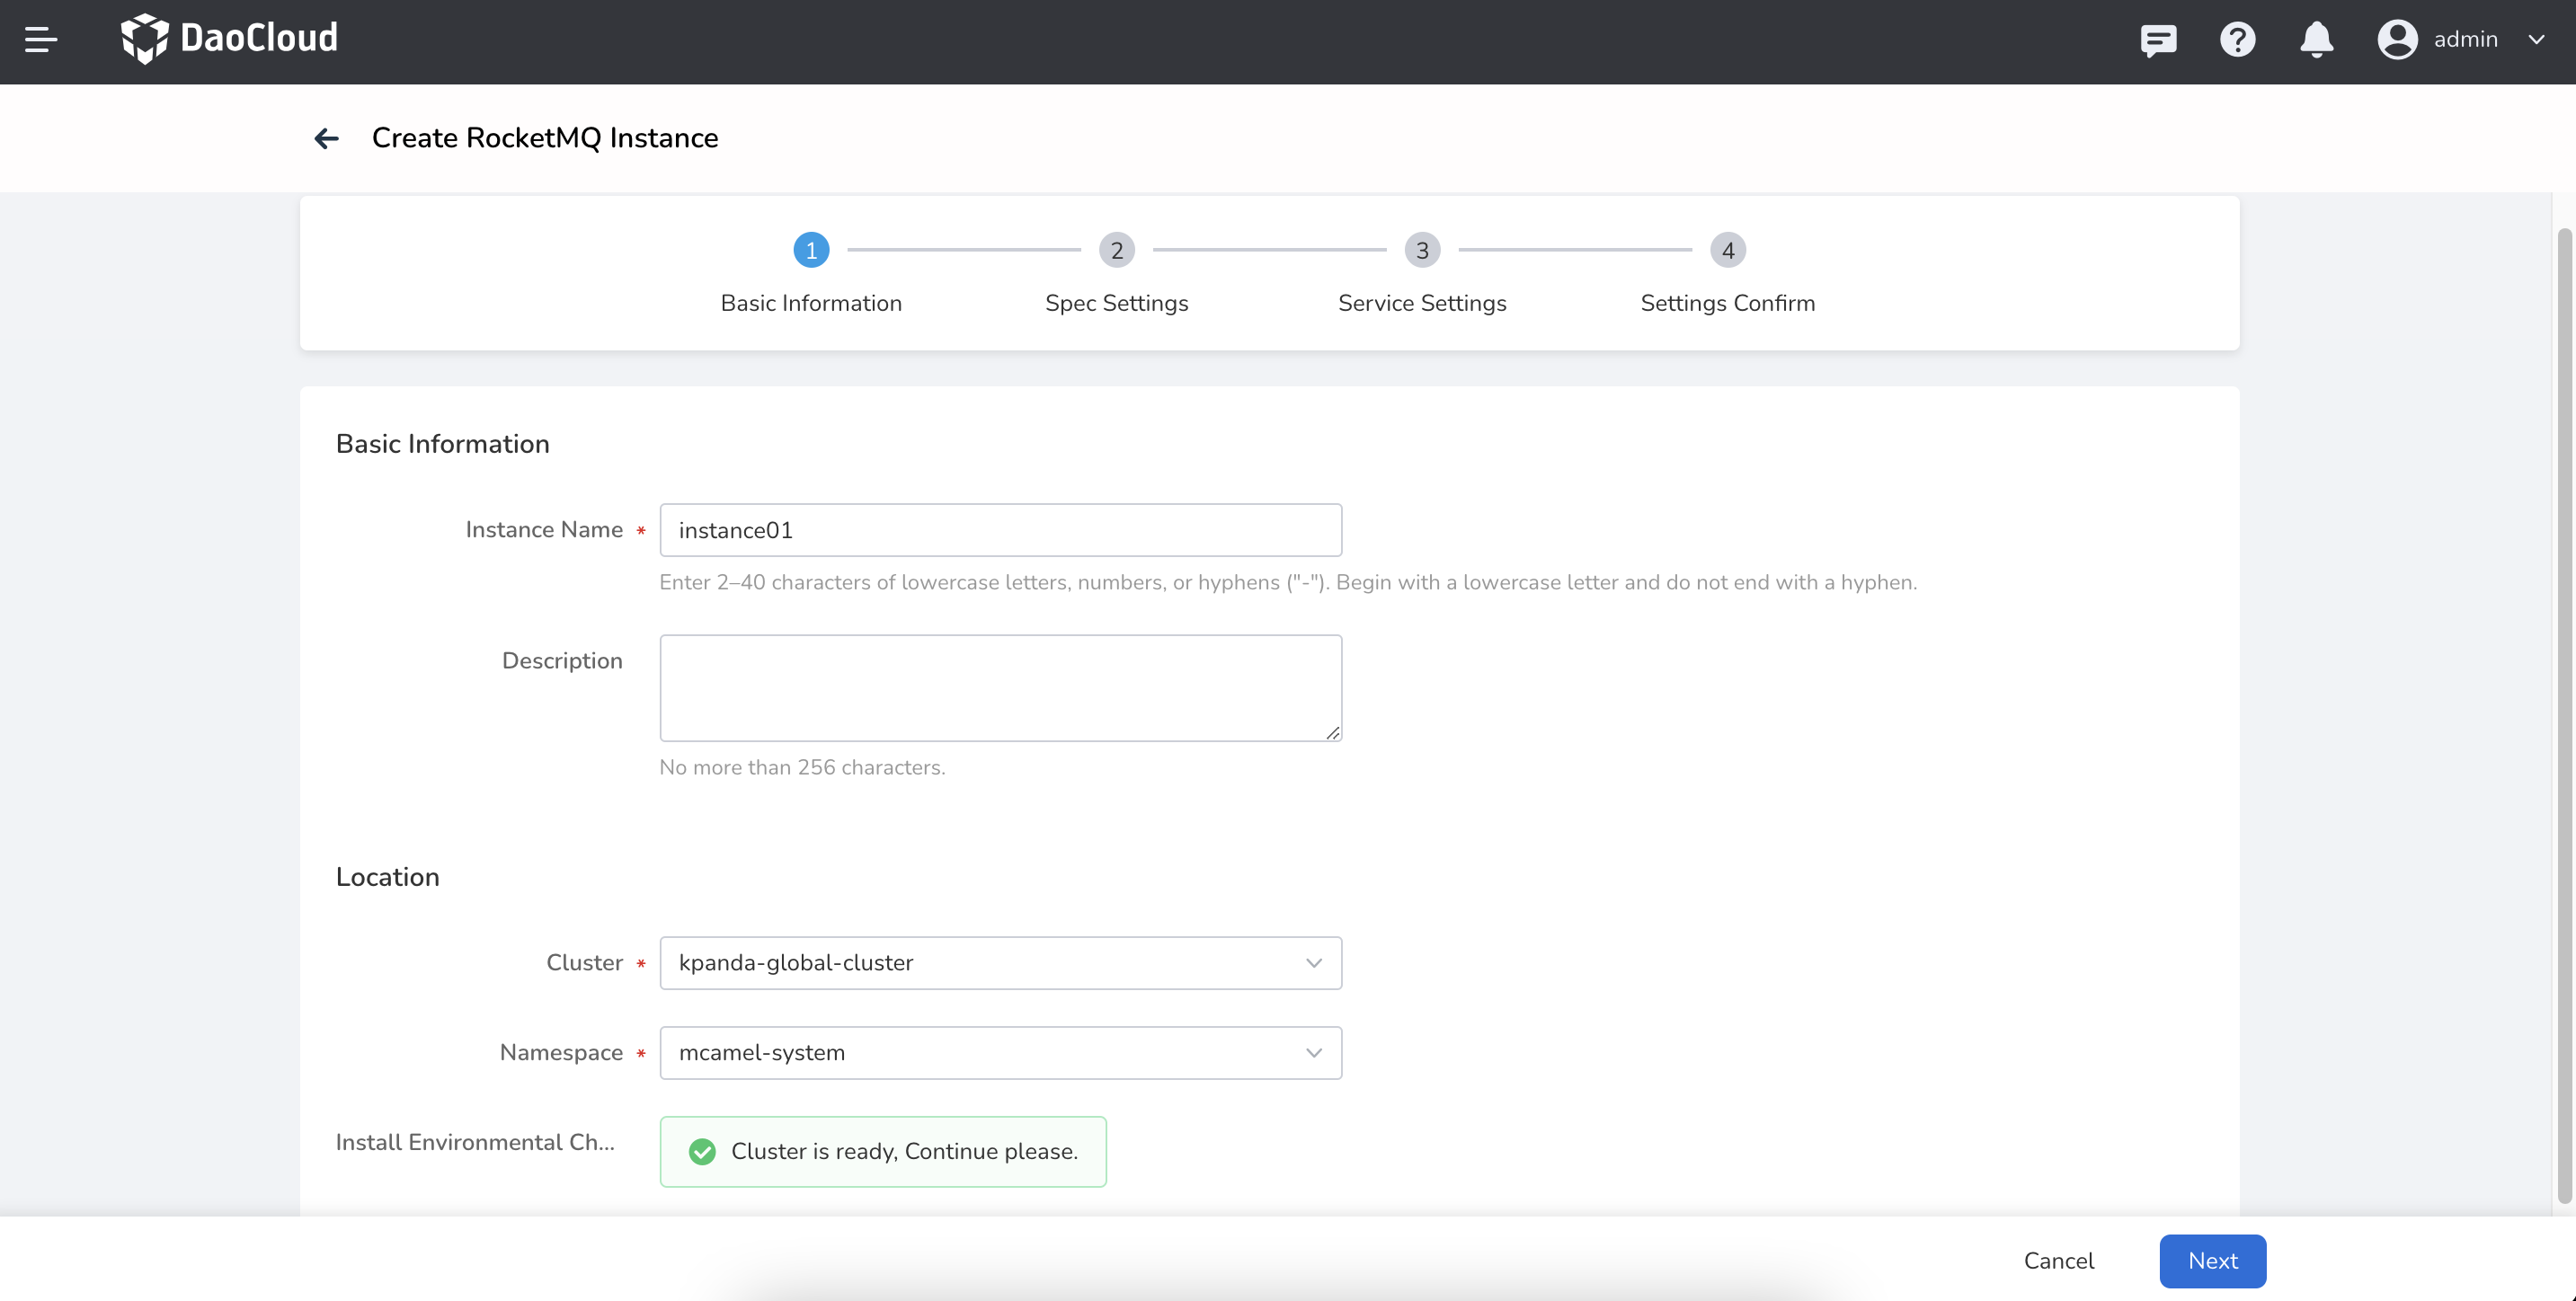
Enter the target workspace and click New Instance .
- Instance Name: 2-40 characters, can only contain lowercase letters, numbers, and hyphens ("-"), and must start with a lowercase letter and end with a letter or number.
- Cluster / Namespace: Choose the location where the instance will be deployed.
- Installation Environment Check: If the installation environment check fails, you need to install the components as prompted before proceeding to the next step.
-
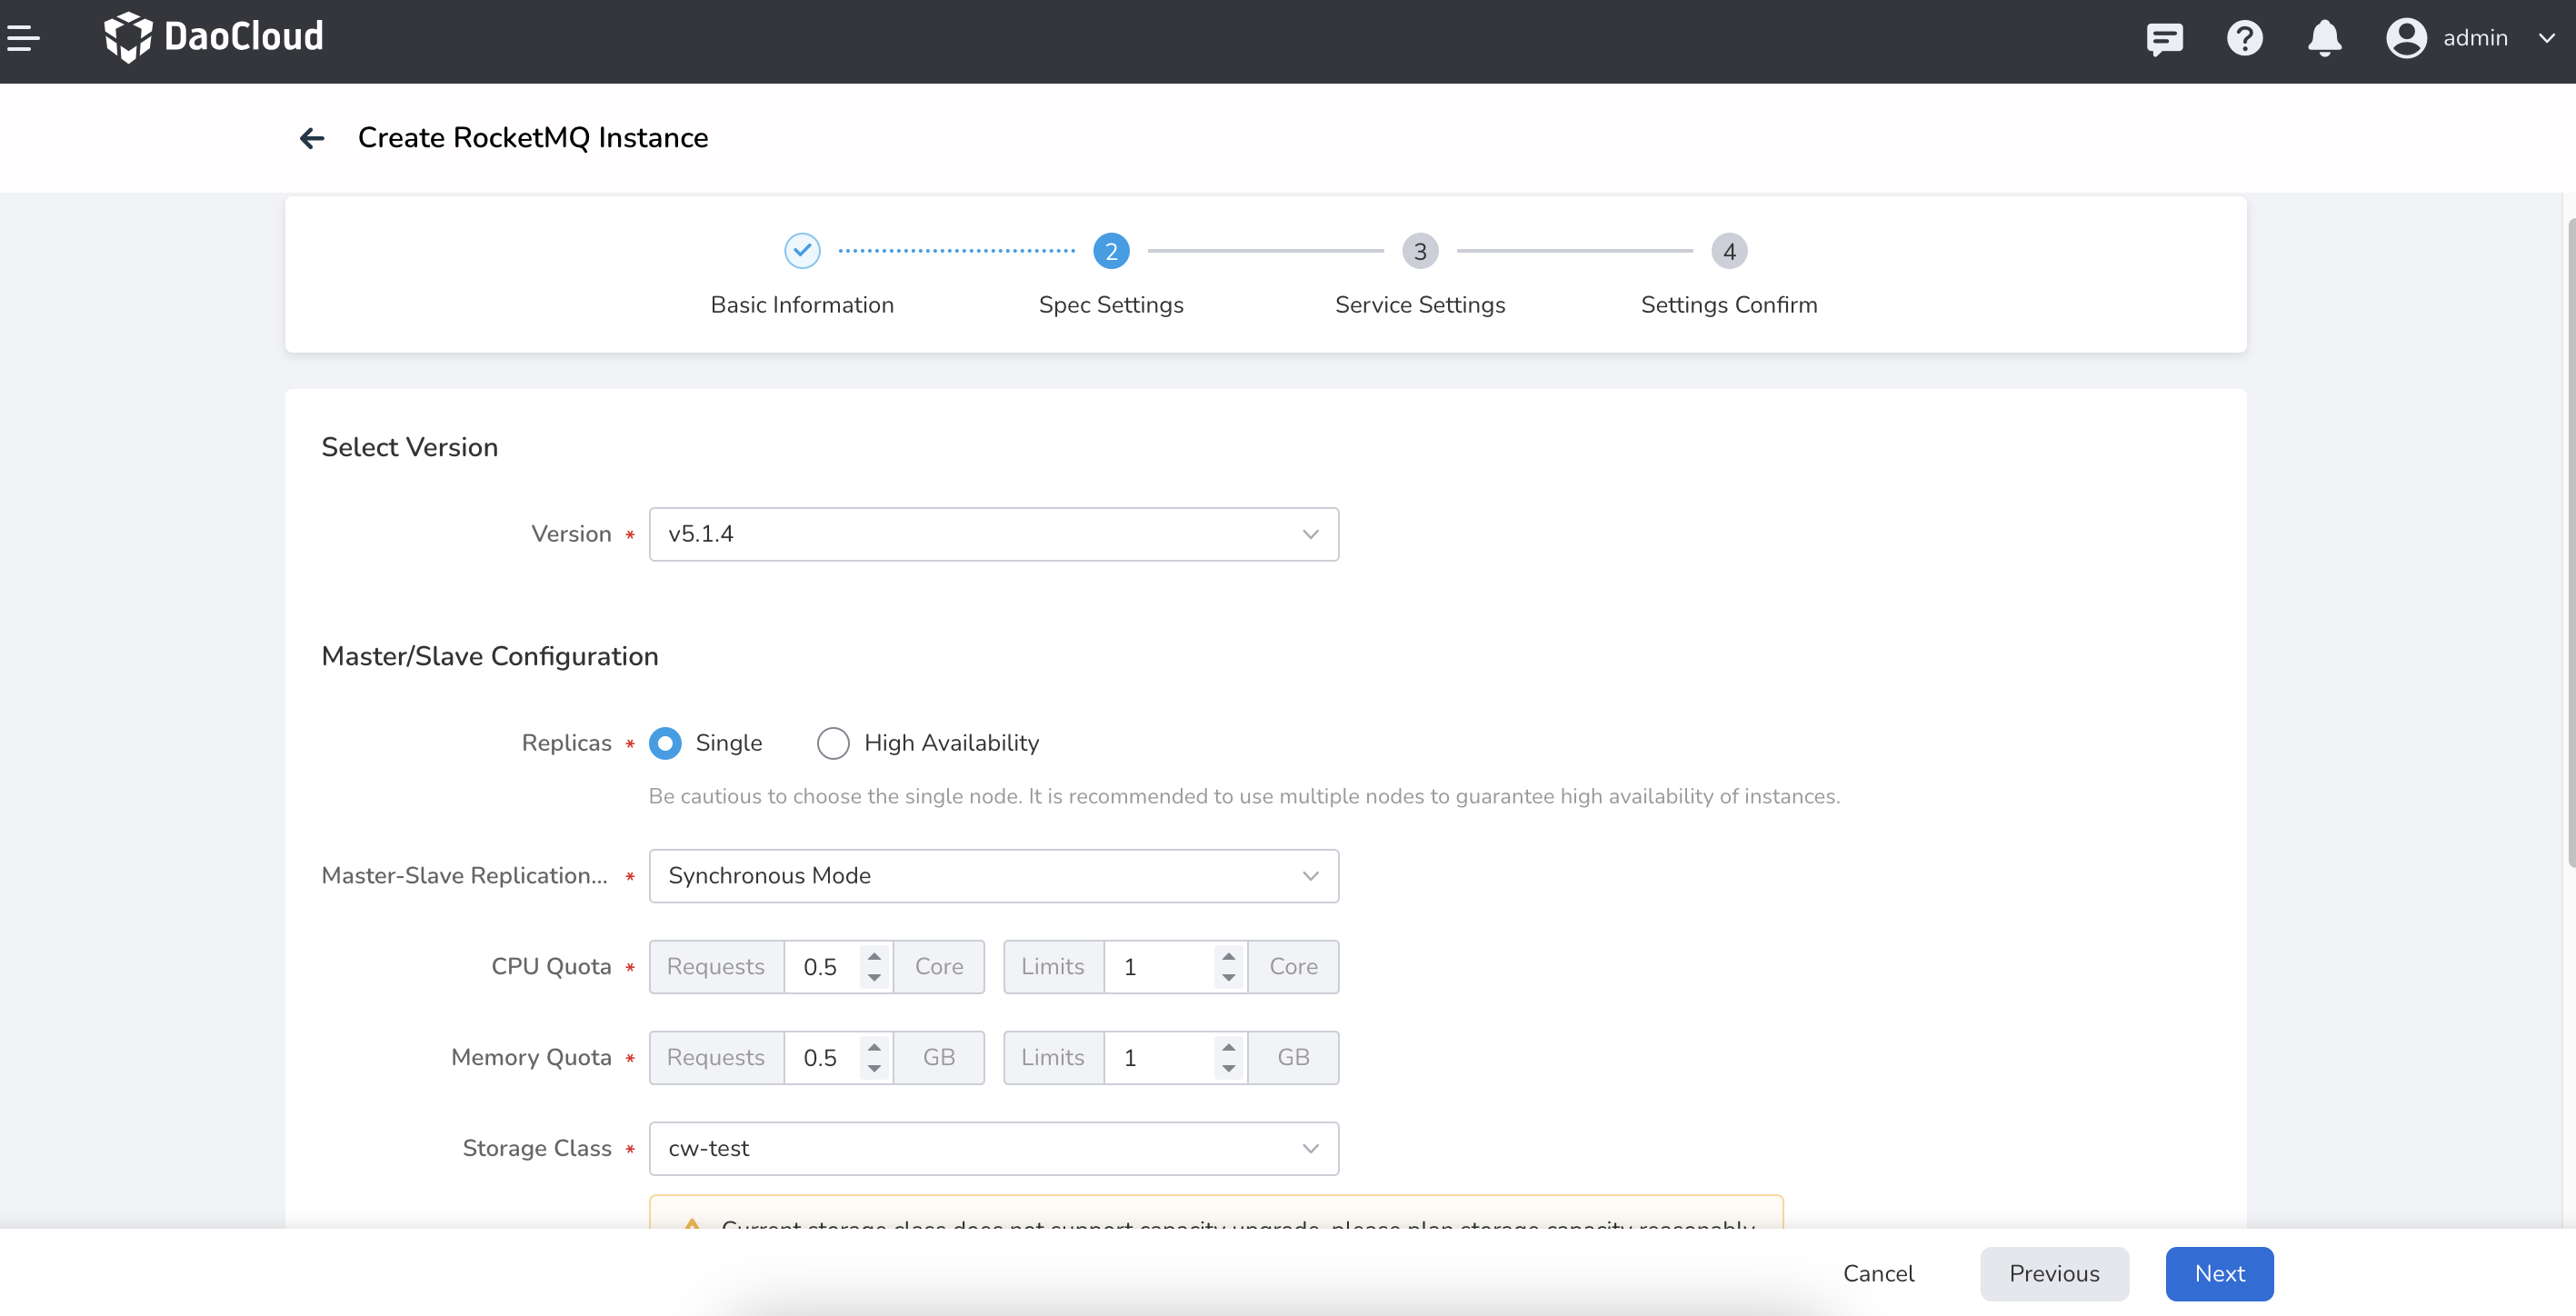
Fill in the spec settings below, then click Next .
- Deployment mode cannot be changed after instance creation.
- It is recommended to use a high-availability deployment mode in production mode.
- At least 4 replicas are required in high-availability mode.
- Storage Class: The selected storage class should have sufficient available resources, otherwise, instance creation may fail due to resource insufficiency.
- Storage Capacity: How much capacity each disk has. It cannot be reduced after instance creation.
- Disks per Replica: How many secondary disks are provided for each replica. It cannot be reduced after instance creation.
-
Fill in the service settings below, then click Next .
- Cluster Internal Access: Service can only be accessed within the same cluster.
- Node Port: Access the service through the node's IP and static port, supporting access from outside the cluster.
- Load Balancer: Use the cloud service provider's load balancer to make the service publicly accessible.
- Load Balancer/External Traffic Strategy: Specify whether the service routes external traffic to a node locally or within the cluster.
- Cluster: Traffic can be forwarded to Pods on other nodes in the cluster.
- Local: Traffic can only be forwarded to Pods on the local node.
- Console Account: Username and password required to access this newly created instance.
-
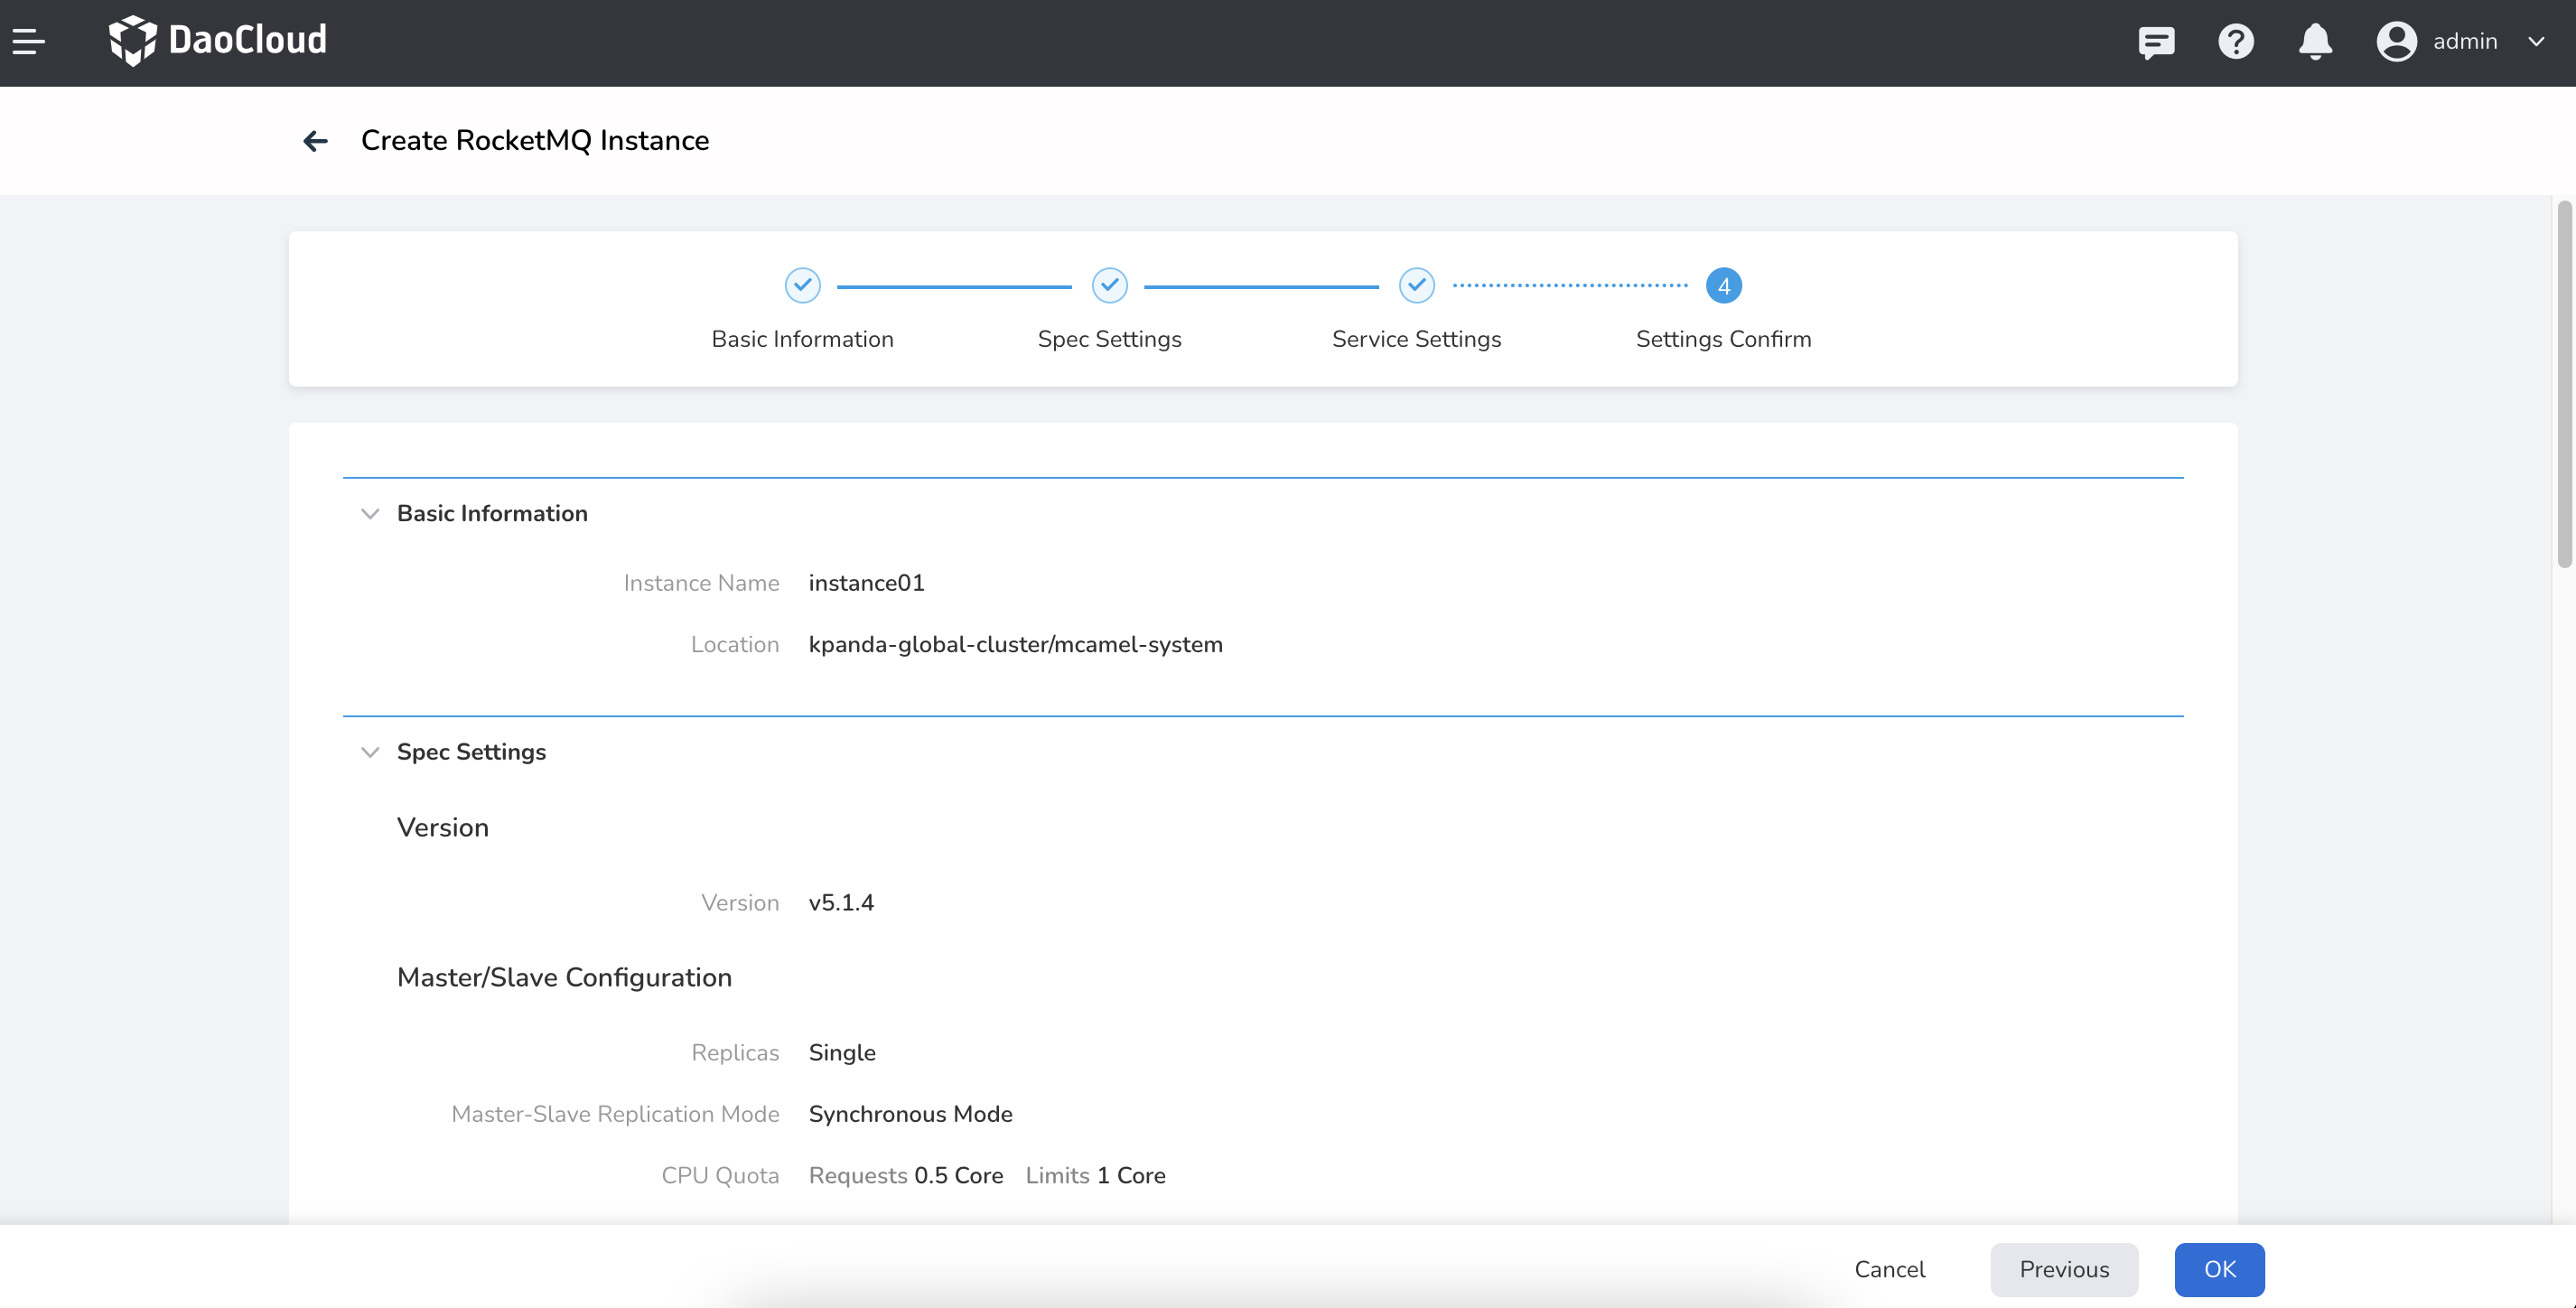
Confirm that the instance configuration information is correct, then click OK to complete the creation.
-
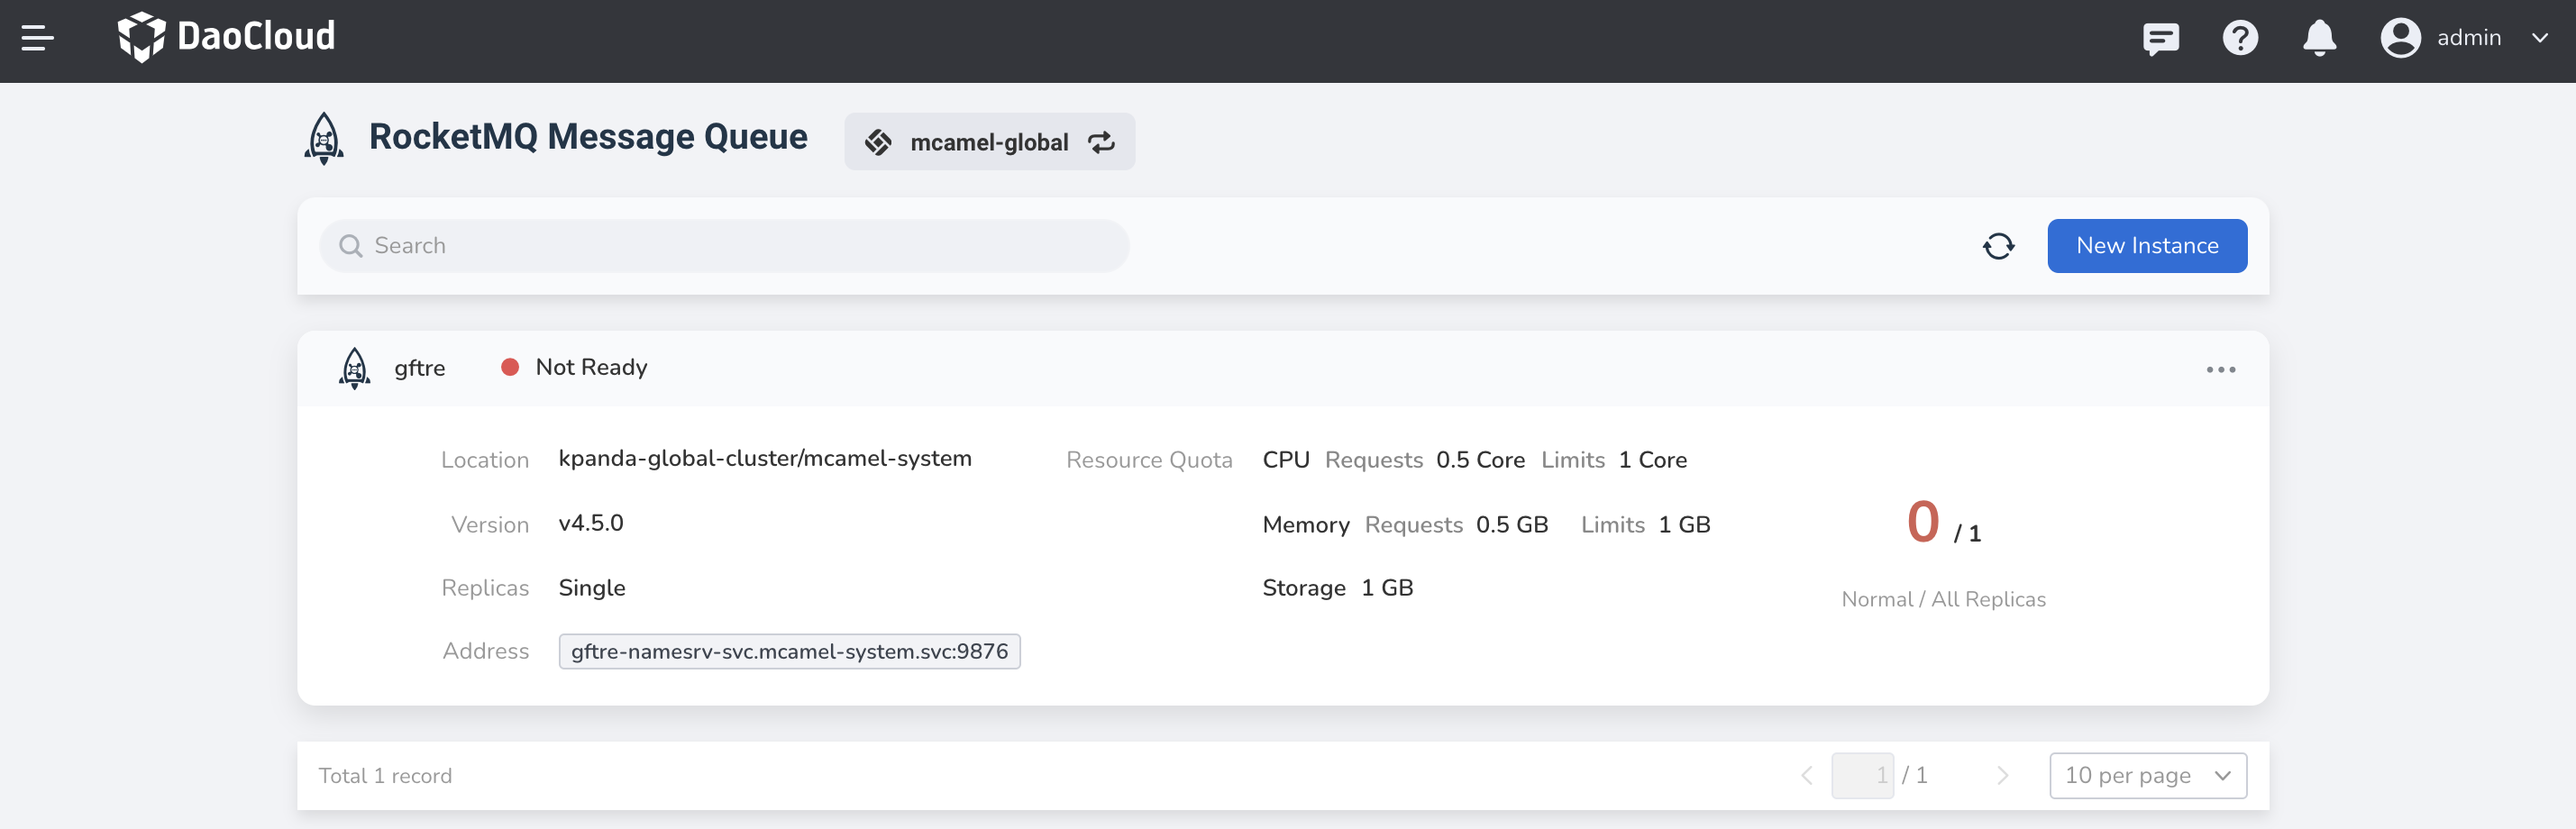
Return to the instance list page to check if the instance was created successfully.
The status of the instance being created is Not Ready, and it will change to Running once all related containers have successfully started.