Microservice Gateway Access to Authentication Server
The microservice gateway supports integration with third-party authentication servers.
Prerequisites
Select an Authentication Server
Default Authentication Server
-
Clone the authentication server's code template to your local machine.
-
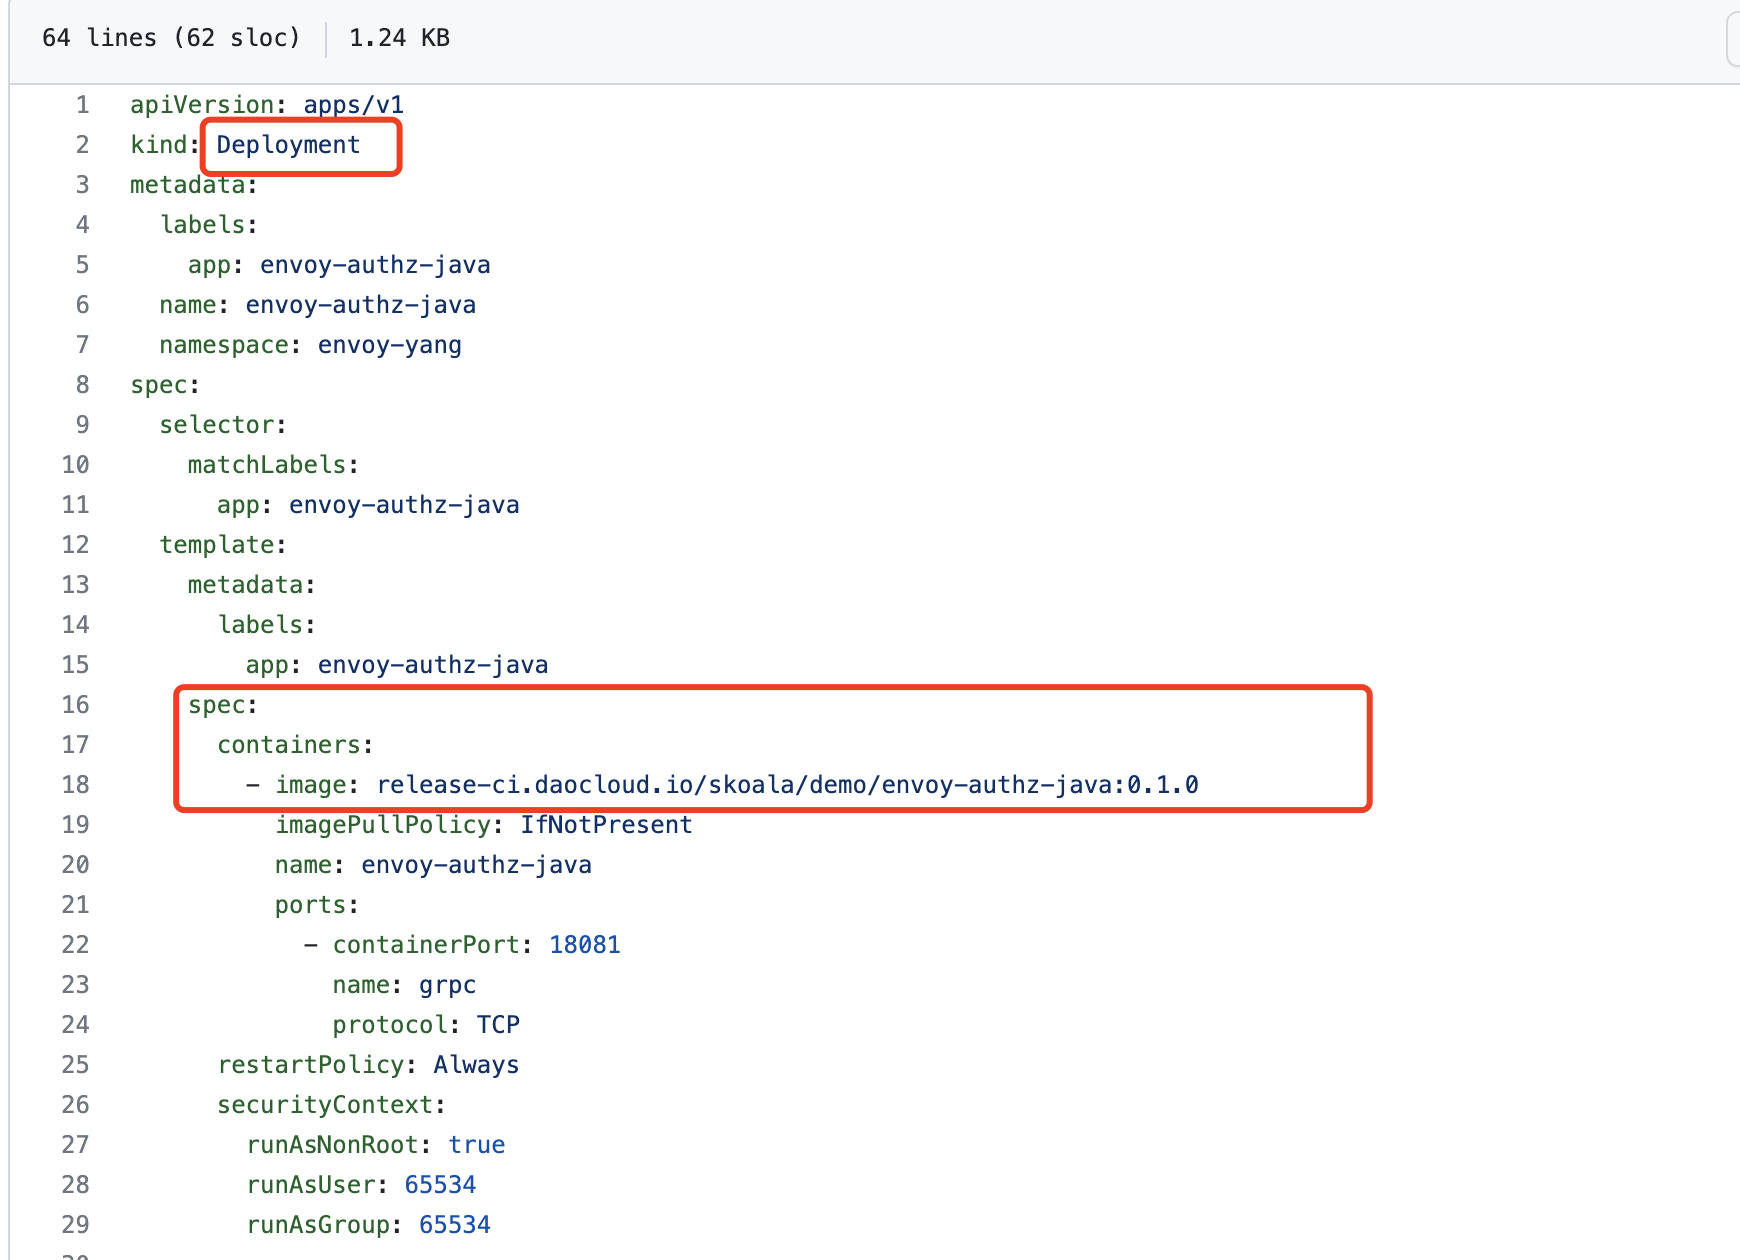
Use envoy-authz-java.yaml and the default image in the repository.
The default image is release.daocloud.io/skoala/demo/envoy-authz-java:0.1.0
-
The template performs simple path-based authorization, allowing access only to the
/path and denying access to other paths.
Custom Authentication Server
-
Clone the authentication server's code template to your local machine.
This project has two submodules:
- The API module defines Envoy's
protobuffiles (no need to modify) - The authz-grpc-server module handles the authentication logic of the server (customize the authentication logic here)
- release.daocloud.io/skoala/demo/envoy-authz-java:0.1.0
- The API module defines Envoy's
-
Compile the API module using the following command to resolve any missing dependencies.
-
After successful compilation, write your custom authentication logic in the check method.
- The check method is located in
envoy-authz-java/authz-grpc-server/src/main/java/envoy/projectsesame/io/authzgrpcserver/AuthzService.java - The template performs simple path-based authorization, allowing access only to the
/path and denying access to other paths.
- The check method is located in
-
After writing the code, package the server into a Docker image.
The Dockerfile is already available in the code template repository, which can be used to build the image.
-
Update the image address in the envoy-authz-java.yaml file under Deployment in the spec/template/spec/containers/image field.
Integrate Authentication Server
-
Create the following resources within the cluster where the gateway is located. Use the
kubectl applycommand to quickly create the following three resources based on the envoy-authz-java.yaml file:- Authentication Server Deployment
- Authentication Server Service
- Authentication Server ExtensionService
-
Integrate an Auth plugin in the Plugin Center.
Fill in the access address with the application deployed in step 1 and ensure that the application uses the GRPC protocol.
Configure Authentication Server
Configure Gateway
Note
Both HTTP and HTTPS domains support secure authentication. If using HTTPS domains, ensure that the gateway is configured for HTTPS.
-
Configure the authentication server in the gateway.
-
Create an
HTTPorHTTPSdomain. For example, when creating an HTTP domain, the domain is automatically configured for secure authentication and cannot be disabled. -
Create an API under the gateway, associate it with the newly created domain, set the path match to
/, and deploy the API. By default, the API inherits the domain's security authentication configuration, but you can customize the plugin's activation and additional parameters. -
You can now access this API through the authentication server.
-
Access
/.The response should indicate successful access.
-
Access
/test1.The response should indicate access denied.
-
Configure Domain or API
Note
Only HTTPS domains support secure authentication. Ensure that the gateway is configured for HTTPS.
-
Create an
HTTPSdomain and manually configure secure authentication. -
Create an API under the gateway, associate it with the newly created domain, set the path match to
/, and deploy the API. By default, the API inherits the domain's security authentication configuration, but you can customize the plugin's activation and additional parameters. -
You can now access this API through the authentication server.
-
Access
/.The response should indicate successful access.
-
Access
/test1.The response should indicate access denied.
-