基于流水线和 GitOps 实现 CI/CD
本文介绍如何基于应用工作台的流水线与 GitOps 功能实现 CI/CD。
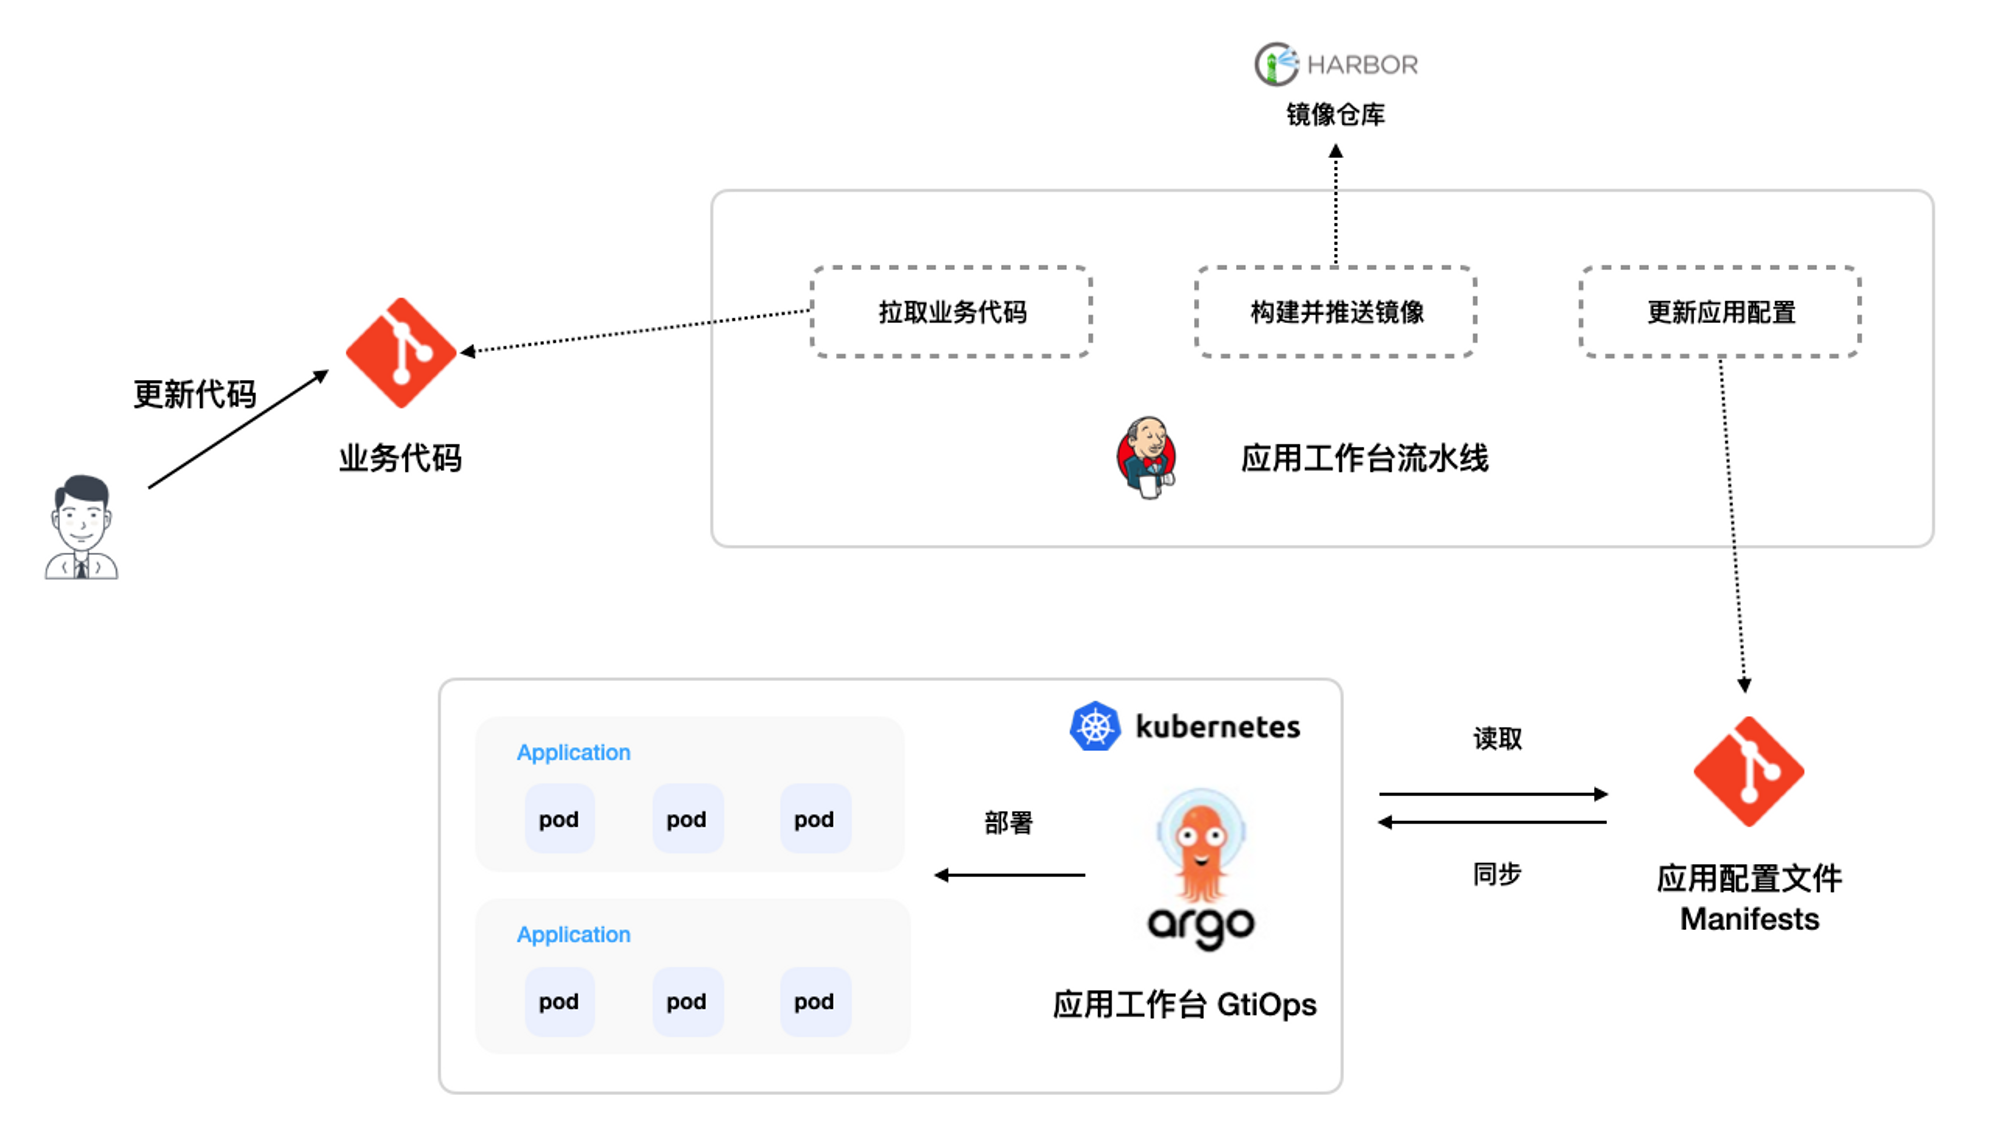
整体流程
前提条件
基于整体流程,我们需要准备如下信息:
-
准备两个代码仓库,其中一个作为存业务代码的仓库,一个作为应用的配置文件(yaml)仓库。在这个例子中为了方便我们放在同一个仓库中不同目录下:
-
准备一个 Harbor 镜像仓库
-
准备访问上述三个仓库的凭证。此教程中使用的三个凭证分别命为 git-credentials、git-app-credentials、harbor-credentials
创建流水线
此教程主要包含的步骤有:拉取业务代码 -> 构建镜像 -> 更新应用配置文件
当 更新应用配置文件 步骤执行成功后,Argo CD 会监测变化,并会触发更新同步最新的配置文件部署到集群中。
-
创建流水线的步骤可以参考创建流水线。
-
创建成功后,选择该流水线操作: 编辑 Jenkinsfile
点击查看流水线 Jenkinsfile 样例文件
pipeline {
  agent {
    node {
      label 'base'
    }
  }
  environment {
    SOURCE_REPO          = '<https://github.com/amamba-io/amamba-examples.git>'
    SOURCE_CREDENTIAL_ID = '<source-credential-id>'
    DEPLOY_REPO          = 'github.com/amamba-io/amamba-examples.git'
    DEPLOY_CREDENTIAL_ID = '<deploy-credential-id>'
    DEPLOY_PATH          = 'plain-yaml'
    DOCKERFILE_ROOT      = 'guestbook-go'
    DOCKER_REPO          = 'docker.io/amambadev/guestbook'
    DOCKER_CREDENTIAL_ID = '<docker-credential-id>'
  }
  stages {
    stage('git clone') {
      steps {
        git(branch: 'main', credentialsId: "${SOURCE_CREDENTIAL_ID}", url: "${SOURCE_REPO}")
        script {
            env.COMMIT_ID = sh(script: 'git rev-parse --short=8 HEAD',
                                returnStdout: true).trim()
            echo "commit id: ${COMMIT_ID}"
        }
      }
    }
    stage('build & push') {
      steps {
        container('base') {
          withCredentials([usernamePassword(passwordVariable:'PASS',usernameVariable:'USER',credentialsId:"${DOCKER_CREDENTIAL_ID}")]) {
            sh 'docker login ${DOCKER_REPO} -u $USER -p $PASS'
            sh 'docker build -f Dockerfile -t ${DOCKER_REPO}:${COMMIT_ID} ${DOCKERFILE_ROOT}'
            sh 'docker push ${DOCKER_REPO}:${COMMIT_ID}'
          }
        }
      }
    }
    stage('update manifest') {
      environment {
        DOCKER_TAG = "${COMMIT_ID}"
      }
      steps {
        container('base'){
          dir('deploy') {
            git(branch: "main", url: "https://${DEPLOY_REPO}", credentialsId: "${DEPLOY_CREDENTIAL_ID}")
            sh 'yum install -y gettext'
            sh 'envsubst < pipelines/templates/guestbook-ui-deployment.yaml.tmpl > plain-yaml/guestbook-ui-deployment.yaml'
            withCredentials([usernamePassword(passwordVariable:'PASS', usernameVariable:'USER', credentialsId:"${DEPLOY_CREDENTIAL_ID}")]) {
                sh '''
                    git config user.name "robot"
                    git config user.email "<robot@amamba.io>"

                    git add .
                    git commit -m "Bump image with ${DOCKER_REPO}:${DOCKER_TAG}"
                    git push "https://${USER}:${PASS}@${DEPLOY_REPO}"
                '''
                }
          }
        }
      }
    }
  }
}
基于 Kustomize 持续发布
如果部署文件使用 Kustomize 管理,我们可以更新流水线update manifest步骤以适配这种情况:
environment {
  ...
  DEPLOY_PATH          = 'kustomize-guestbook/'
}
stages{
  ...
  stage('update manifest') {
    environment {
      DOCKER_TAG = "${COMMIT_ID}"
    }
    steps {
      container('base'){
        dir('deploy') {
          git(branch: "main", url: "https://${DEPLOY_REPO}", credentialsId: "${DEPLOY_CREDENTIAL_ID}")
          sh '''
              cd ${DEPLOY_PATH}
              # install kustomize
              curl -s "https://raw.githubusercontent.com/kubernetes-sigs/kustomize/master/hack/install_kustomize.sh"  | bash
              ./kustomize edit set image ${DOCKER_REPO}:latest=${DOCKER_REPO}:${DOCKER_TAG}
          '''
          withCredentials([usernamePassword(passwordVariable:'PASS', usernameVariable:'USER', credentialsId:"${DEPLOY_CREDENTIAL_ID}")]) {
          sh '''
              git config user.name "robot"
              git config user.email "robot@amamba.io"

              git add .
              git commit -m "Bump image with ${DOCKER_REPO}:${DOCKER_TAG}"
              git push "https://${USER}:${PASS}@${DEPLOY_REPO}"
          '''
          }
        }
      }
    }
  }
}
基于 Helm 持续发布
如果部署文件使用 Helm Chart 管理,我们可以更新流水线update manifest步骤以适配这种情况:
environment {
  ...
  DEPLOY_PATH          = 'helm-guestbook/values-production.yaml'
}
stages{
  ...
  stage('update manifest') {
    environment {
      DOCKER_TAG = "${COMMIT_ID}"
    }
    steps {
      container('base'){
        dir('deploy') {
          git(branch: "main", url: "https://${DEPLOY_REPO}", credentialsId: "${DEPLOY_CREDENTIAL_ID}")
          sh '''
              yum install -y yq
              yq -i ".image.tag=${DOCKER_TAG}" ${DEPLOY_PATH}
          '''
          withCredentials([usernamePassword(passwordVariable:'PASS', usernameVariable:'USER', credentialsId:"${DEPLOY_CREDENTIAL_ID}")]) {
          sh '''
              git config user.name "robot"
              git config user.email "robot@amamba.io"

              git add .
              git commit -m "Bump image with ${DOCKER_REPO}:${DOCKER_TAG}"
              git push "https://${USER}:${PASS}@${DEPLOY_REPO}"
          '''
          }
        }
      }
    }
  }
}
创建持续部署应用
-
用 Https 方式导入 amamba-examples 仓库,参考步骤。
-
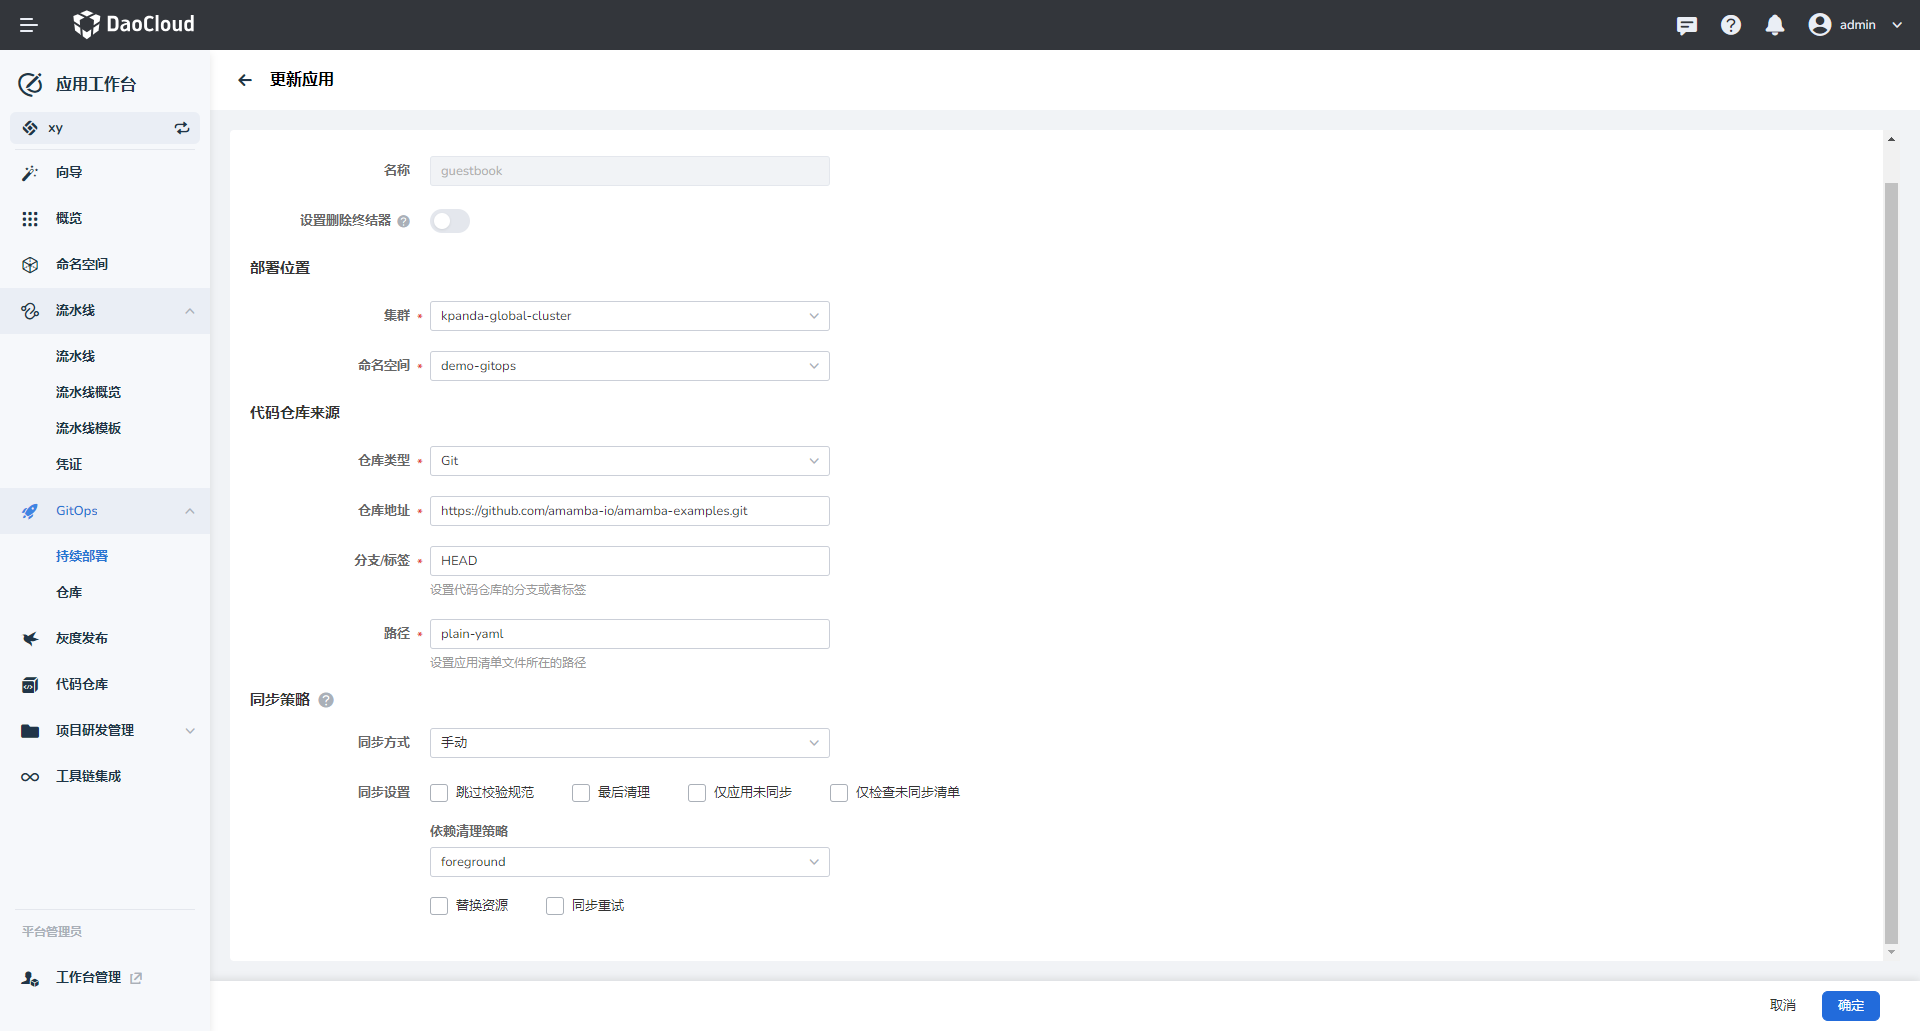
创建一个 GitOps 应用。
-
创建完成后,会自动生成一条记录,同步状态显示 未同步 。
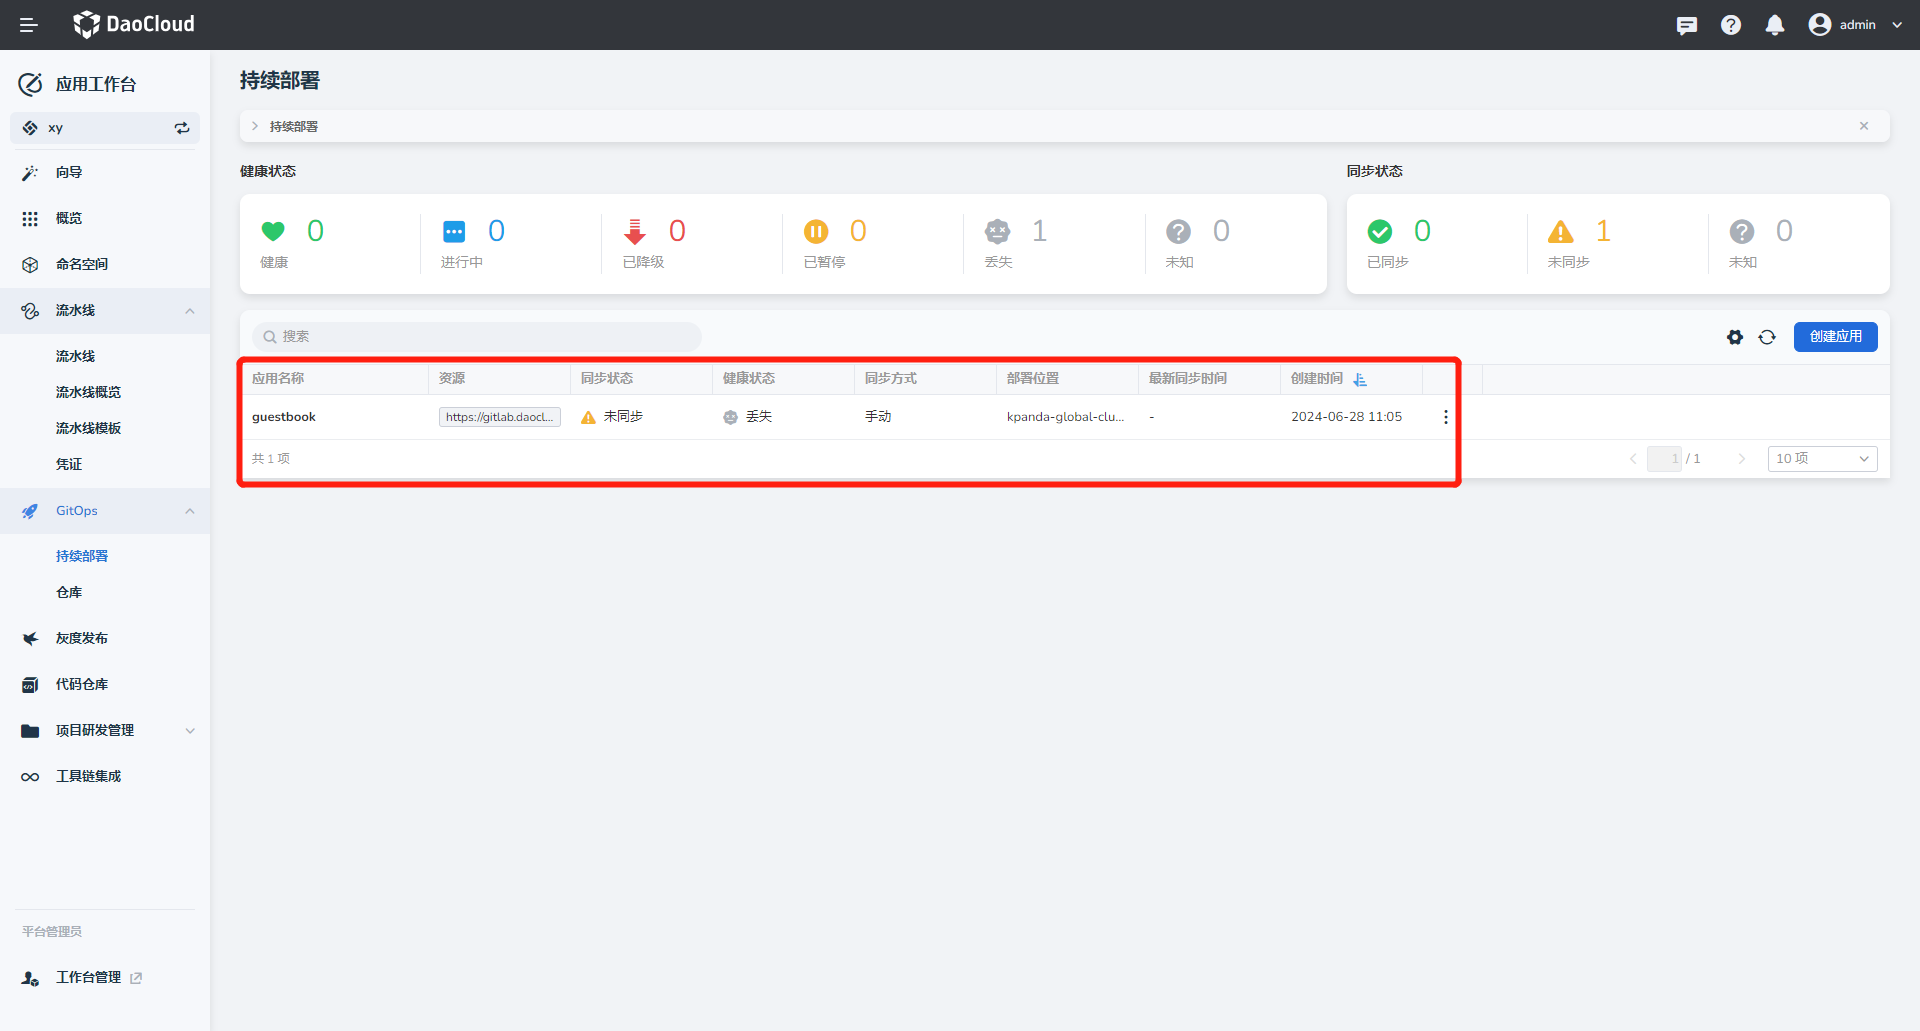
-
点击 同步 ,完成应用部署。
运行流水线触发 CI/CD
-
选择上述创建的流水线,点击 立即运行 。
-
查看运行日志。
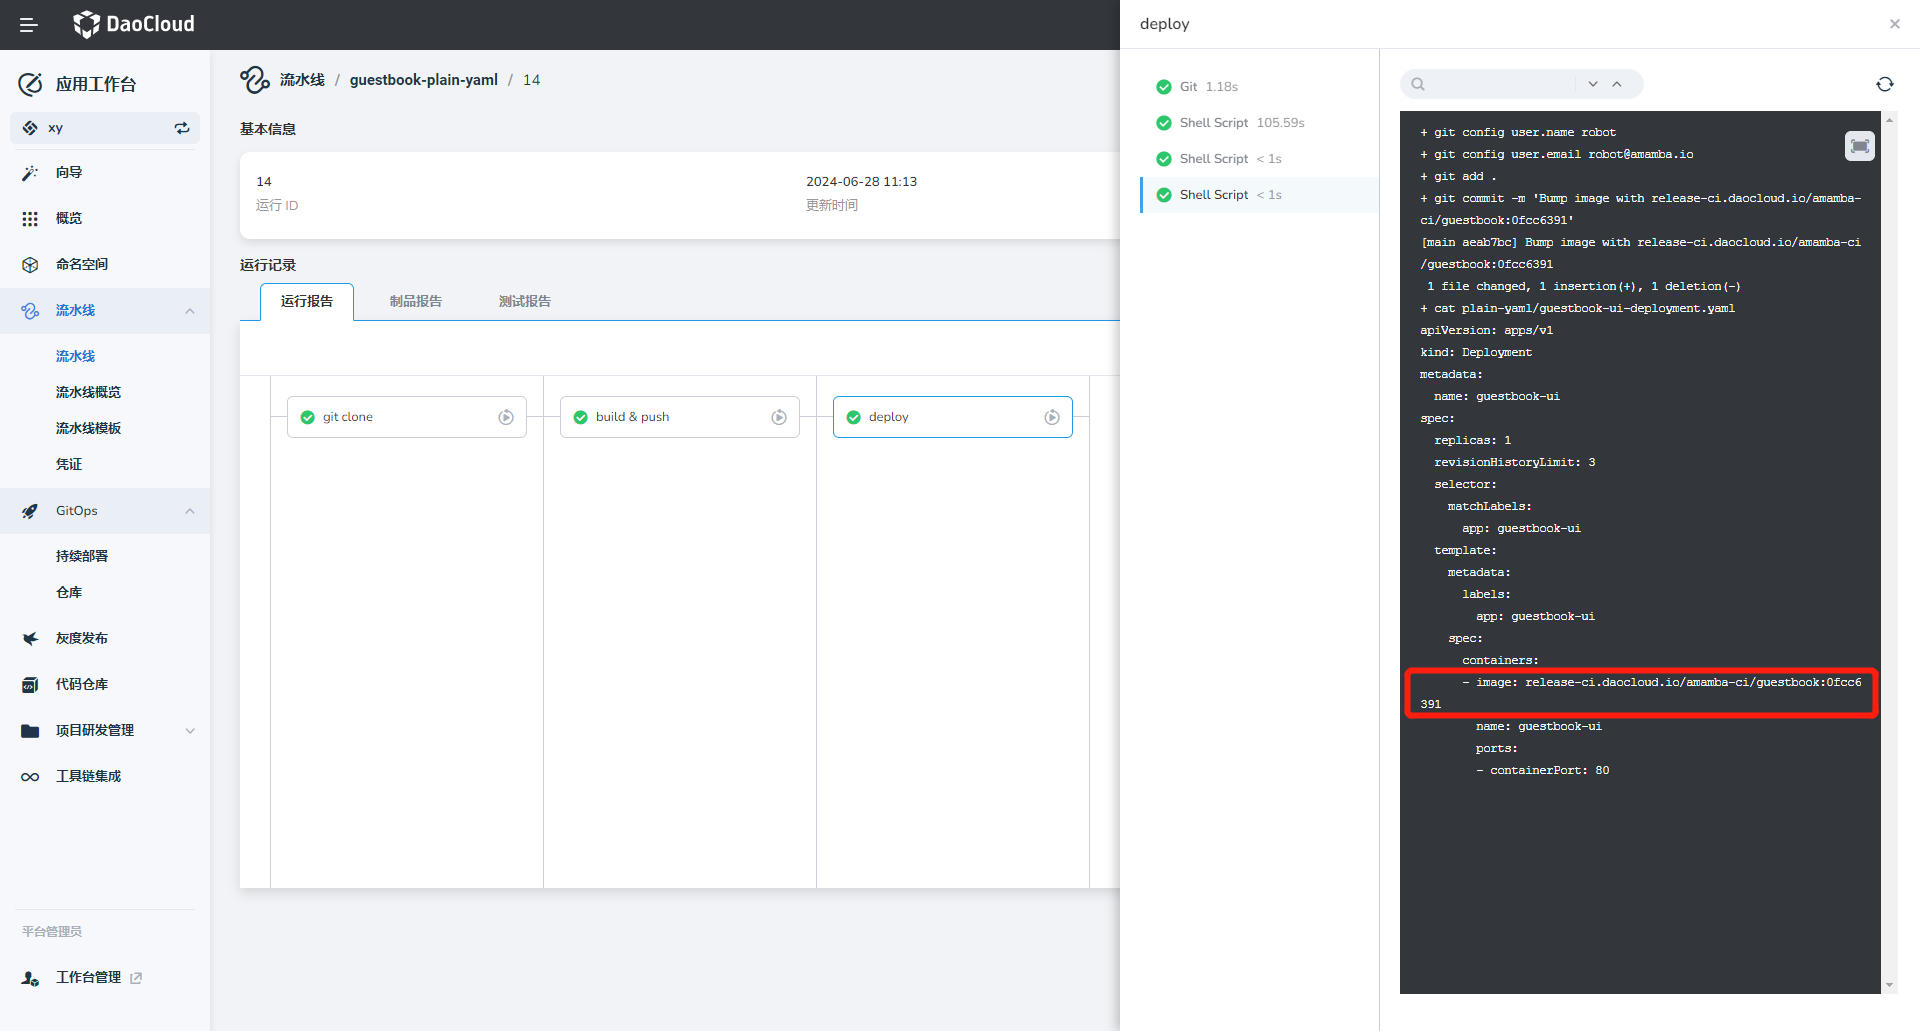
-
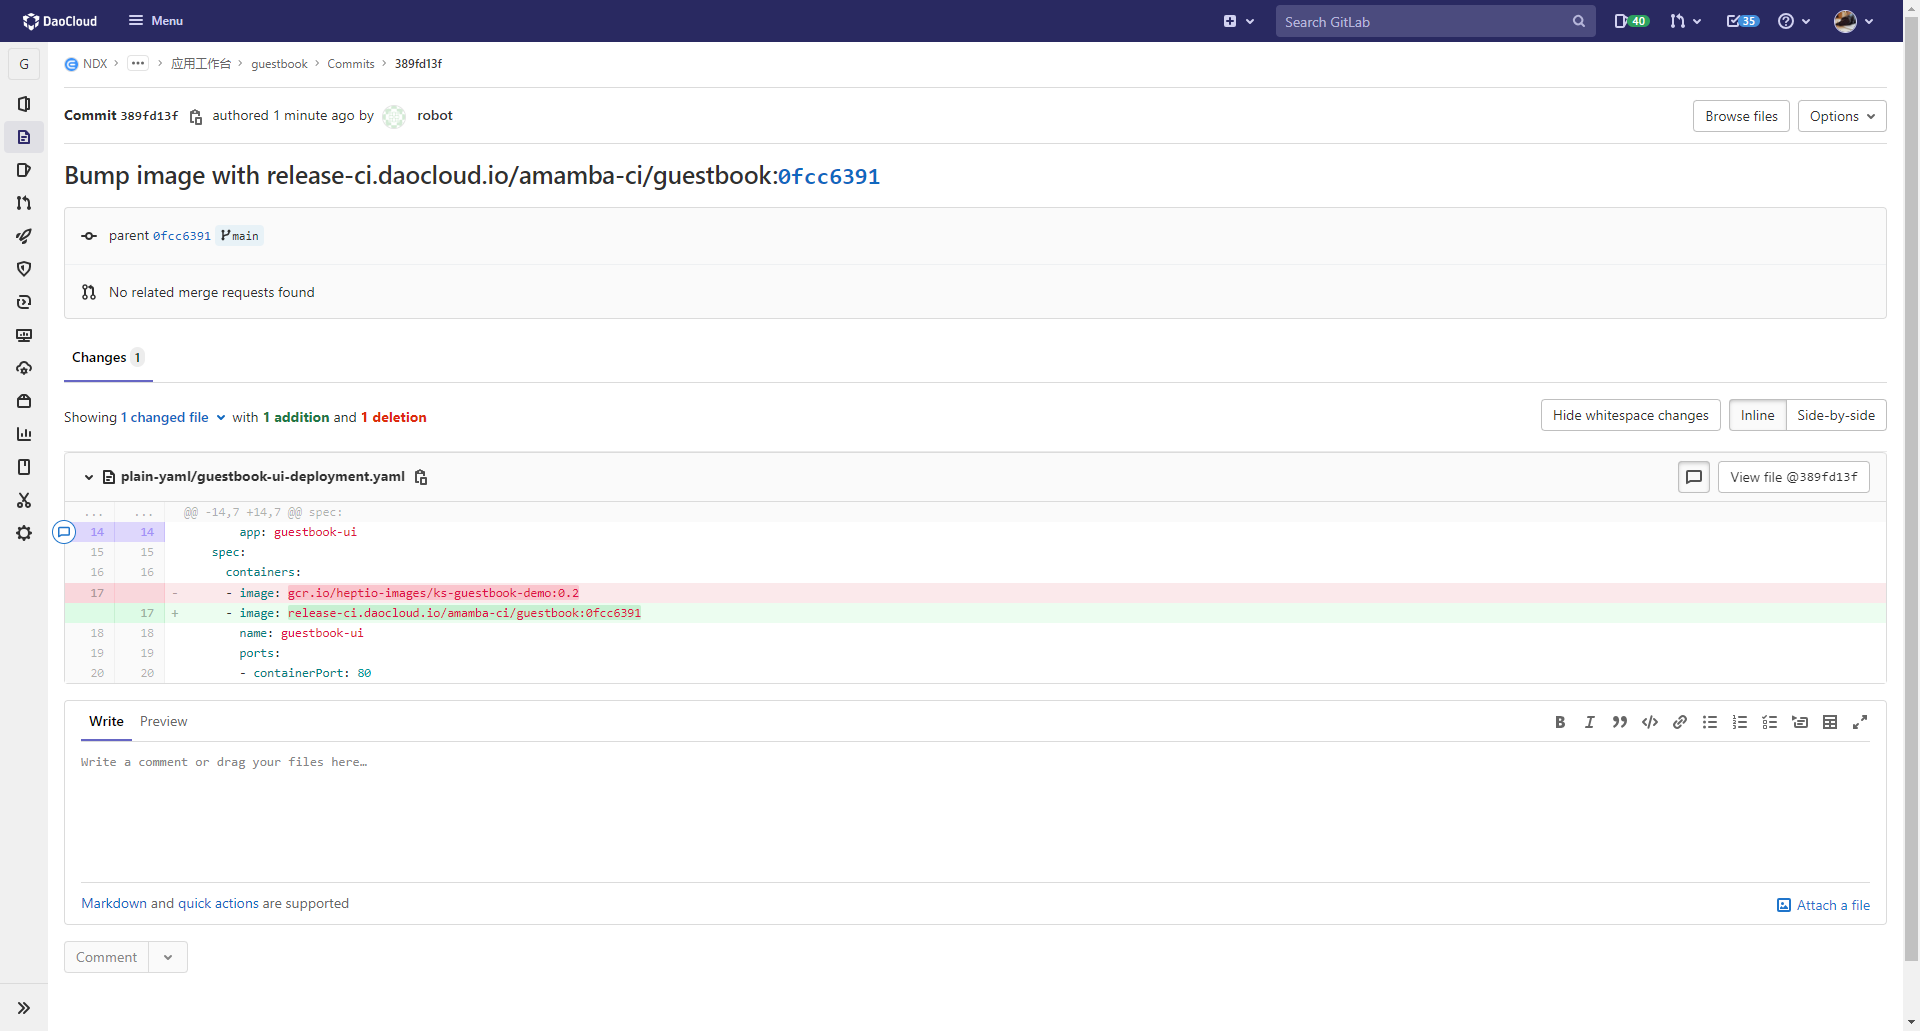
流水线运行成功后,验证镜像是否上传到 Harbor,Jenkinsfile 中定义的 tag 为当前的
Commit ID,同时注意到部署仓库的内容也更新了。
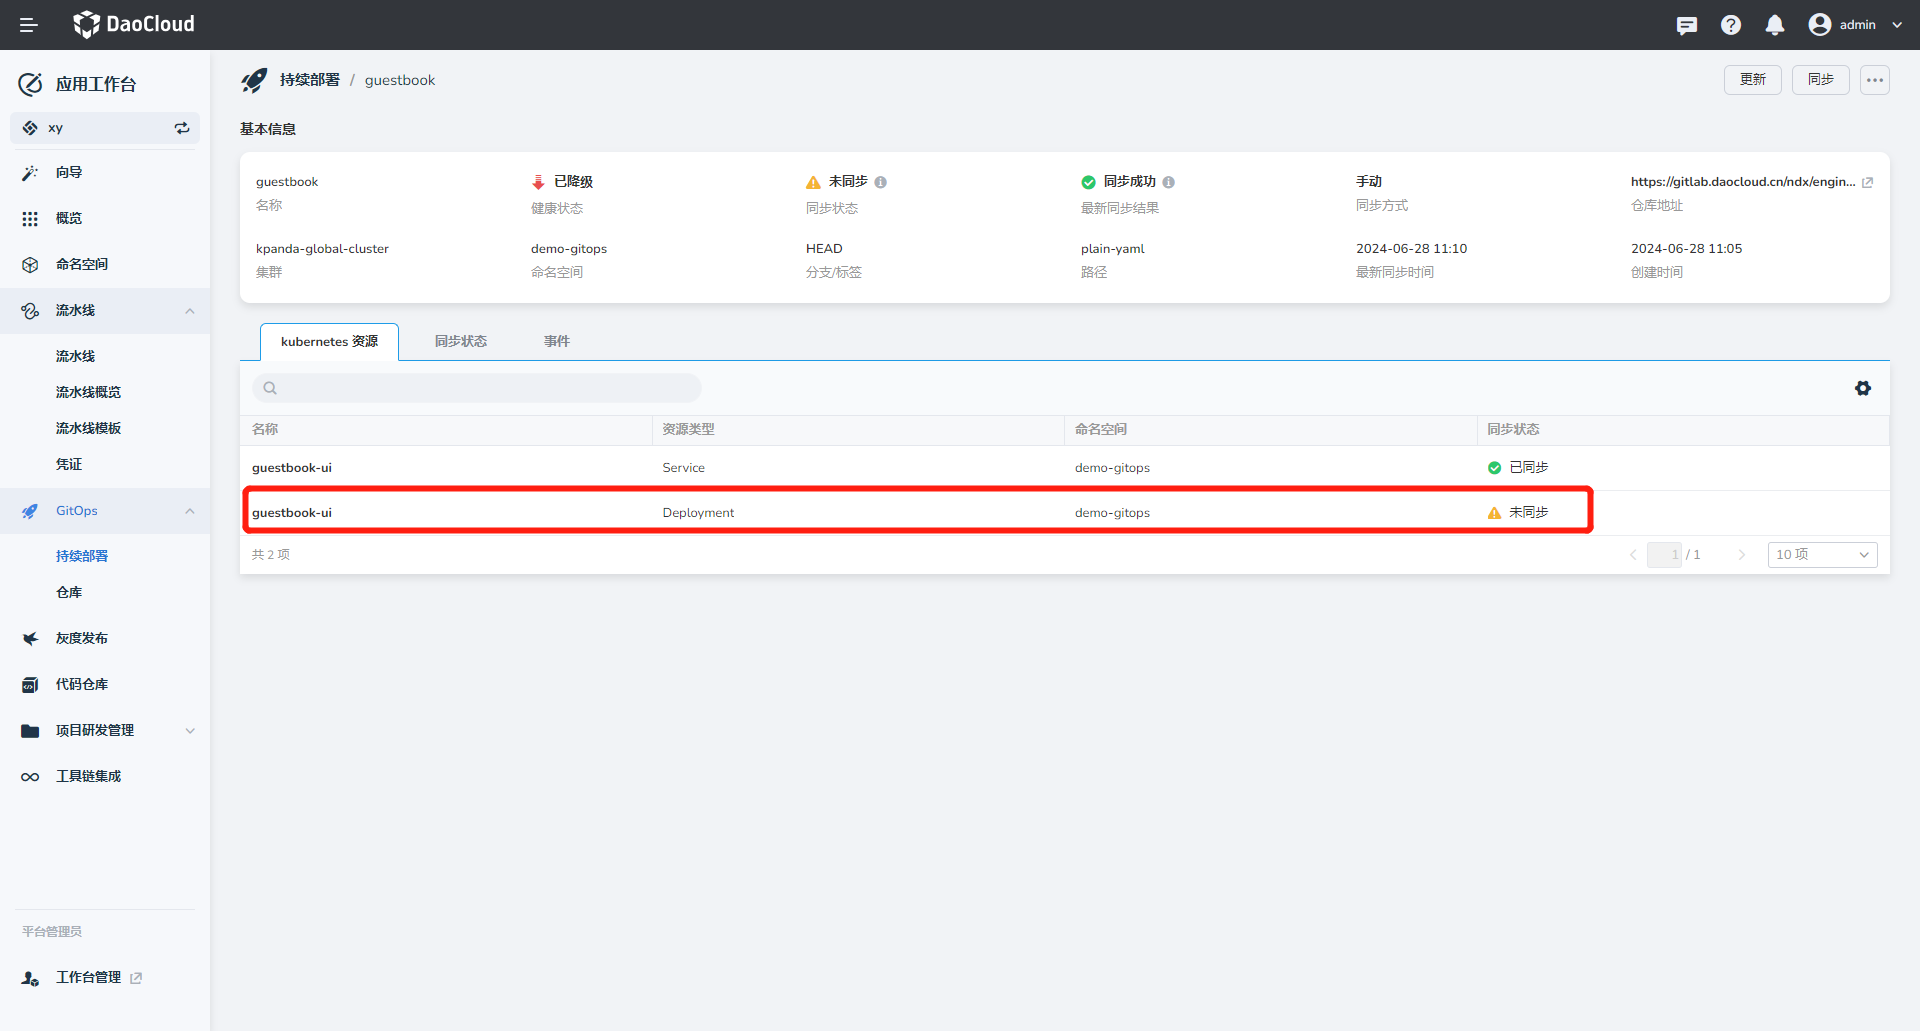
-
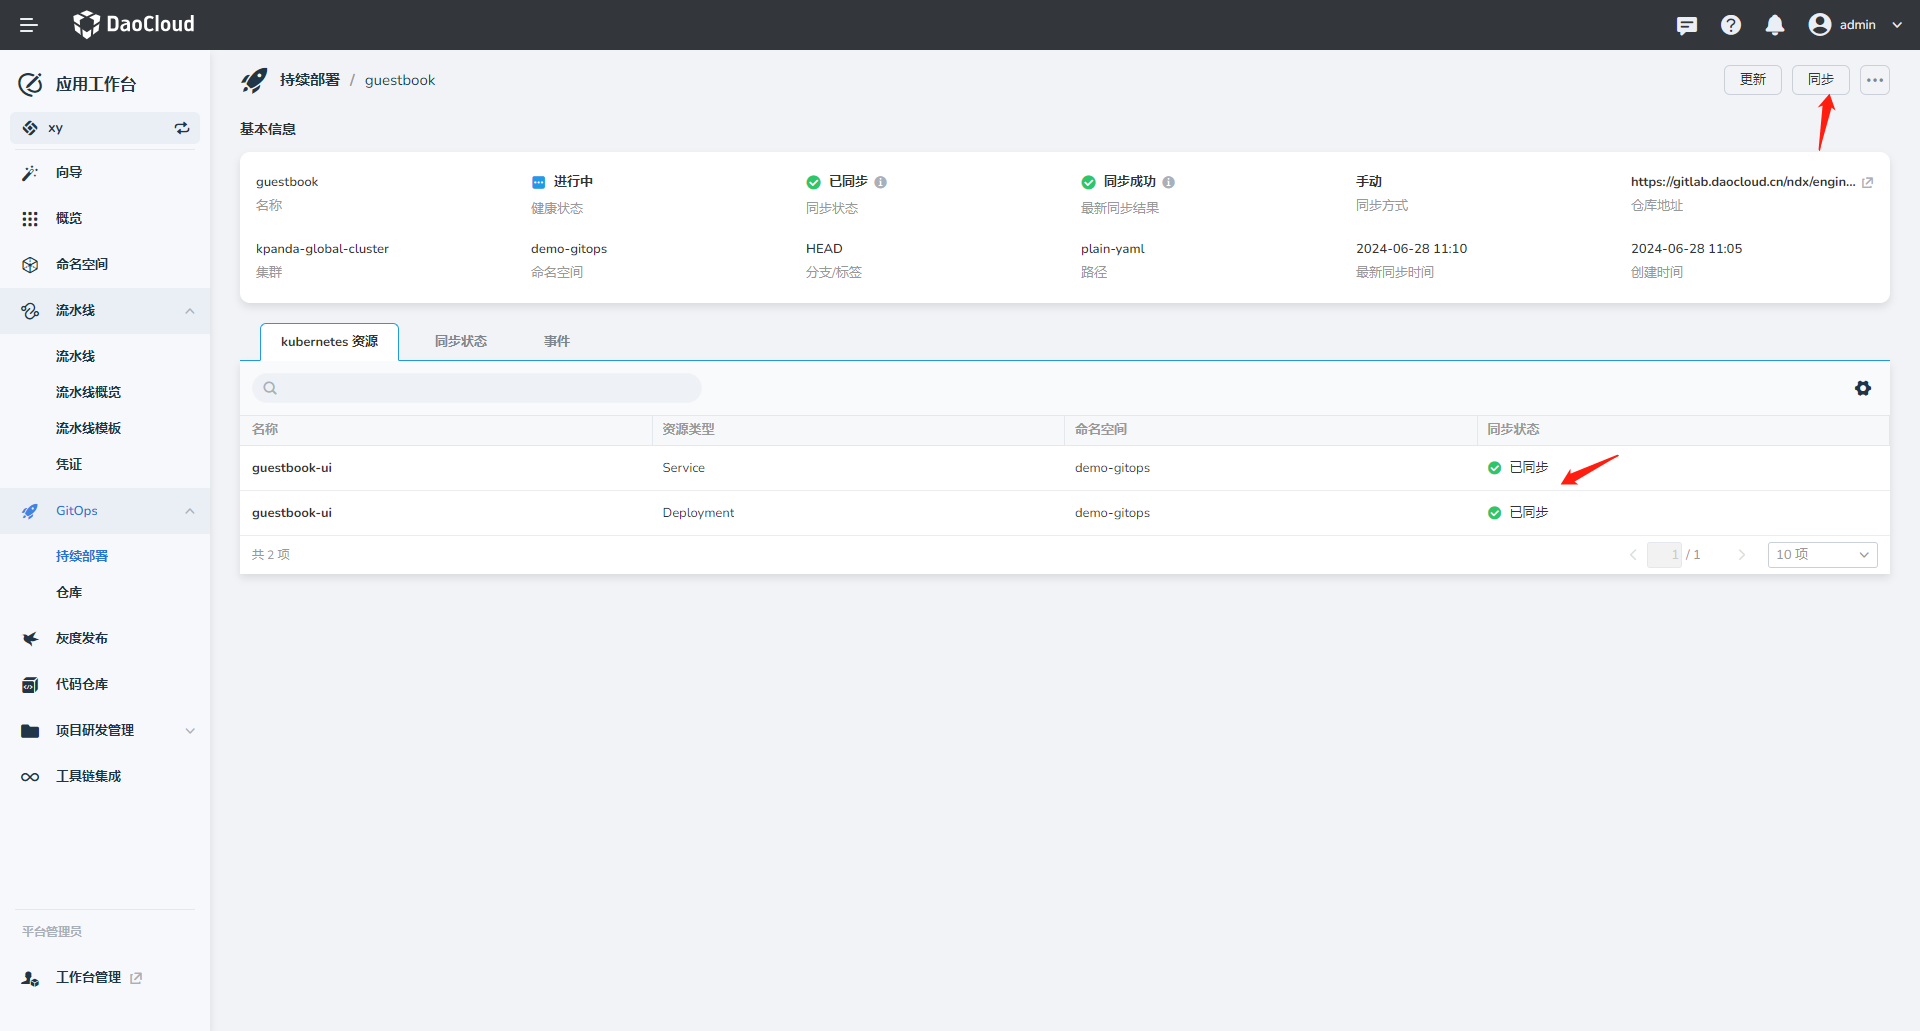
继续验证持续部署应用,发现处于 未同步 状态。看到 Deployment 资源未同步。
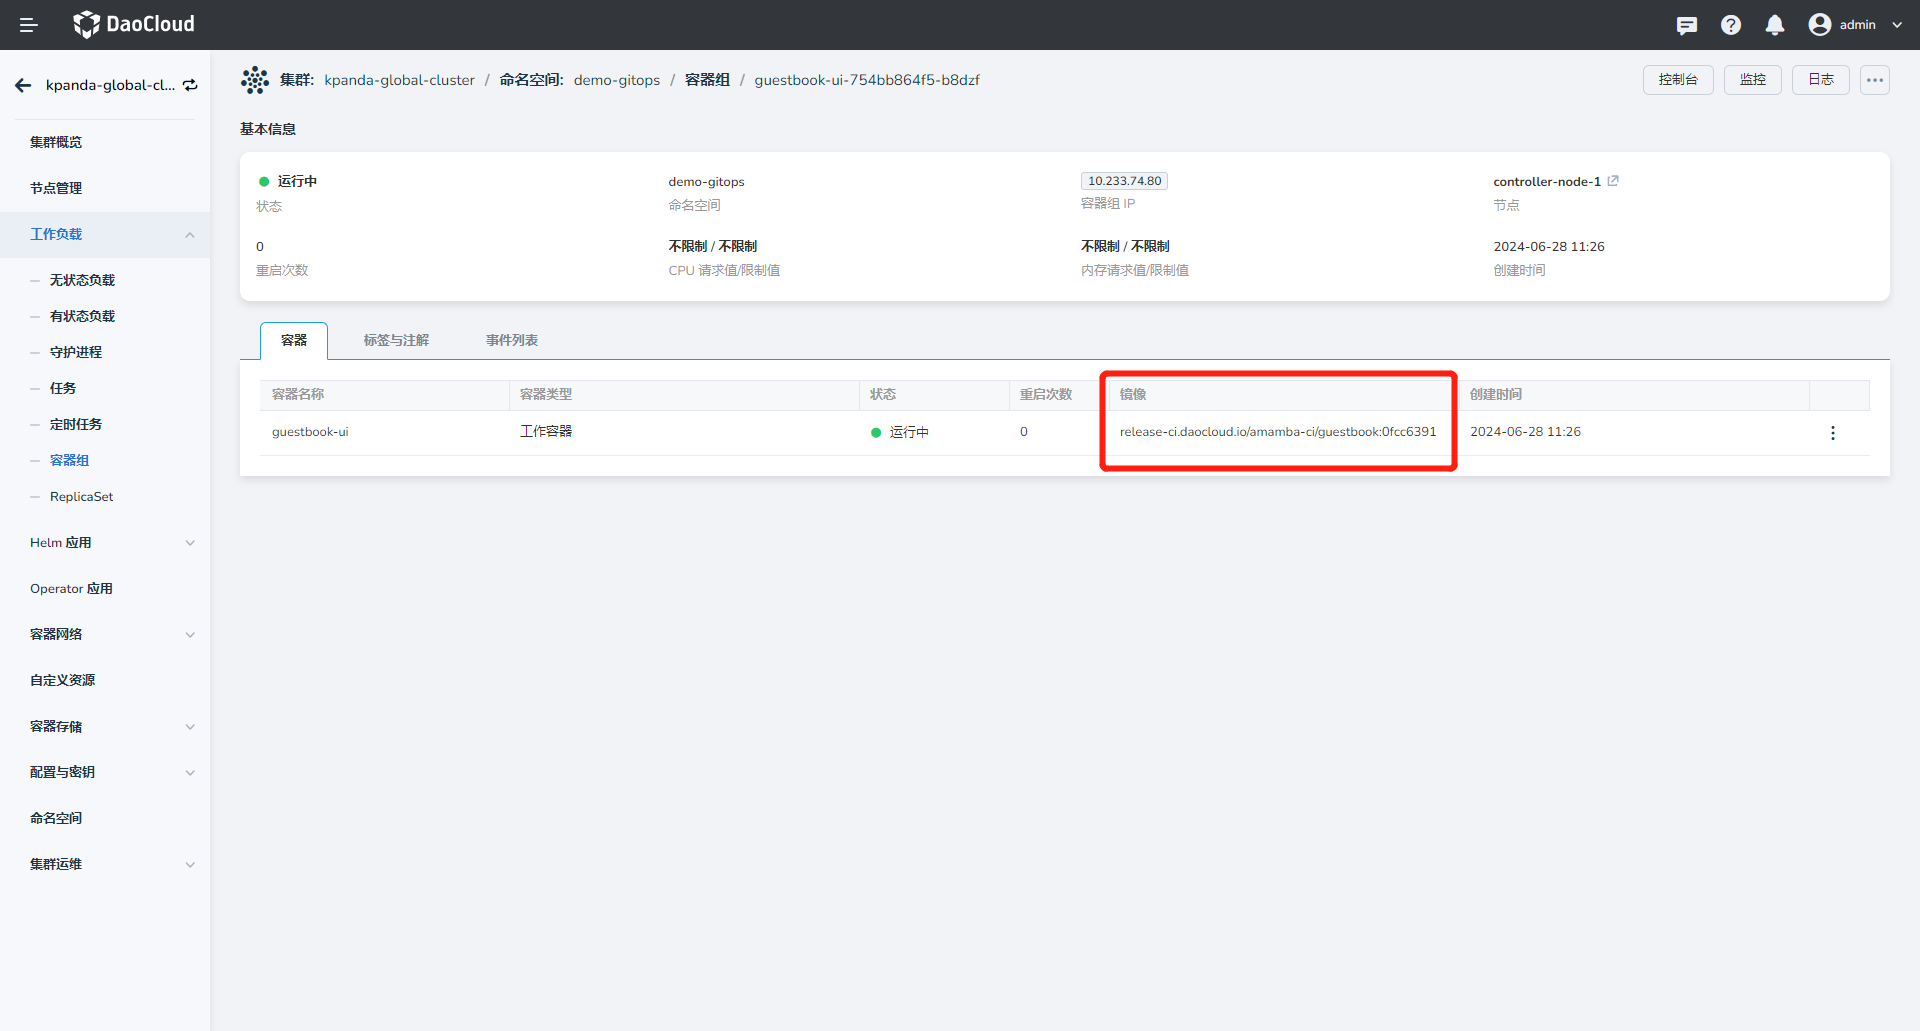
-
点击 同步 ,等待同步成功后,查看 Deployment 资源,确认目前的镜像版本。
-
通过
port-forward映射本地端口到 guestbook-ui 的服务,并在本地访问: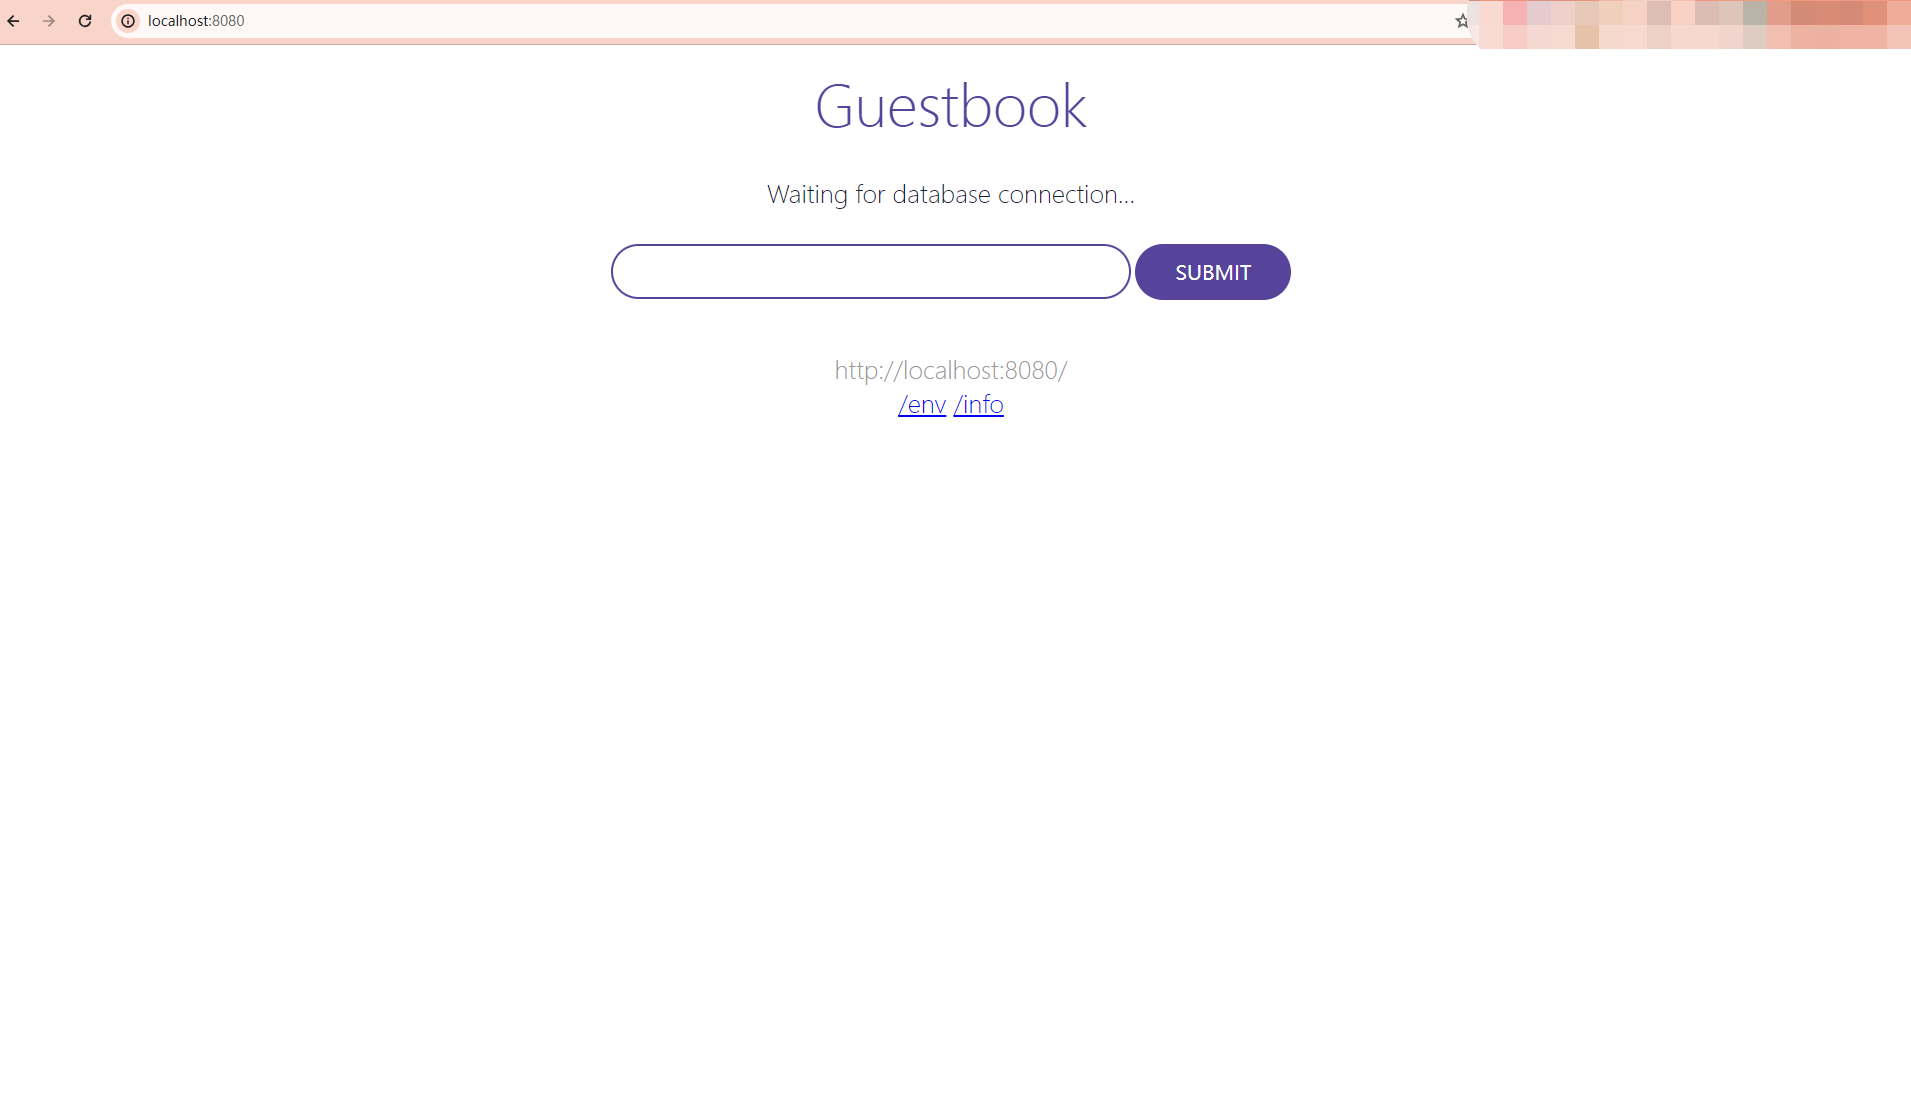
其他
在以上流程的基础上,也可以使用 Argo Rollouts 替换 Deployment 实现灰度发布和蓝绿发布。我们在示例代码中提供了样例,可以做为**流水线 - GitOps - 灰度/蓝绿发布** 的参考:
- 基于副本数的灰度发布 和 流水线
- 基于Istio的灰度发布 和 流水线
- 蓝绿发布 和 流水线