Deploy Traditional Microservices with Native Applications
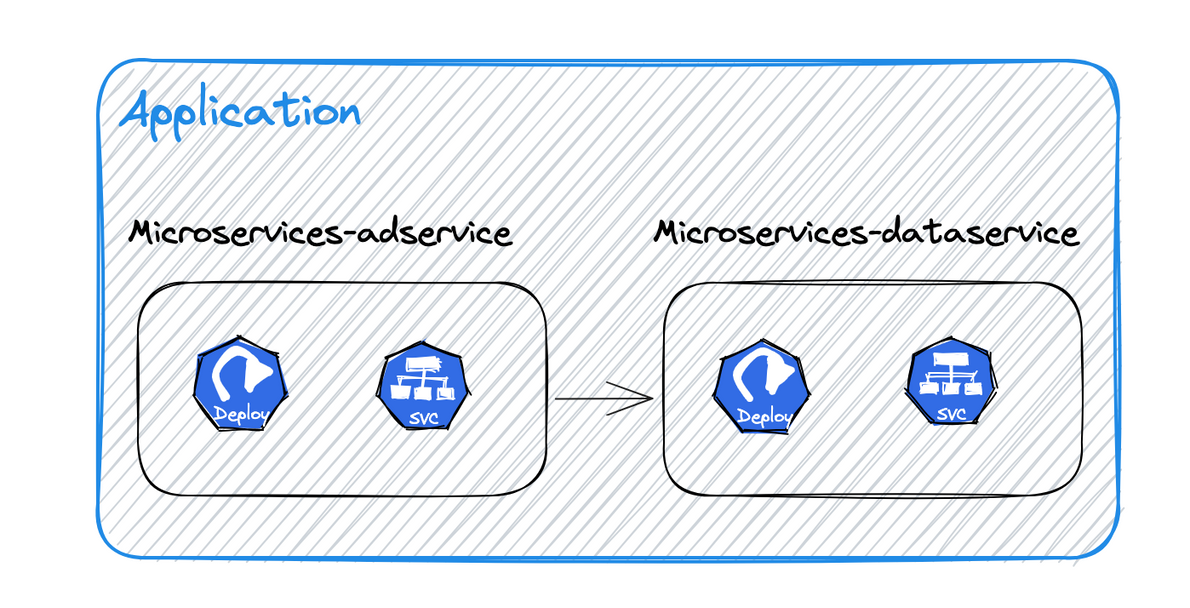
Native applications are designed to provide customers with applications composed of multiple Kubernetes resources and offer a unified view. This article explains how to deploy traditional microservices applications through native applications. The two example microservices used in this article are named adservice and dataservice .
Prerequisites
- A managed Nacos instance has already been created in the current workspace. Refer to Hosted Registry.
- Prepare the Docker images of the traditional microservices that need to be deployed, such as adservice and dataservice .
- Modify the code of the traditional microservices to integrate the Nacos registry SDK.
- If you want to use Sentinel for traffic management of traditional microservices, integrate the Sentinel client into the code.
Create a native application
-
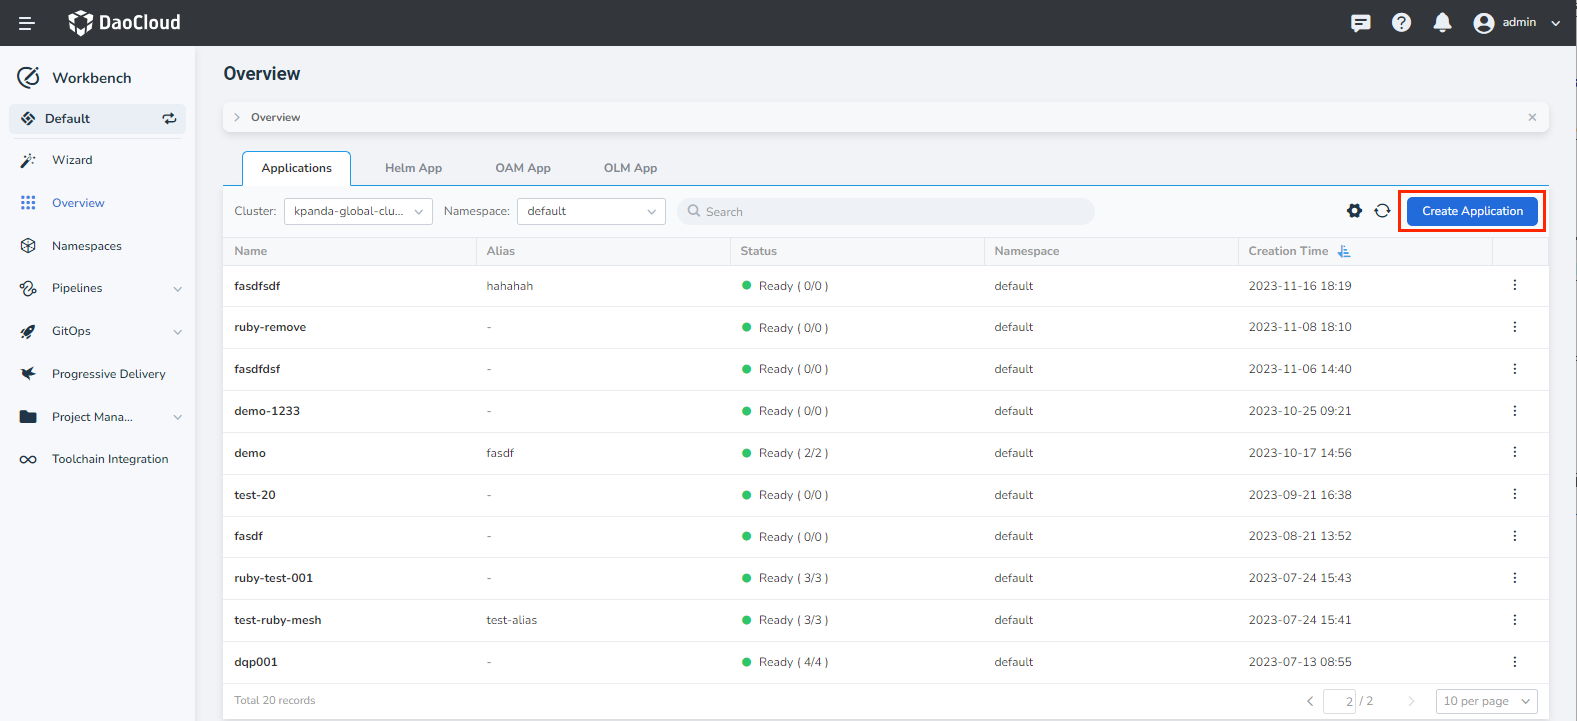
In the Workbench -> Overview page, click the Application tab, and then click Create Application in the upper-right corner.
-
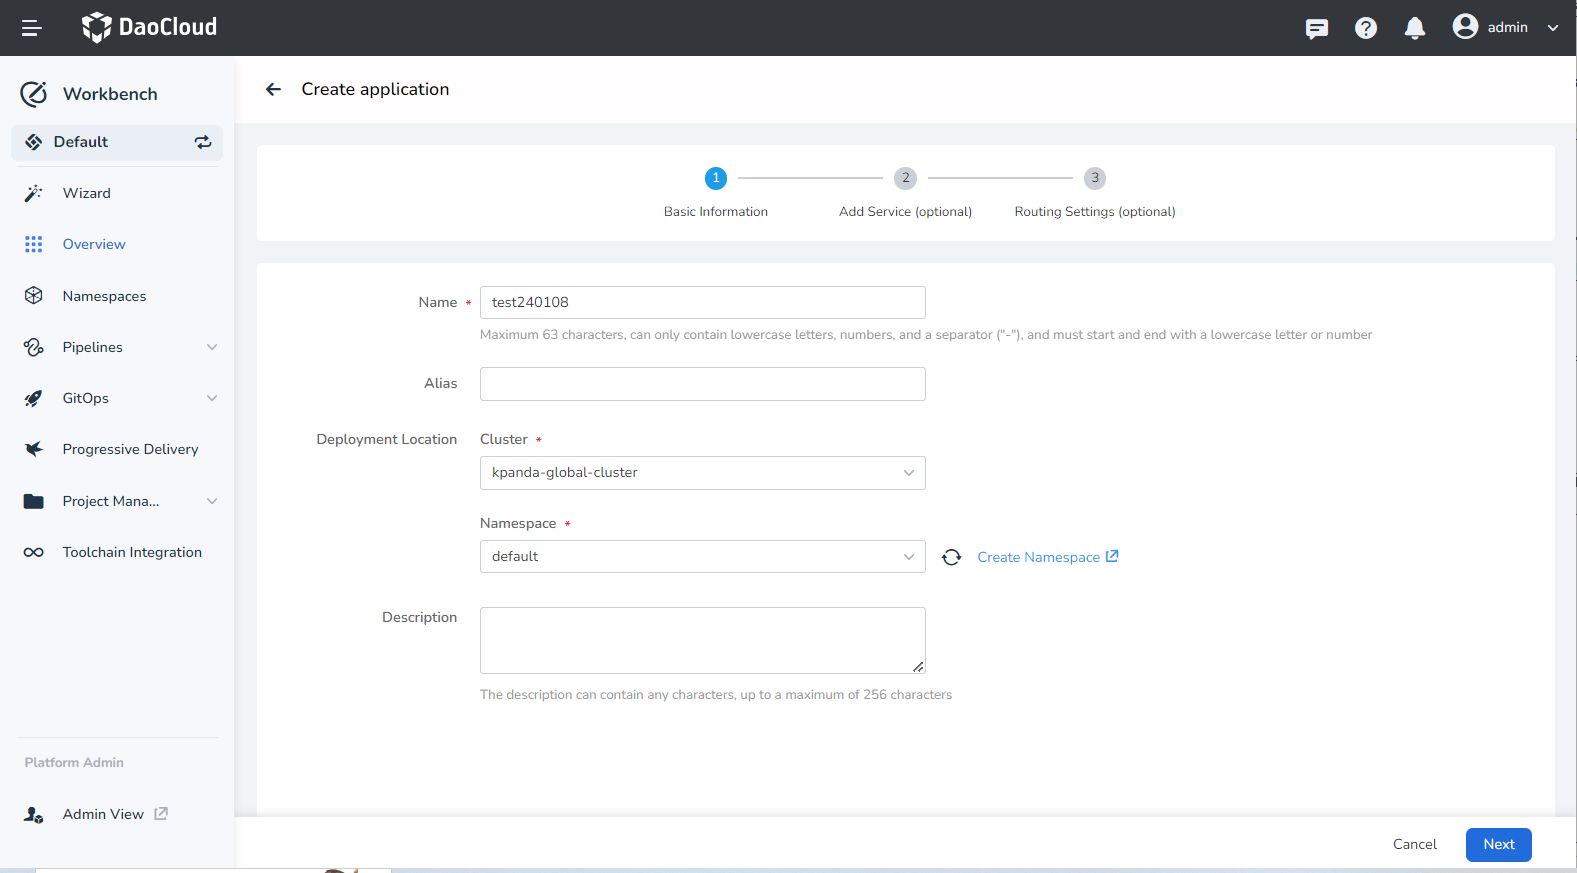
Fill in the basic information according to the instructions below and click Next .
- Name: The name of the native application.
- Alias: The alias of the native application.
- Deployment Location: Select which cluster and namespace to deploy the native application to.
-
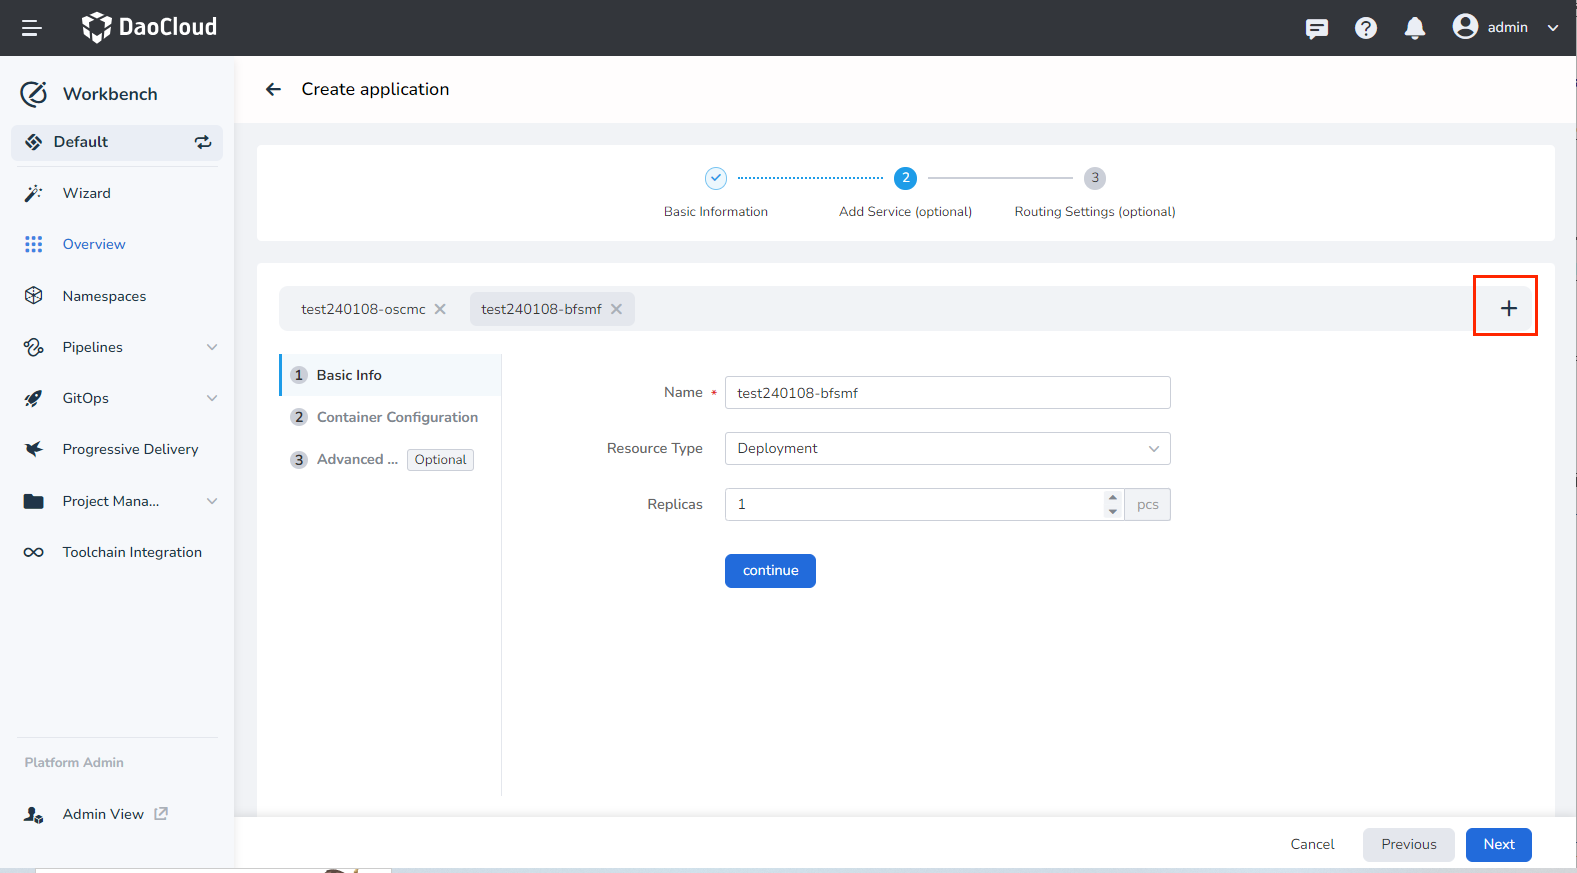
Follow the instructions below to add traditional microservices.
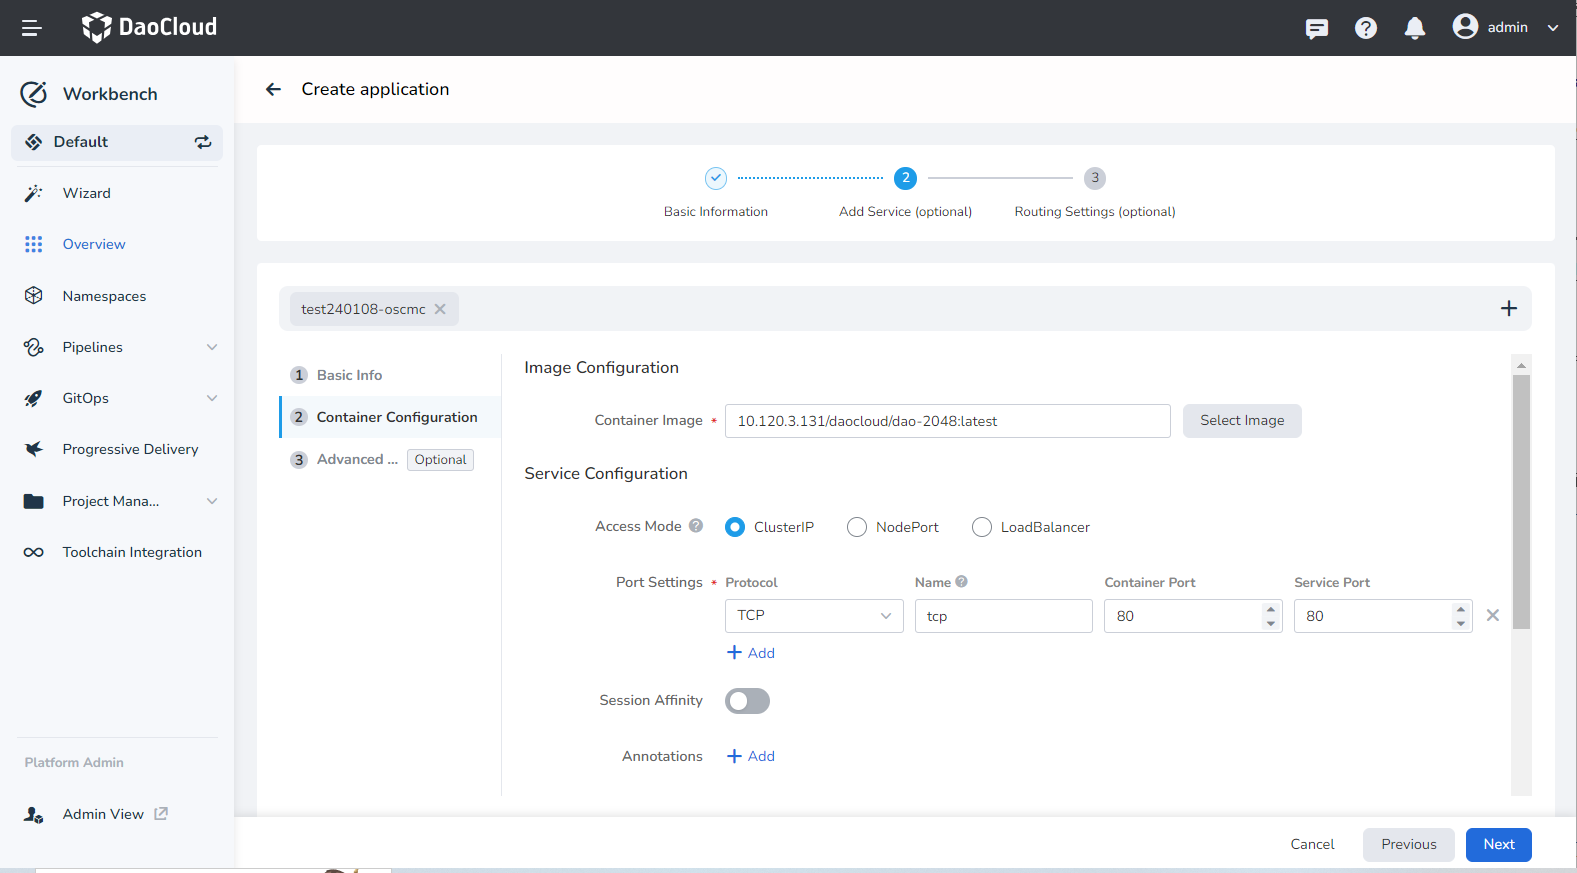
When adding microservices, Basic Information and Container Configuration are required, while Advanced Configuration is optional.
- Basic Information: Set the name, resource type, and number of instances for the microservice.
-
Container Configuration:
- Image Configuration: Specify the image address of the microservice.
- Service Configuration: The port configuration depends on the service code. For the demonstration application adservice , fill in the following information:
-
Advanced Configuration:
- Access Microservices: Integrate the traditional microservice being added with the Microservice Engine module of DCE 5.0.
- Select Framework: The framework used by the microservice, such as Spring Cloud or Dubbo .
- Registry Instance: Select which registry the microservice will be connected to. The available options come from the managed Nacos registry instances created under the current workspace through the Microservice Engine module.
- Registry Namespace: The Nacos namespace for the microservice application.
- Registry Service Group: The service group of the microservice application, equivalent to the "Group" concept in Nacos.
- Username/Password: If the registry instance requires authentication, provide the username and password.
- Enable Microservice Governance: The selected registry instance should have the Sentinel or Mesh governance capabilities enabled.

Note
To add more microservices, click the ➕ on the right side of the screen.
-
Configure the routing as needed and click OK in the lower-right corner.
View microservices under native applications
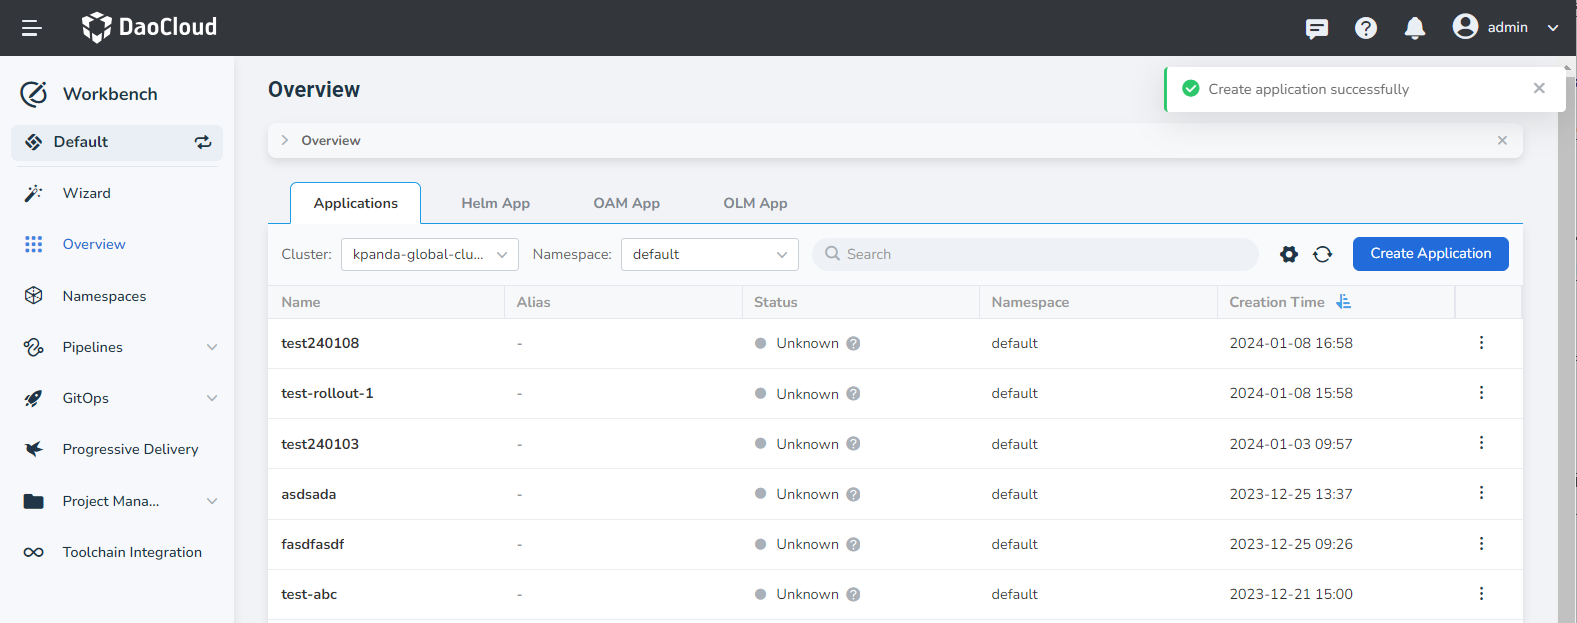
-
After the application is successfully created, click the application name to view the workloads with the label Traditional Microservice under the current application.
Clicking the link that appears will redirect you to the service details page of the Microservice Engine.
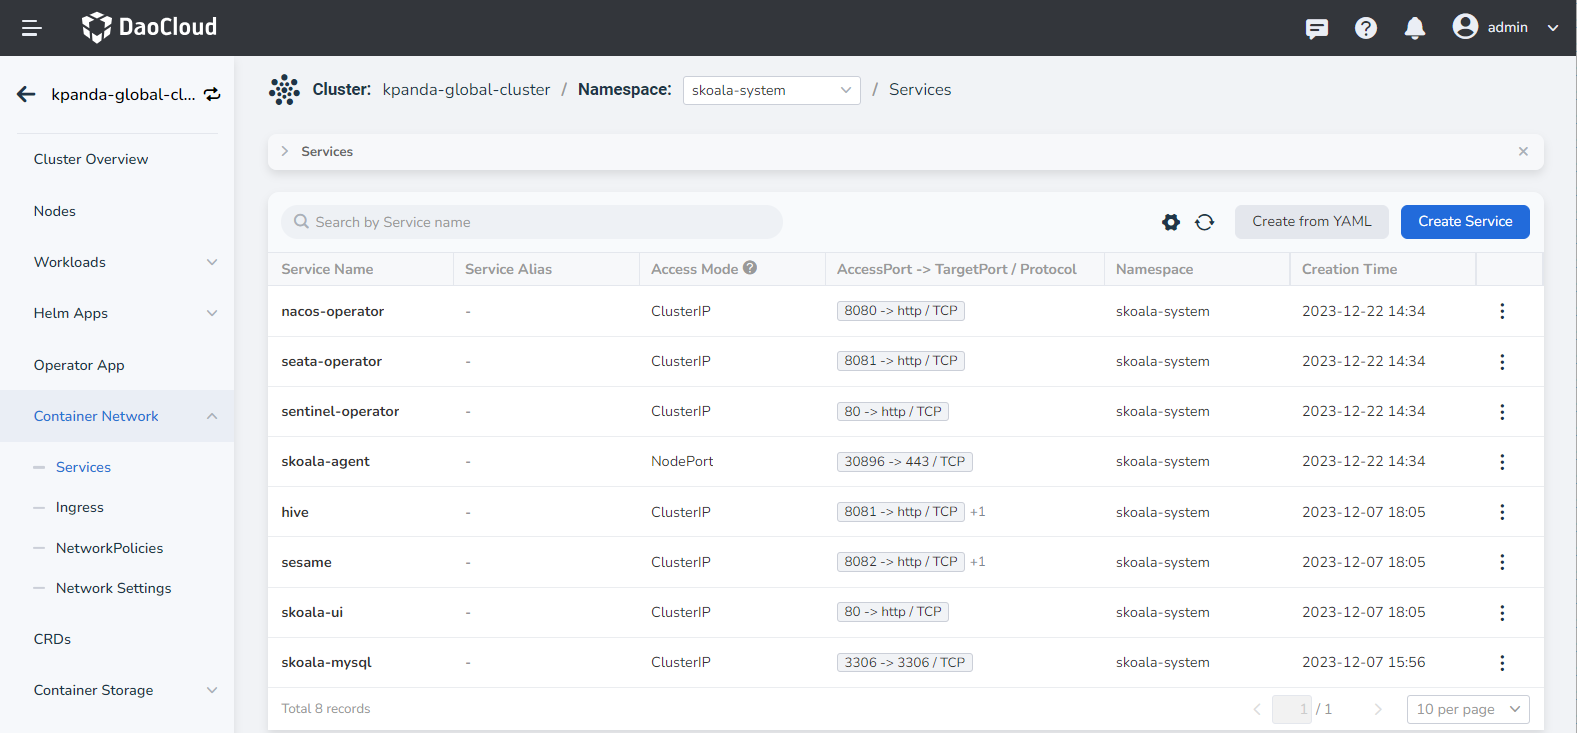
-
Alternatively, you can go to the Microservice Engine module and view the services added under the corresponding workspace and registry.
Simulate service invocation
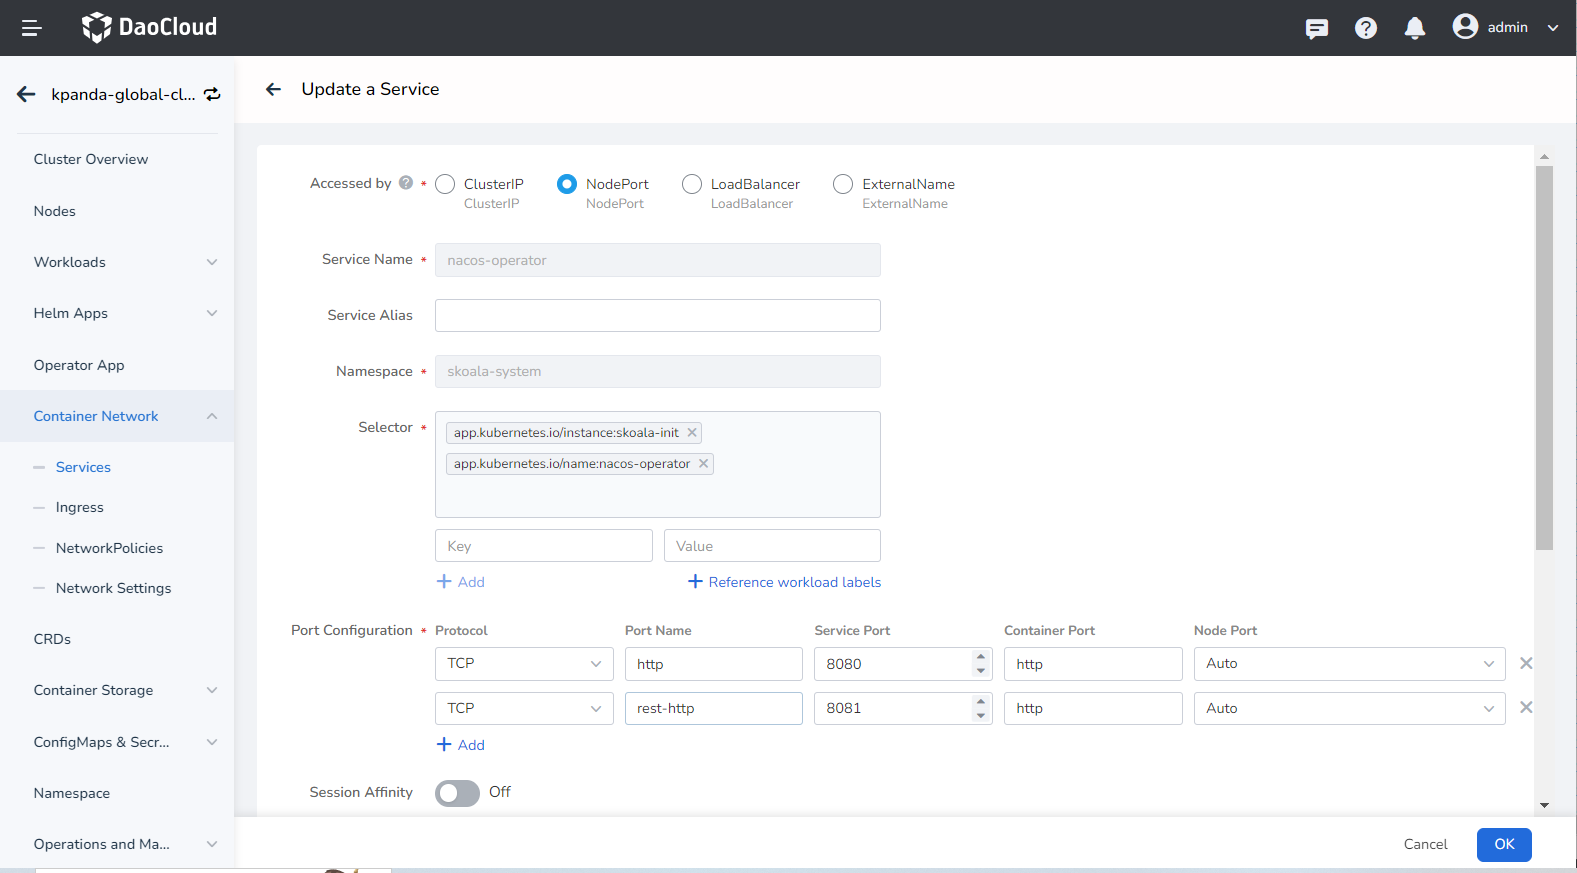
-
First, change the access type of the adservice service to NodePort in the Container Management .
-
On the service details page, click the external access address for the service port 8081 .
-
A new browser tab will open with the following page, indicating a successful deployment of adservice .

-
Append /ad/all to the URL and access it. If you see the following page, it means that the dataservice call was successful.
