Building Microservices Apps from Container Images
This article explains how to build a traditional microservices application from container image source code, enabling features such as traffic governance, log viewing, monitoring, and tracing.
Prerequisites
- You need to create a workspace and a user who is added to the workspace with the workspace edit role. Refer to Creating a Workspace and Users and Roles.
- Create a credential that can access the image repo. See Credential Management.
Create Credentials
Following Credential Management, create the credential first:
-
On the Credentials page, create a credential:
- registry-credential: Username and password for accessing the image repo.
-
Once created, you can view the credential on the Credential List page.
Create Microservices App from Container Images
-
In the Workbench -> Wizard page, click Build With Image.

-
Fill in the basic information and click Next.

Parameter Description Name Specify the name of the resource workload Resource Type In this demonstration, select Deployment. Currently, only Deployments are supported Deployment Location Choose the cluster and namespace where the application will be deployed. If you want to integrate with microservices, make sure you have created a registry in the current workspace. Application Specify the name of the native application. You can select from an existing list or create a new one, which by default will have the same name as specified Replicas Set the number of Pods for the application -
Fill in the container configuration and click Next.

-
Service Configuration: Specify how the service can be accessed within the cluster, node, or load balancer. Example values:
name protocol port targetPort http TCP 8081 8081 health-http TCP 8999 8999 service TCP 9555 9555 For more detailed information about service configuration, refer to Creating Services.
-
Resource Limits: Specify the resource limits for the application, including CPU and memory.
- Lifecycle: Set commands that need to be executed during container startup, after startup, and before shutdown. For more details, refer to Container Lifecycle Configuration.
- Health Checks: Define health checks to determine the health status of the container and application, improving availability. For more details, refer to Container Health Check Configuration.
- Environment Variables: Configure container parameters, add environment variables, or pass configurations to the Pod. For more details, refer to Container Environment Variable Configuration.
- Data Storage: Configure data volume mounting and data persistence for containers.
- Network Configuration: Configure DNS-related settings.
-
-
On the Advanced Settings page, click Access MicroServices. Configure the parameters as per the instructions below, and click OK.

Parameter Description Framework Selection Supports Spring Cloud and Dubbo. In this case, select Spring Cloud Registry Instance Currently, only hosted Nacos registry instances from the Microservices Engine are supported Registry Namespace The Nacos namespace for the microservices application Registry Service Group The service group for the microservices application Username/Password If the registry instance requires authentication, enter the username and password Enable Service Governance The selected registry instance should have Sentinel or Mesh governance plugins enabled
Viewing and Accessing Microservices Information
-
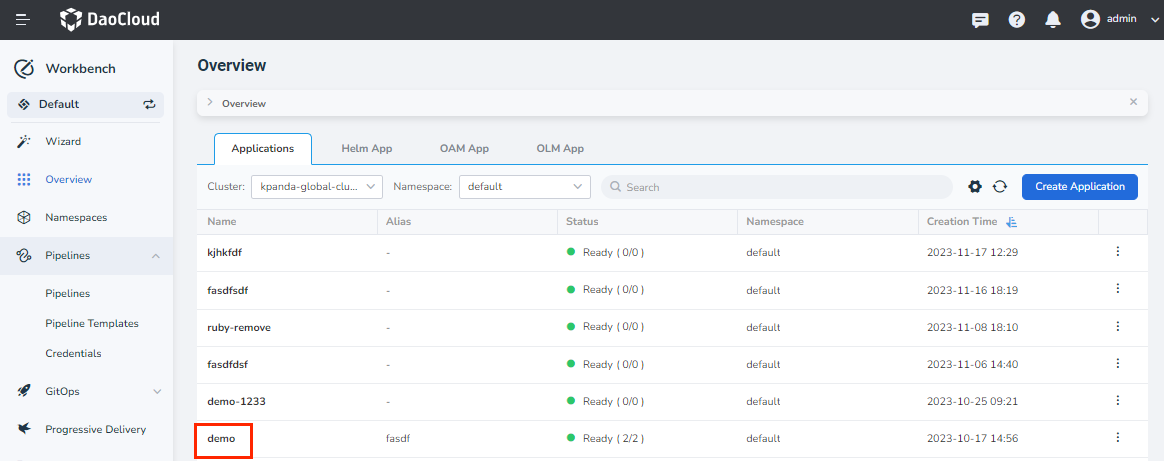
On the left navigation bar, click Overview, and within the Native Applications tab, select the native application to view its details.
-
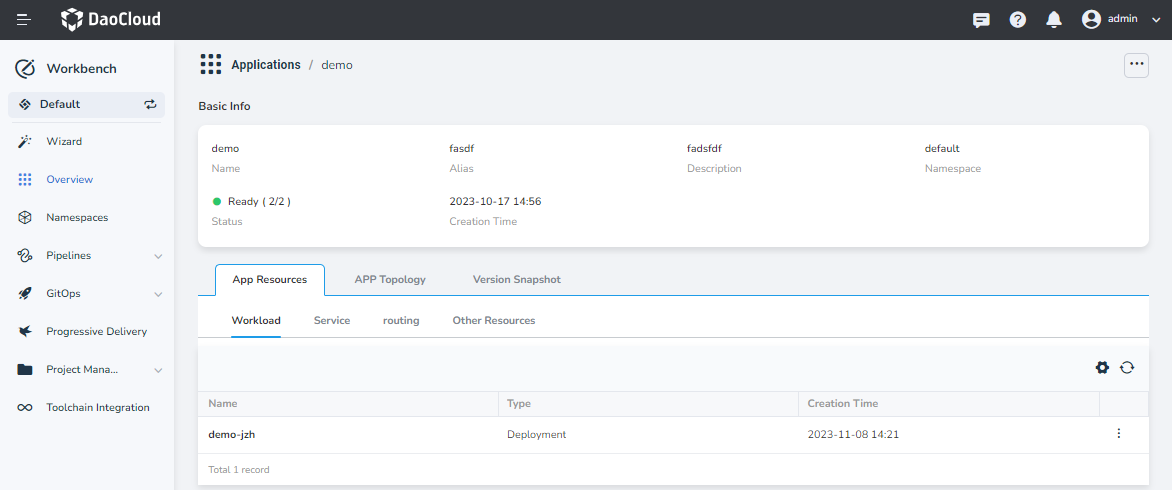
In the details page, under the Application Resources tab, select the resource with the Service Mesh label and click its name.
-
You will be redirected to the Microservices Engine where you can view the service details.