Install DCE 5.0 Enterprise Package on Alibaba Cloud ECS
This page will guide you through the process of installing DCE 5.0 on Alibaba Cloud ECS.
Prerequisites
- Prepare Alibaba Cloud ECS virtual machines. In this example, we will create three Ubuntu 22.10 Server 64-bit instances, each with a configuration of 8 cores and 16 GB RAM.
- Complete the necessary preparations as described in the preparation guide.
Deployment Steps
When deploying DCE 5.0 on Alibaba Cloud ECS, special handling is required for load balancing capability. Since CloudProvider is not installed in the virtual machines, LoadBalancer-type services cannot be recognized. Therefore, we provide three possible solutions:
- Solution 1: NodePort + Alibaba Cloud SLB
- Solution 2: cloudLB + CCM component deployment
- Solution 3: NodePort + CCM component deployment
Solution 1: NodePort + Alibaba Cloud SLB
-
Log in to a machine and download the dce5-installer binary file.
Assuming VERSION is v0.28.0:
-
Configure
clusterConfig.yaml.Use the following configuration, making sure to set
loadBalancer.type = NodePortand fill in the private IP addresses of the hosts:clusterConfig.yamlapiVersion: provision.daocloud.io/v1alpha3 kind: ClusterConfig spec: loadBalancer: type: NodePort masterNodes: - nodeName: "g-master1" ip: xx.xx.xx.xx ansibleUser: "root" ansiblePass: "dangerous" - nodeName: "g-master2" ip: xx.xx.xx.xx ansibleUser: "root" ansiblePass: "dangerous" - nodeName: "g-master3" ip: xx.xx.xx.xx ansibleUser: "root" ansiblePass: "dangerous" -
Begin the installation.
-
Installation successful.
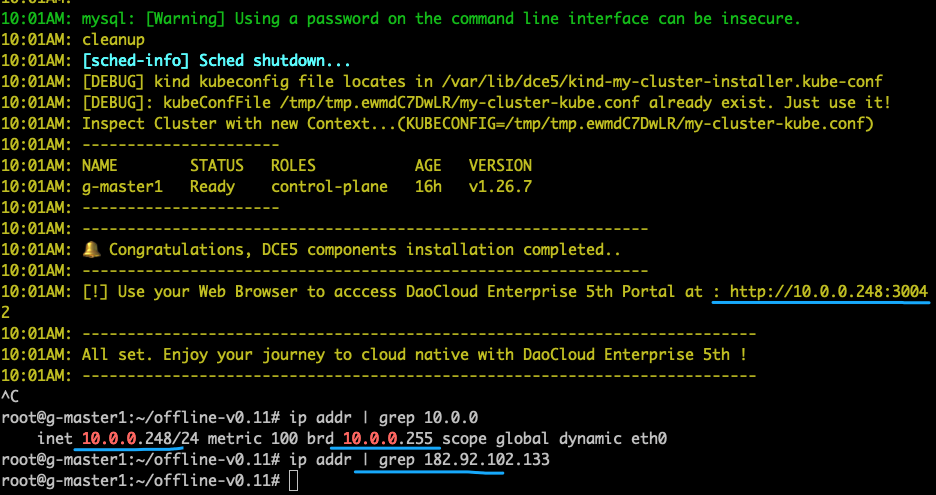
-
Check the NodePort port on which the
istio-ingressgatewayservice is exposed. In this example, it's 32060.
-
Create an Alibaba Cloud SLB and direct the public TCP traffic of the SLB to the ECS hosts' port 32060. This needs to be done for all three hosts.
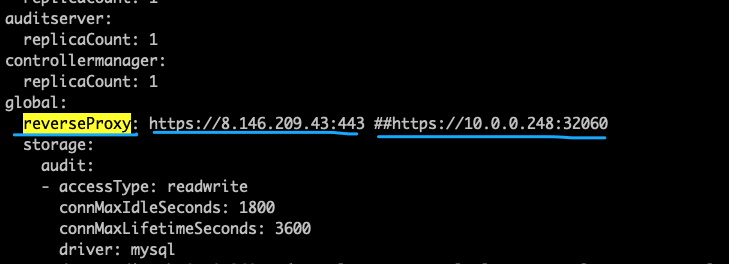
-
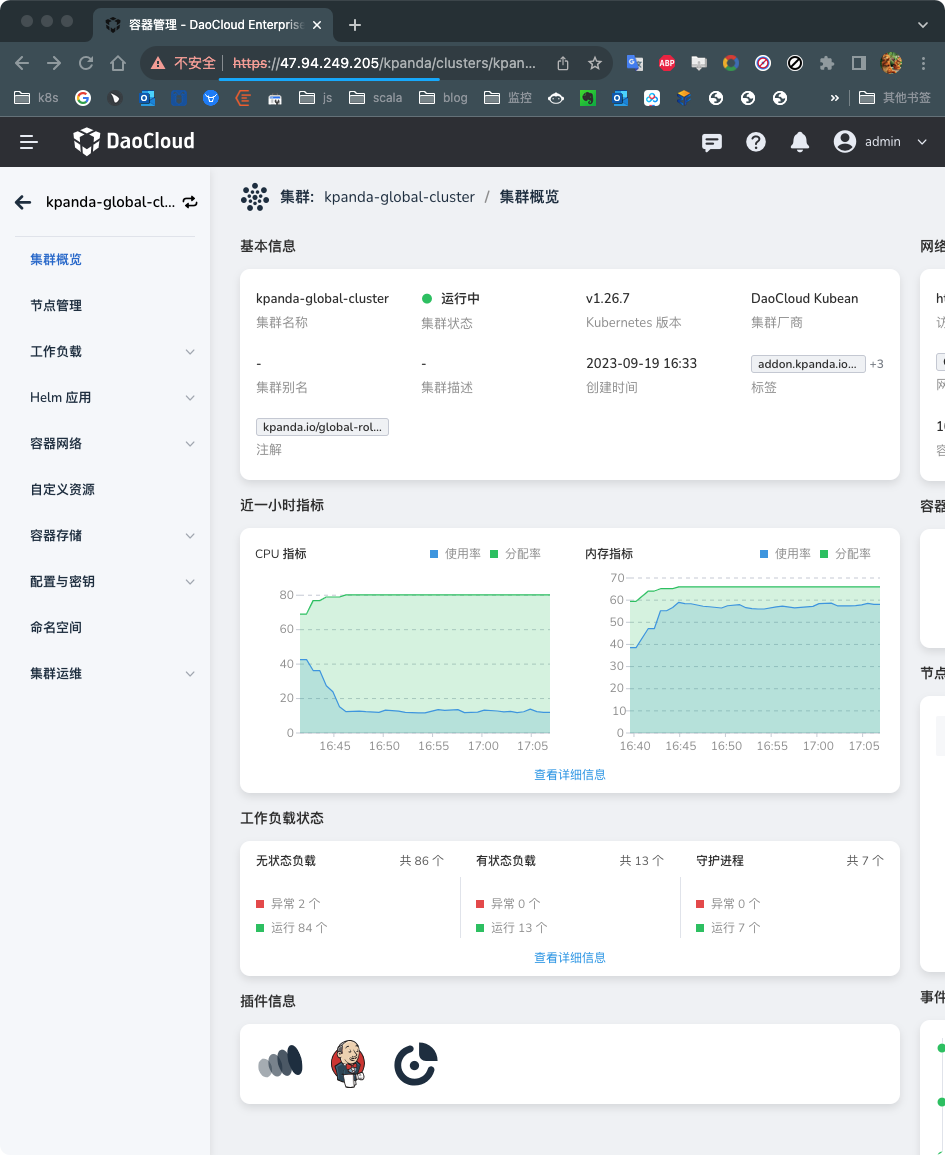
Modify the ghippo reverse proxy configuration following the documentation at Custom Reverse Proxy Server Address. After modification, you can directly access DCE 5.0 using the SLB's public IP address + Port, as shown in the following image:
Solution 2: cloudLB + CCM Component Deployment
-
Log in to a machine and download the dce5-installer binary file.
Assuming VERSION is v0.28.0:
-
Configure
clusterConfig.yaml.Use the following configuration, making sure to set
loadBalancer.type = cloudLBand fill in the private IP addresses of the hosts:clusterConfig.yamlapiVersion: provision.daocloud.io/v1alpha3 kind: ClusterConfig spec: loadBalancer: type: cloudLB masterNodes: - nodeName: "g-master1" ip: xx.xx.xx.xx ansibleUser: "root" ansiblePass: "dangerous" - nodeName: "g-master2" ip: xx.xx.xx.xx ansibleUser: "root" ansiblePass: "dangerous" - nodeName: "g-master3" ip: xx.xx.xx.xx ansibleUser: "root" ansiblePass: "dangerous" -
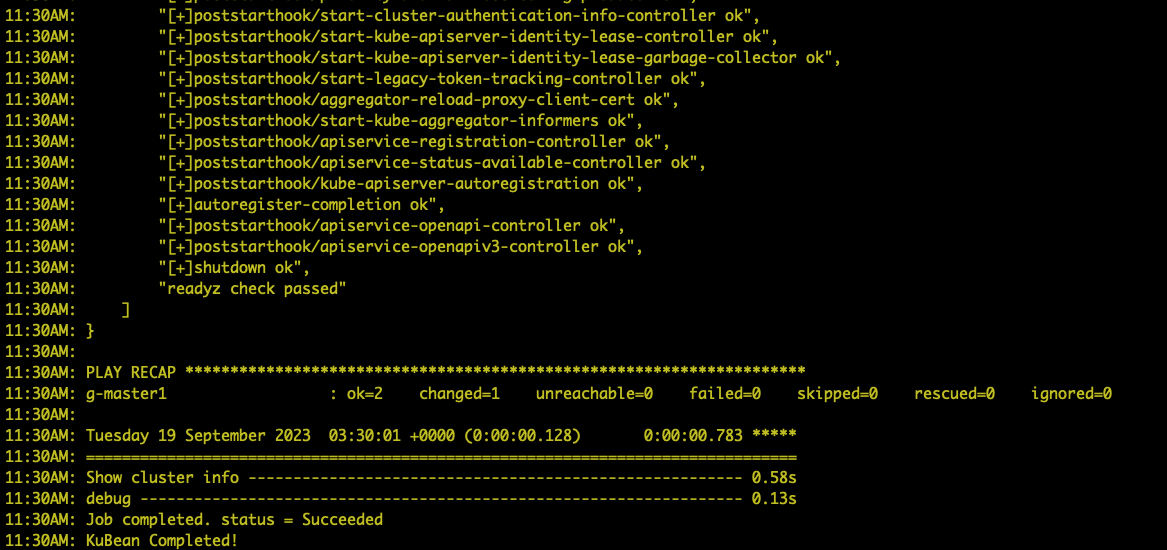
Start the installation and deploy the cluster
Use the -j parameter to specify steps 1, 2, 3, 4, 5, and 6 to complete the deployment of the k8s cluster.
After successful installation, the output result is as shown in the following figure:
-
Install Alibaba Cloud CCM
Refer to the Alibaba Cloud documentation for deployment.
The
nodeSelectorparameter in theccm.yamlfile needs to be modified tonode-role.kubernetes.io/control-plane: ""After successful installation, it should appear as shown in the following figures:

-
Continue the installation of DCE 5.0 and install all product components
Use the -j parameter to specify step 7 and above to complete the remaining steps.
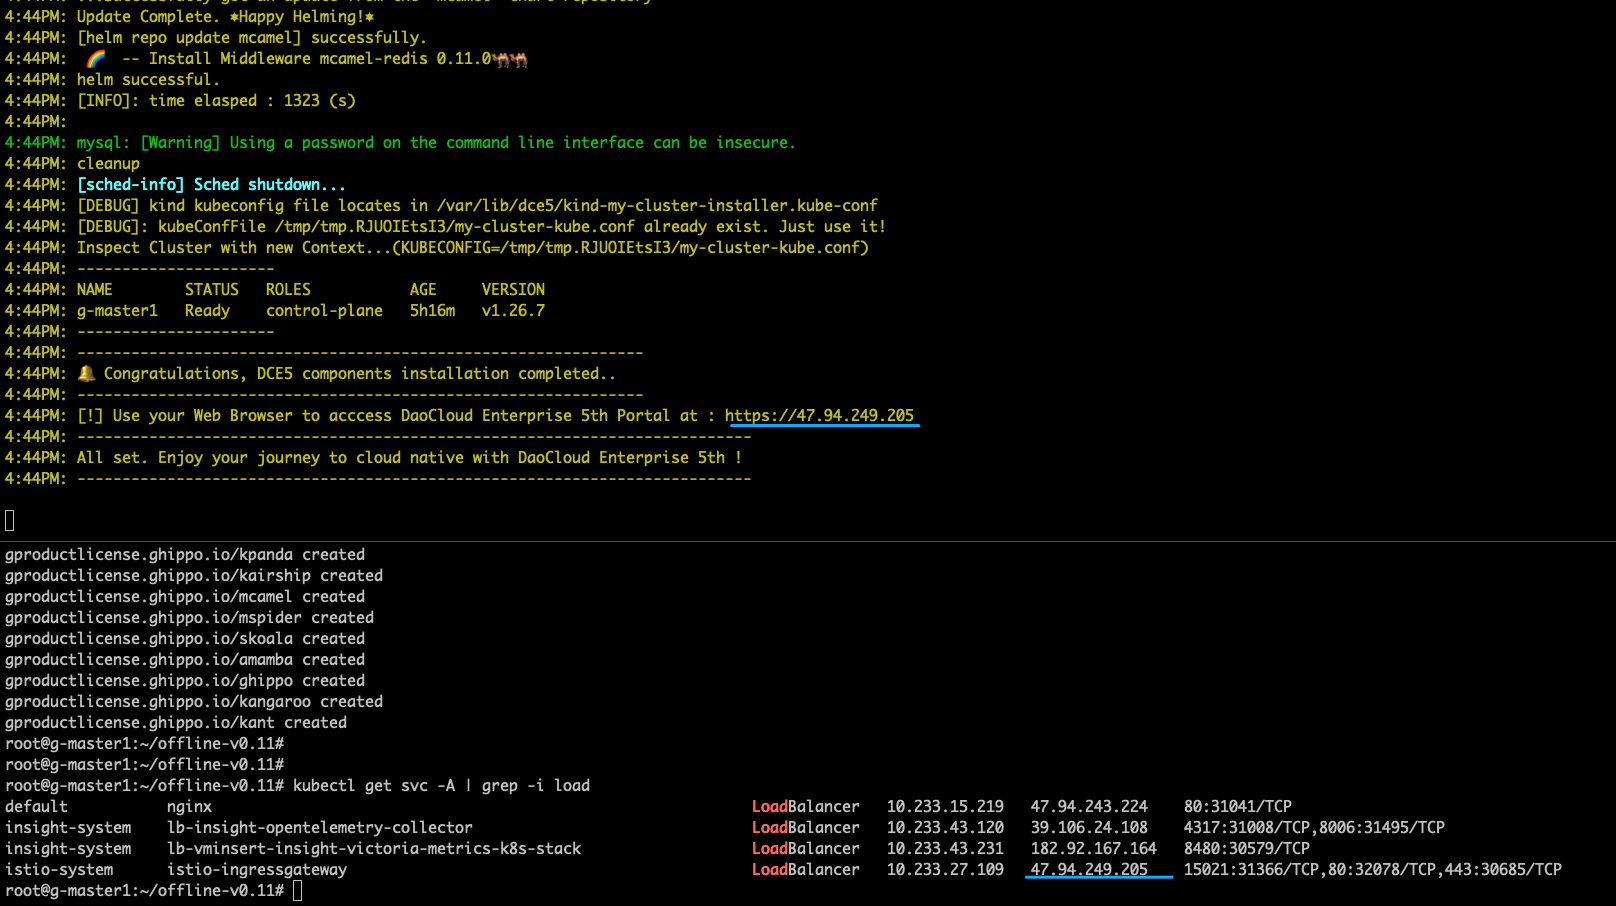
-
After successful installation, a public LB instance will be created by default, and DCE 5.0 can be accessed based on the assigned IP.
Solution 3: NodePort + CCM Component Deployment
-
Log in to a machine and download the dce5-installer binary file.
Assuming VERSION is v0.28.0:
-
Configure
clusterConfig.yaml.Use the following configuration, making sure to set
loadBalancer.type = NodePortand fill in the private IP addresses of the hosts:clusterConfig.yamlapiVersion: provision.daocloud.io/v1alpha3 kind: ClusterConfig spec: loadBalancer: type: NodePort masterNodes: - nodeName: "g-master1" ip: xx.xx.xx.xx ansibleUser: "root" ansiblePass: "dangerous" - nodeName: "g-master2" ip: xx.xx.xx.xx ansibleUser: "root" ansiblePass: "dangerous" - nodeName: "g-master3" ip: xx.xx.xx.xx ansibleUser: "root" ansiblePass: "dangerous" -
Start the installation
-
Installation successful
-
The installed
istio-ingressgatewayservice looks as shown in the following image:
-
Install CCM by following the steps mentioned in Solution 2.
-
Modify the
istio-ingressgatewayservice's type toLoadBalancer.Before modification:

After modification:

-
Modify the ghippo reverse proxy configuration.
Refer to the documentation on Custom Reverse Proxy Server Address, where the proxy address should be set to the IP address assigned to
istio-ingressgatewaywhen its type was changed toLoadBalancer. After successful modification, you can access it using this IP address.