MinIO
Introduction to MinIO
MinIO is a high-performance, distributed, S3-compatible multicloud object storage system suite. MinIO natively supports Kubernetes and can support all public cloud, private cloud and edge computing environments. MinIO is a GNU AGPL v3 open source software-defined product that can run well on standard hardware such as x86 and other devices.

MinIO's architectural design has been aimed at private cloud standards with high performance requirements from the very beginning, pursuing the ultimate performance on the basis of realizing all the features required by object storage. MinIO is easy to use, efficient, and high-performance, and can provide cloud native object storage services with elastic scalability in a simpler way.
MinIO performs well in traditional object storage use cases (such as auxiliary storage, disaster recovery, and archiving), and is also unique in storage technologies in machine learning, big data, private cloud, hybrid cloud, etc., including data analysis, high-performance application loads, native cloud applications, etc.
MinIO architecture design
MinIO is designed for a cloud native architecture that can run as a lightweight container and be managed by an external orchestration service such as Kubernetes. MinIO's entire service package is approximately less than 100 MB of static binaries, makes efficient use of CPU and memory resources even under heavy load, and can co-host a large number of tenants on shared hardware. The corresponding architecture diagram is as follows:
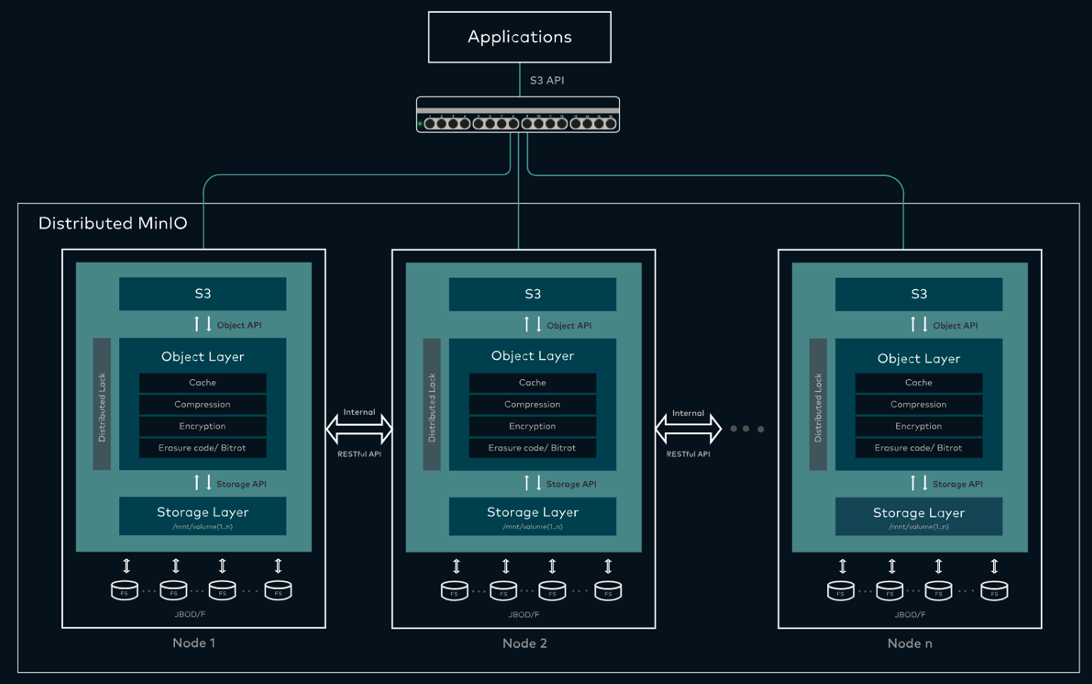
MinIO is used as the main storage for cloud native applications. Compared with traditional object storage, cloud native applications require higher throughput and lower latency, and these are the performance metrics that MinIO can achieve. The read/write speed is as high as 183 GB/s and 171 GB/s.
The ultimate high performance of MinIO is inseparable from the underlying storage platform. Local storage has the highest read and write performance among many storage protocols, which undoubtedly provides performance guarantee for MinIO. HwameiStor is exactly the storage system that meets the requirements of the cloud native era. It has the advantages of high performance, high availability, automation, low cost, and rapid deployment, and can replace expensive traditional SAN storage.
MinIO can run on standard servers with local drives (JBOD/JBOF). The cluster is a fully symmetric architecture, meaning that all servers are functionally identical, there are no namenodes or metadata servers.
MinIO writes data and metadata together as objects eliminating the need for a metadata database. MinIO performs all features in an inline, strictly consistent operation, including erasure codes, bit rotrot checks, encryption, and more.
Each MinIO cluster is a collection of distributed MinIO servers, one process per node. MinIO runs as a single process in user space and uses lightweight coroutines to achieve high concurrency. Drives are grouped into Scratch Sets (by default, 16 drives per group), and objects are placed on those Scratch Sets using a deterministic hashing algorithm.
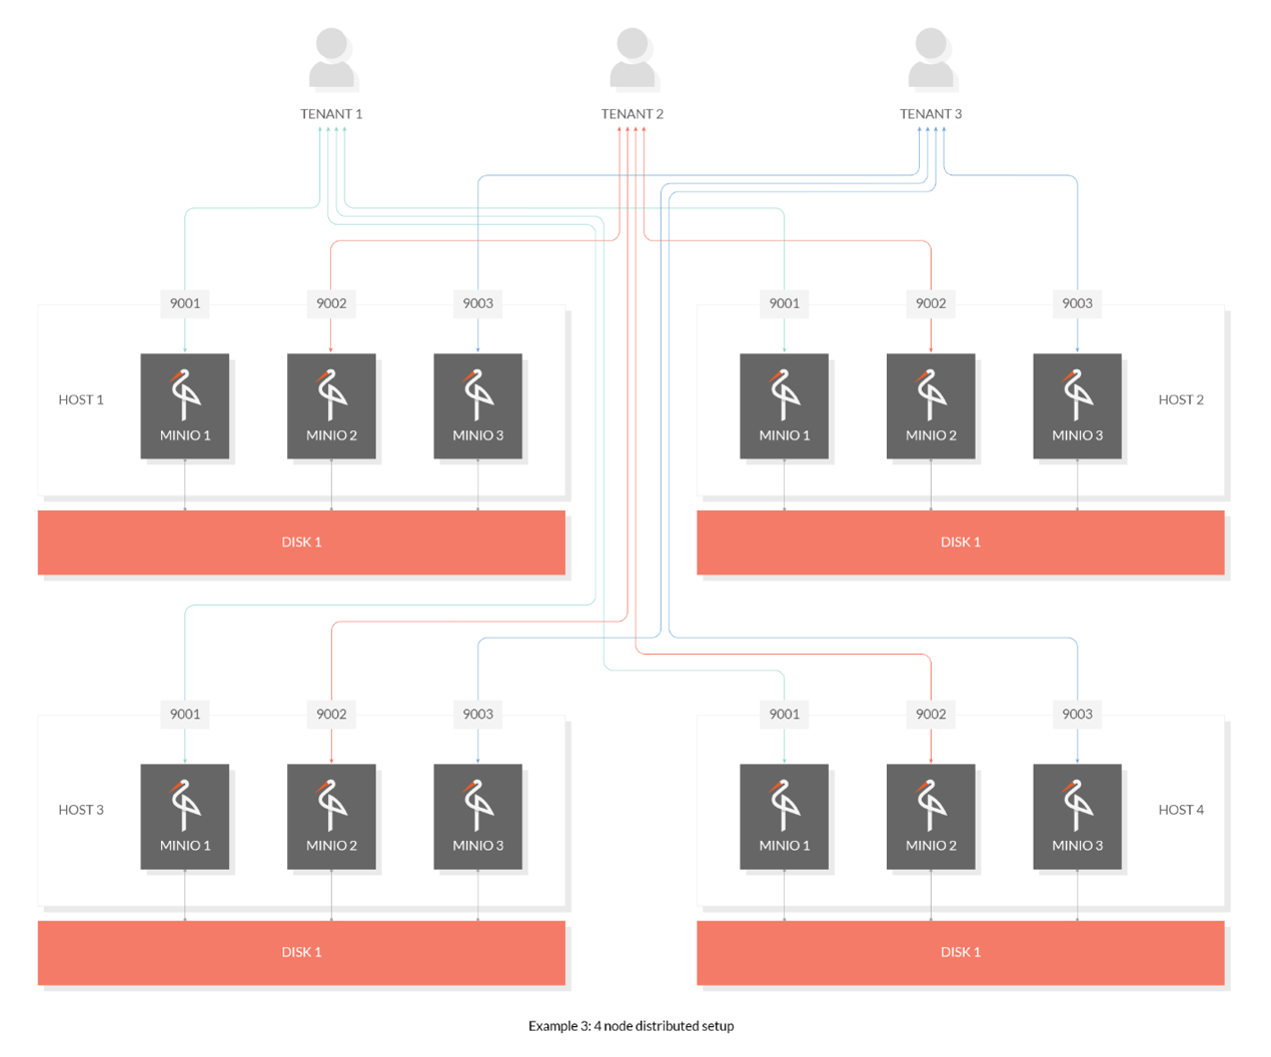
MinIO is designed for large-scale, multi-datacenter cloud storage services. Each tenant runs its own MinIO cluster that is completely isolated from other tenants, allowing tenants to be immune to any disruptions from upgrades, updates, and security incidents. Each tenant scales independently by federating clusters across geographic regions.
Advantages of using HwameiStor as the base to build MinIO
Using HwameiStor as the base to build a MinIO storage solution to build a smart, stable, and sensitive comprehensive enhanced local storage has the following advantages.
- Automated operation and maintenance management
It can automatically discover, identify, manage, and allocate disks. Smart scheduling of applications and data based on affinity. Automatically monitor disk status and give timely warning.
- Highly available data
Use cross-node replicas to synchronize data to achieve high availability. When a problem occurs, the application will be automatically scheduled to the high-availability data node to ensure the continuity of the application.
- Abundant data volume types
Aggregate HDD, SSD, and NVMe disks to provide low-latency, high-throughput data services.
- Flexible and dynamic linear expansion
It can be dynamically expanded according to the size of the cluster to flexibly meet the data persistence requirements of the application.
- Rich use cases, widely adapt to enterprise needs, and adapt to high-availability architecture middleware
Middleware such as Kafka, ElasticSearch, and Redis have their own high-availability architecture, and at the same time have high requirements for IO access to data. The LVM-based single-copy local data volume provided by HwameiStor can well meet their requirements.
- Provide highly available data volumes for applications
OLTP databases such as MySQL require the underlying storage to provide highly available data storage, which can quickly restore data when a problem occurs, and also require high-performance data access. The double-copy high-availability data volume provided by HwameiStor can well meet such needs.
- Automated operation and maintenance of traditional storage software
MinIO, Ceph and other storage software need to use the disk on the Kubernetes node, which can be used in PVC/PV mode. Automatically use HwameiStor's single-copy local volume through the CSI driver, quickly respond to the deployment, expansion, migration and other requirements of the business system, and realize automatic operation and maintenance based on Kubernetes.
test environment
Follow the steps below to deploy the Kubernetes cluster, HwameiStor local storage, and MinIO in sequence.
Deploy the Kubernetes cluster
This test uses three virtual machine nodes to deploy a Kubernetes cluster: 1 Master + 2 Worker nodes, and the kubelet version is 1.22.0.

Deploy HwameiStor local storage
Deploy HwameiStor local storage on Kubernetes.

Each of the two Worker nodes is configured with five disks (SDB, SDC, SDD, SDE, SDF) for HwameiStor local disk management.


View local storage node status.

The storageClass is created.

Distributed multi-tenant source deployment and installation (minio operator)
This section explains how to deploy minio operator, how to create tenants, and how to configure HwameiStor local volumes.
Deploy the minio operator
Follow the steps below to deploy minio operator.
-
Copy the minio operator repository to the local.


-
Enter the helm operator directory:
/root/operator/helm/operator.
-
Deploy the minio-operator instance.
-
Check the running status of the minio-operator resource.

Create a tenant
Follow the steps below to create a tenant.
-
Go to
/root/operator/examples/kustomization/basedirectory. Modify tenant.yaml as follows.
-
Enter the
/root/operator/helm/tenant/directory. Modify thevalues.yamlfile as follows.
-
Go to
/root/operator/examples/kustomization/tenant-litedirectory. Modify thekustomization.yamlfile as follows.
-
Modify the
tenant.yamlfile as follows.
-
Modify the
tenantNamePatch.yamlfile as follows.
-
Create a tenant:
-
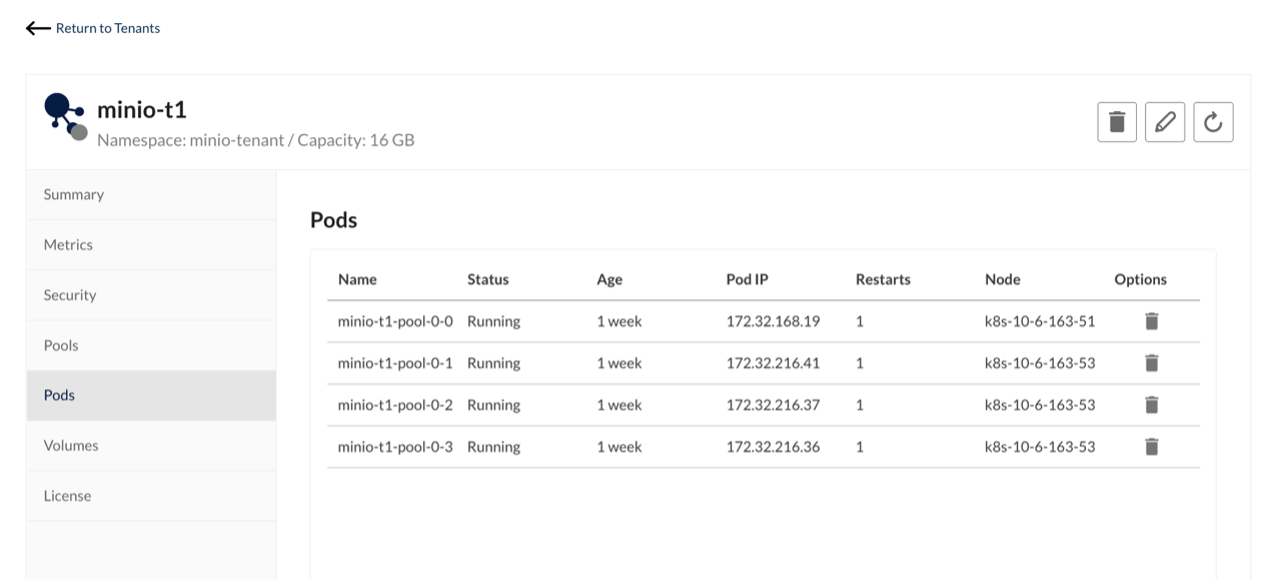
Check the tenant minio-t1 resource status:

-
If you want to create a new tenant, you can create a new
tenantdirectory under the/root/operator/examples/kustomizationdirectory (this case istenant-lite-2) and make corresponding modifications to the corresponding files .
-
Run
kubectl apply –k .to create a new tenantminio-t2.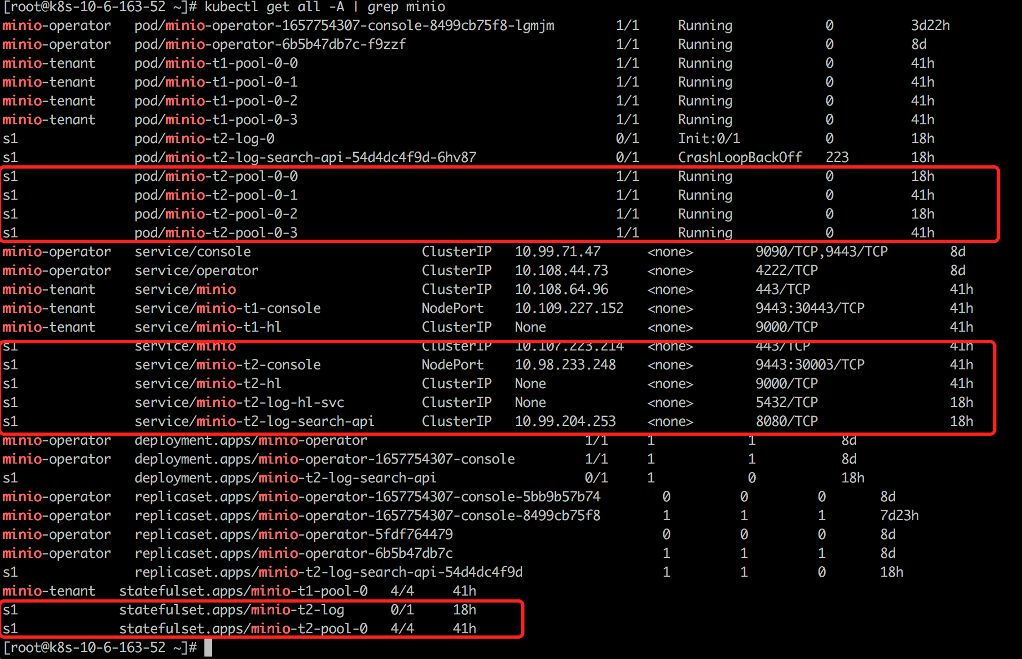
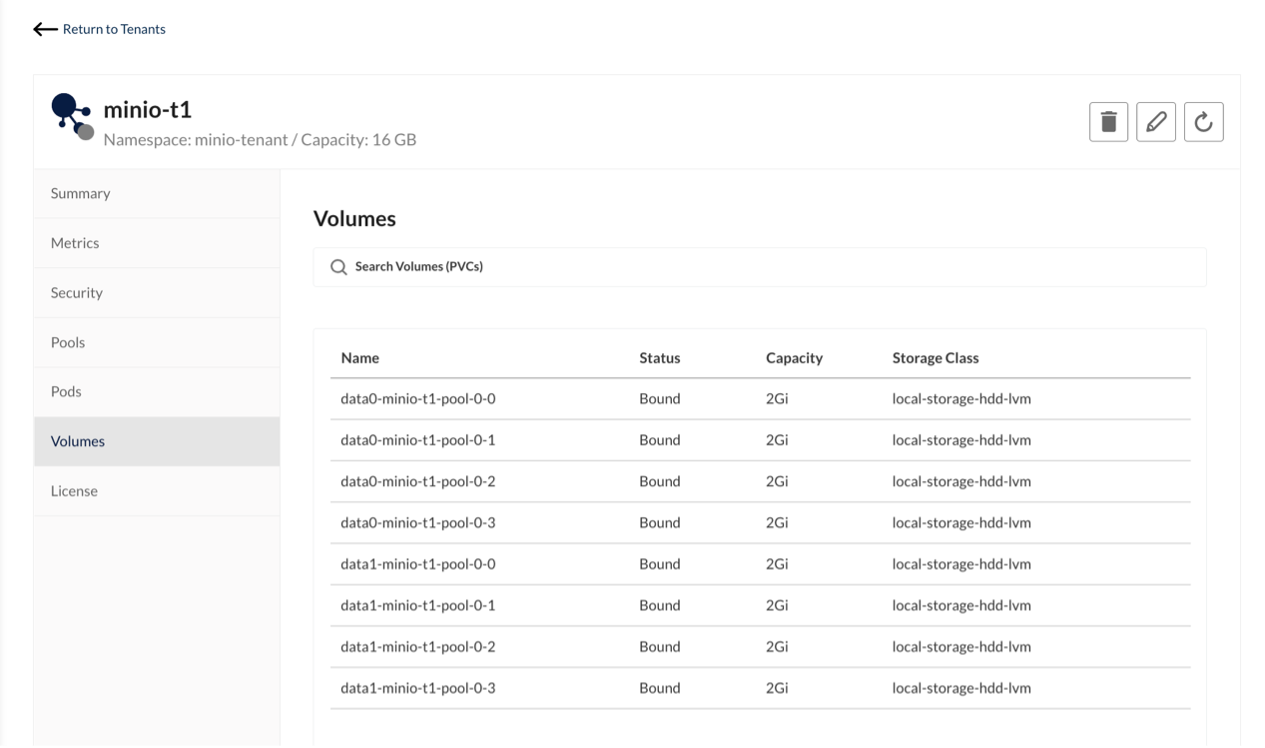
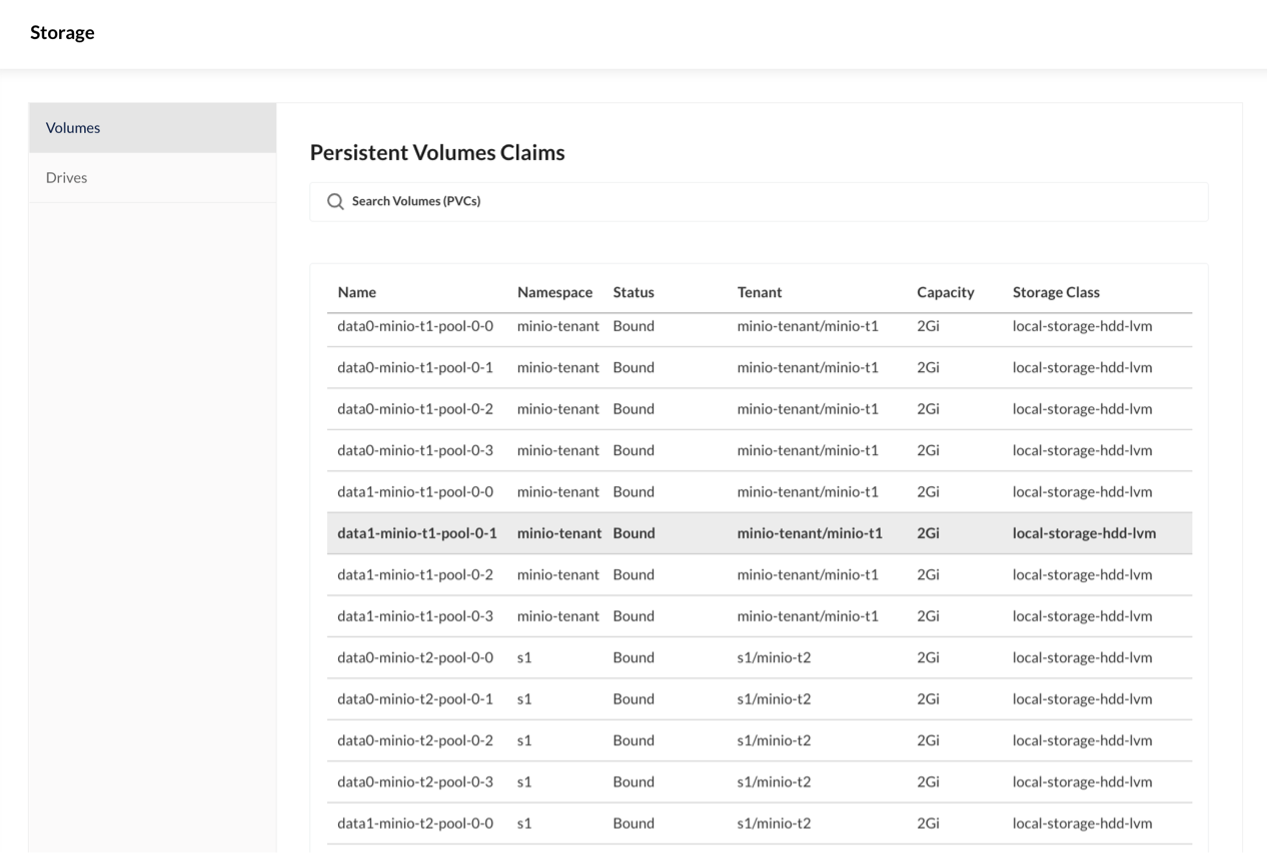
Configure HwameiStor local volume
Run the following commands in sequence to configure a local volume.


HwameiStor and MinIo test verification
After completing the above configurations, basic functional tests and multi-tenant isolation tests were performed.
Basic functional testing
The steps of the basic feature test are as follows.
-
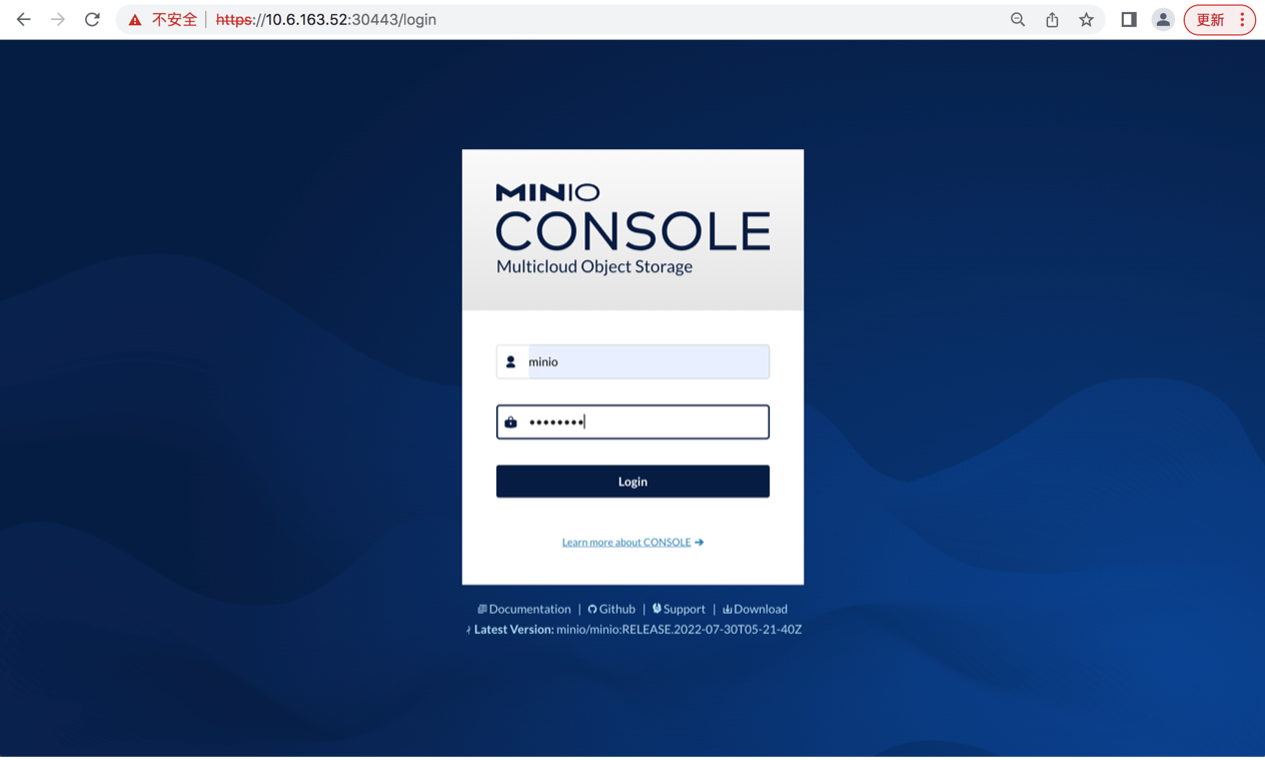
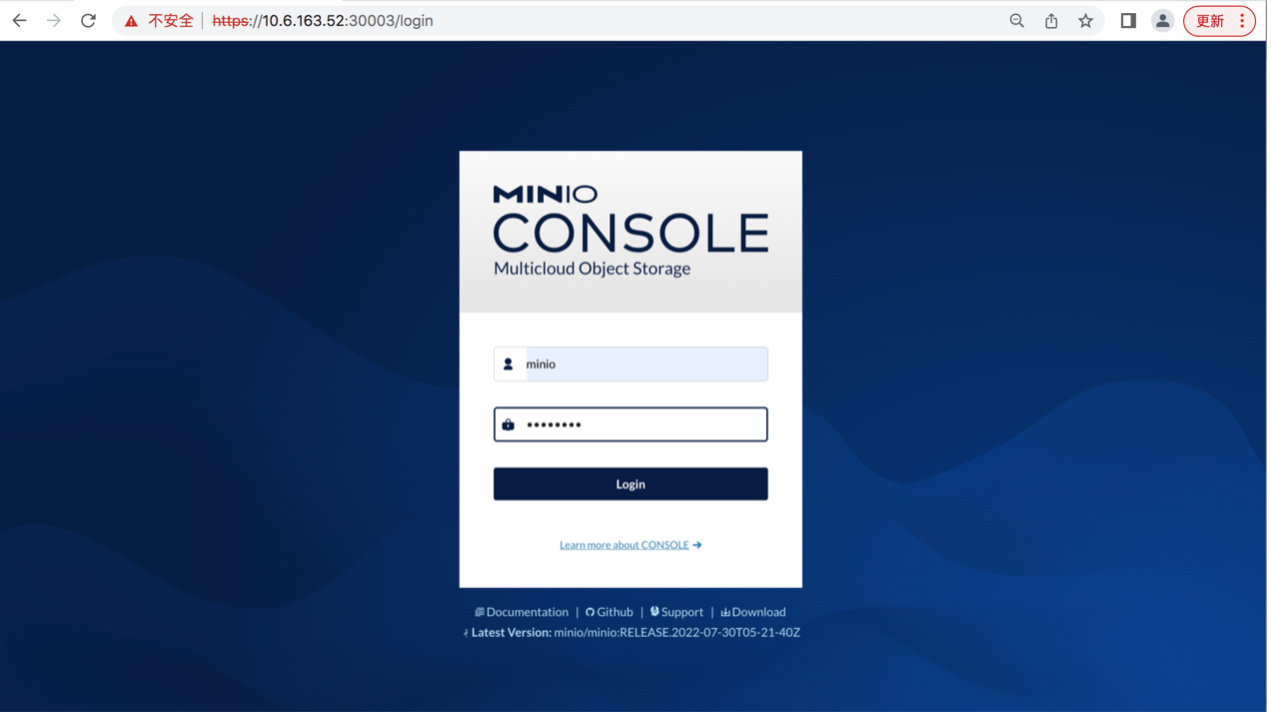
Log in to
minio console: 10.6.163.52:30401/loginfrom the browser.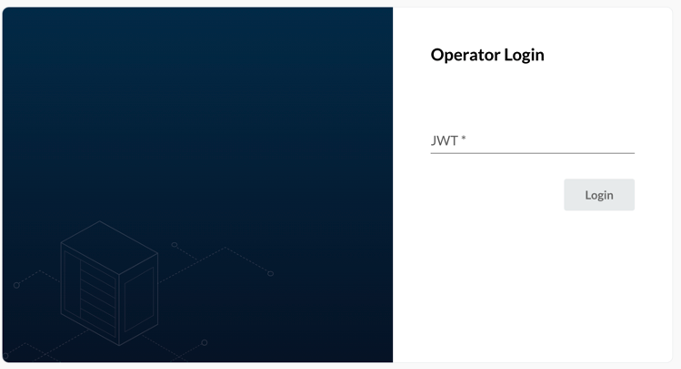
-
Obtain the JWT through
kubectl minio proxy -n minio-operator.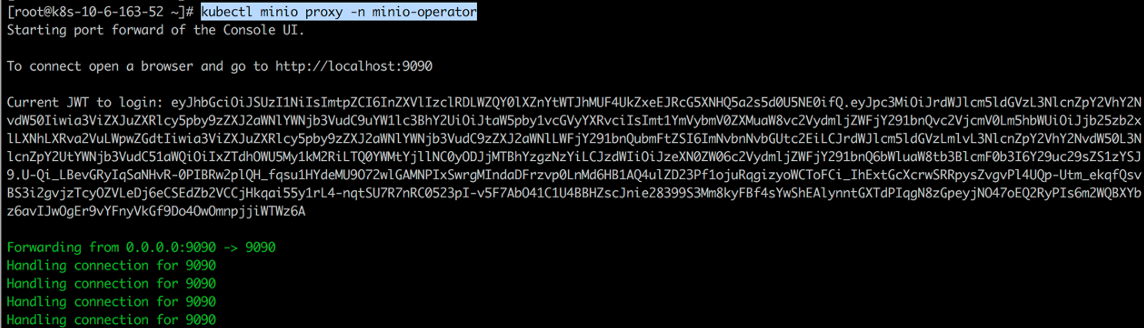
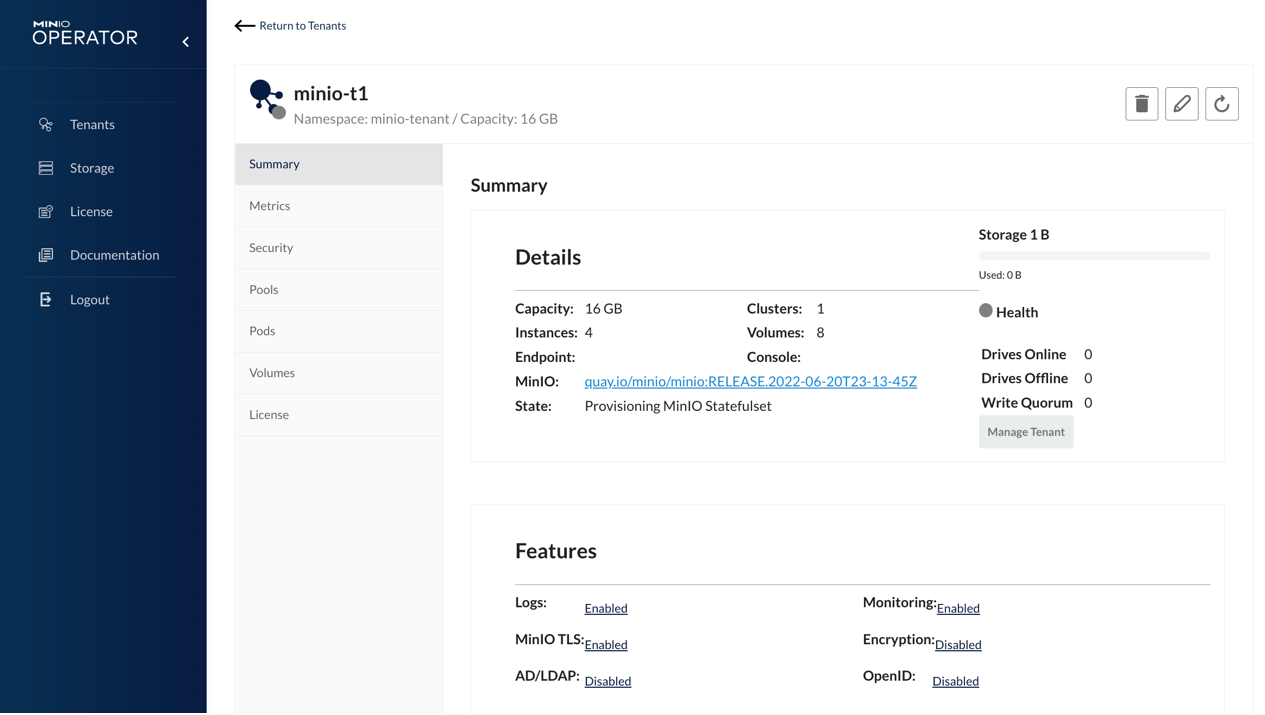
-
Browse and manage the created tenant information.

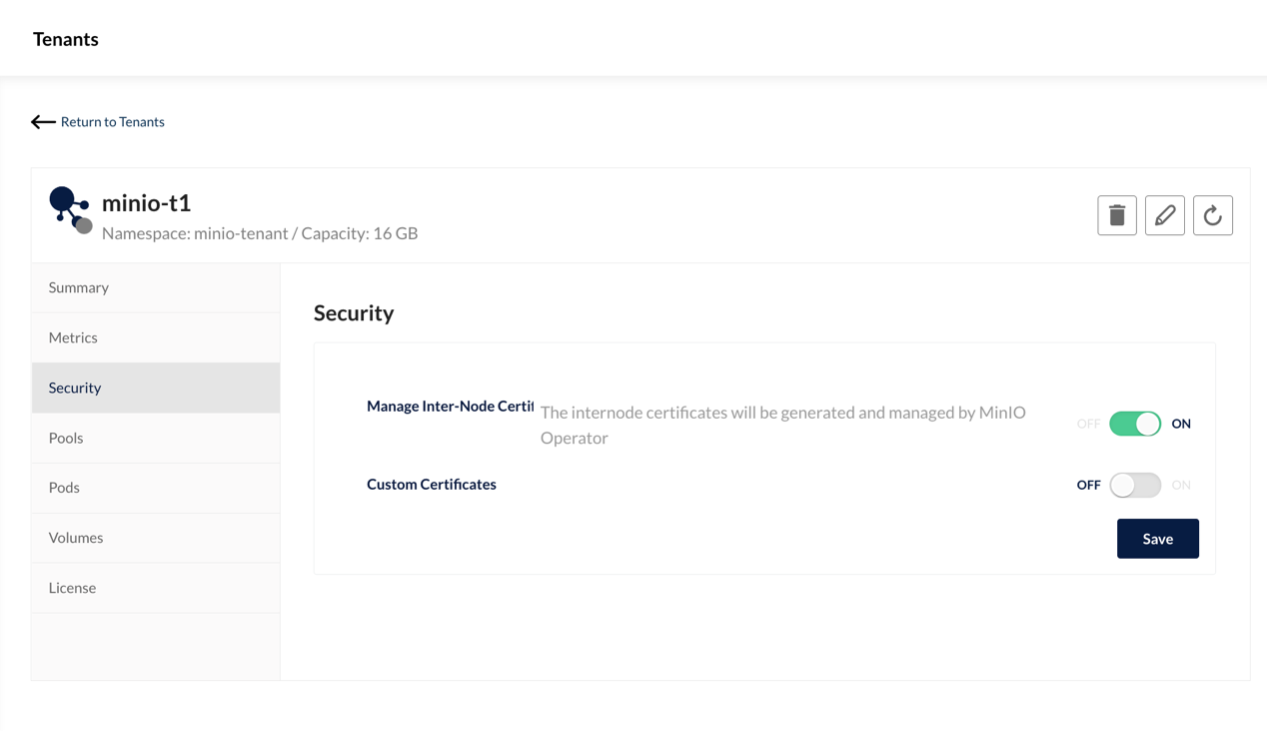
-
Log in to the minio-t1 tenant (username minio, password minio123).
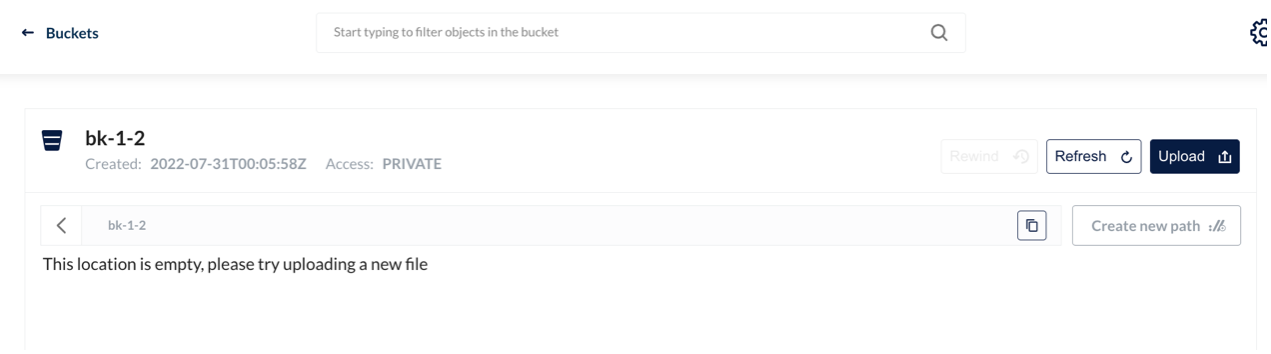
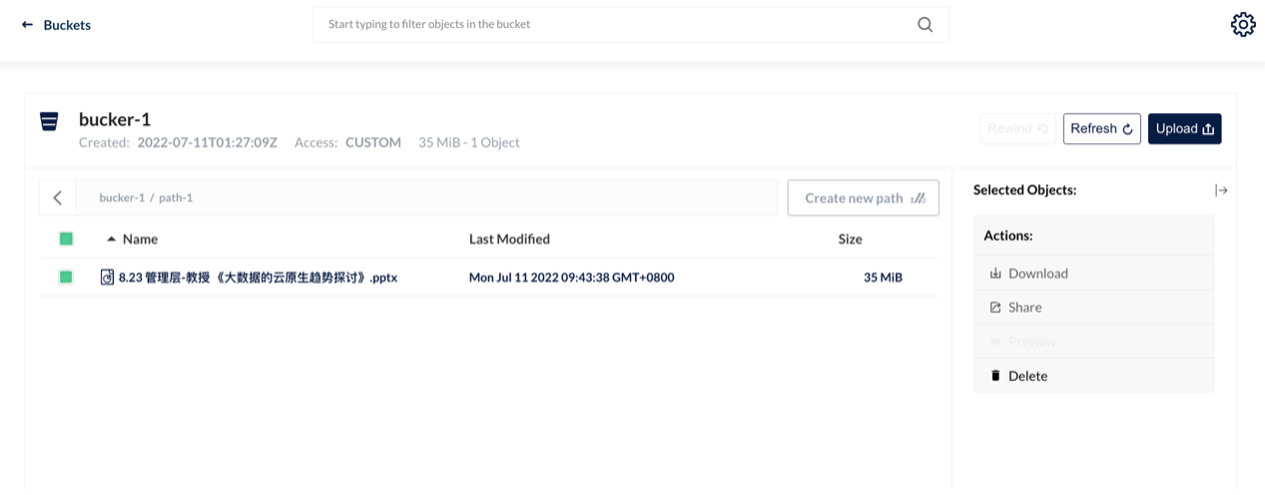
-
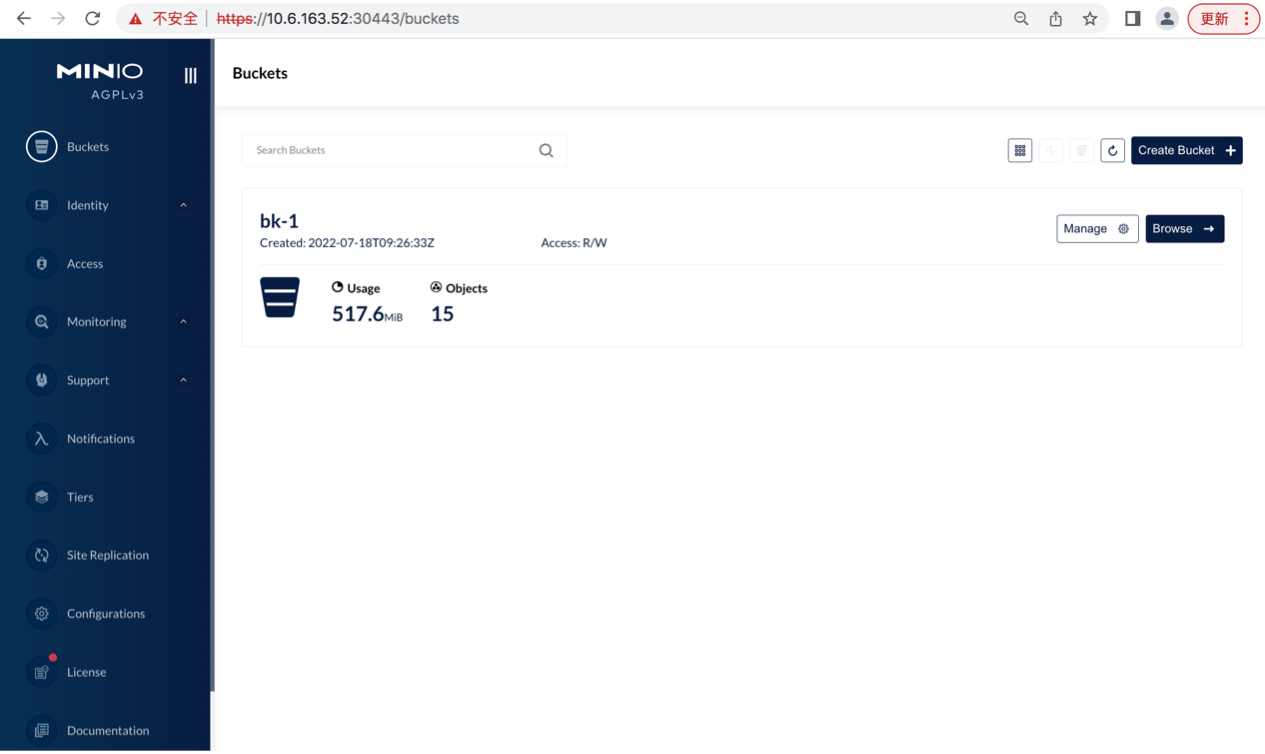
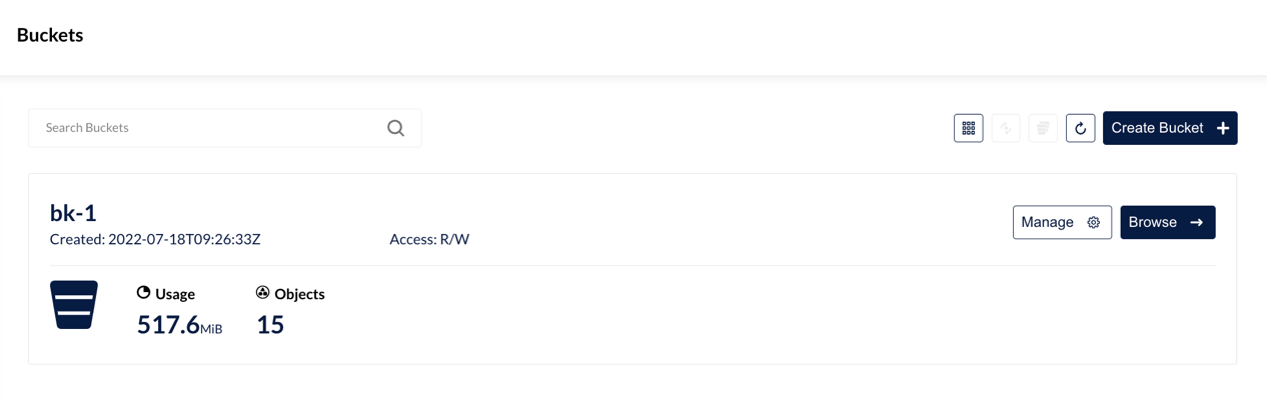
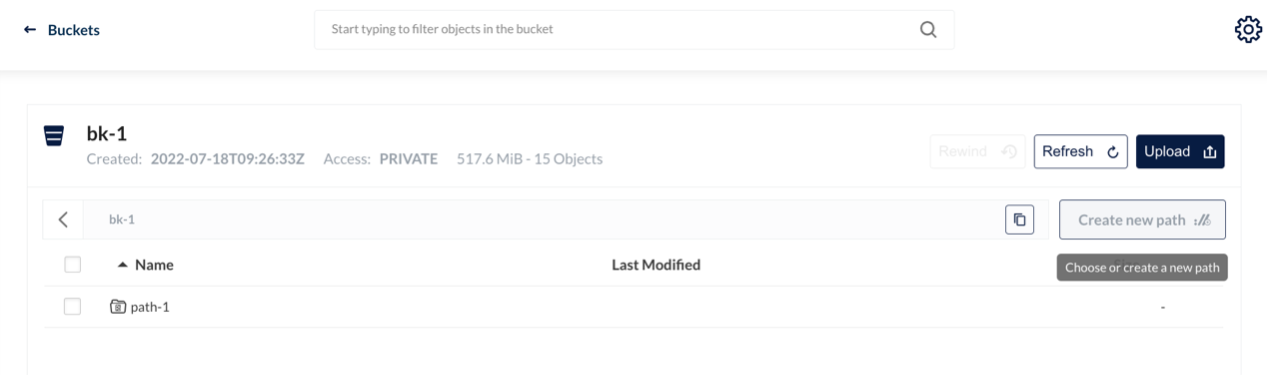
Browse bucket bk-1.
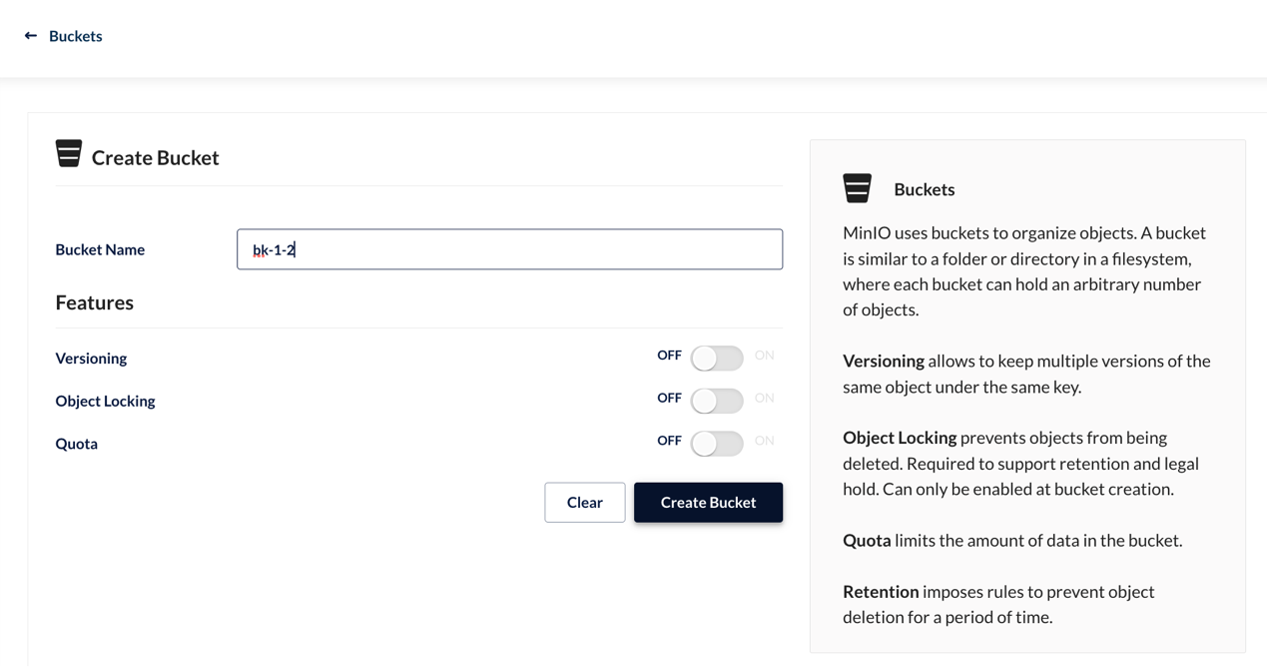
-
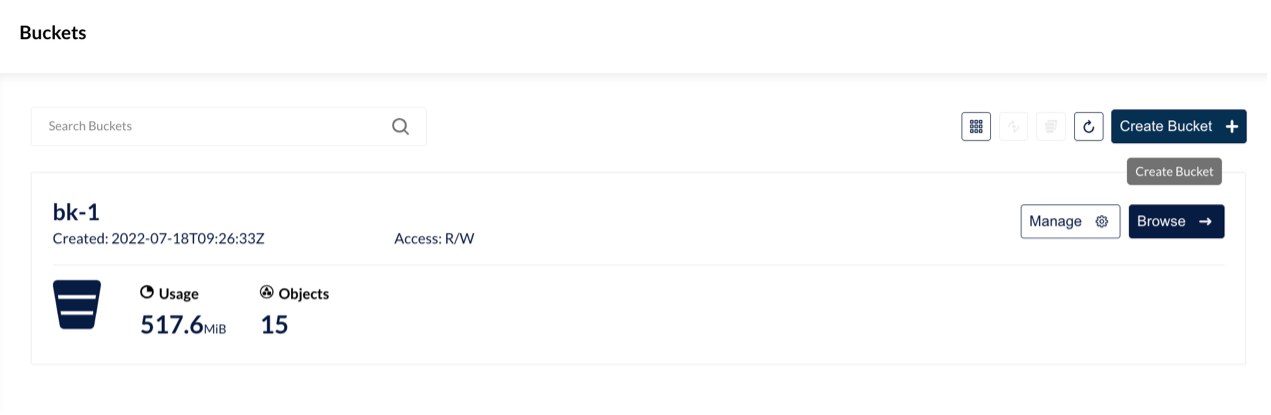
Create a new bucket bk-1-1.
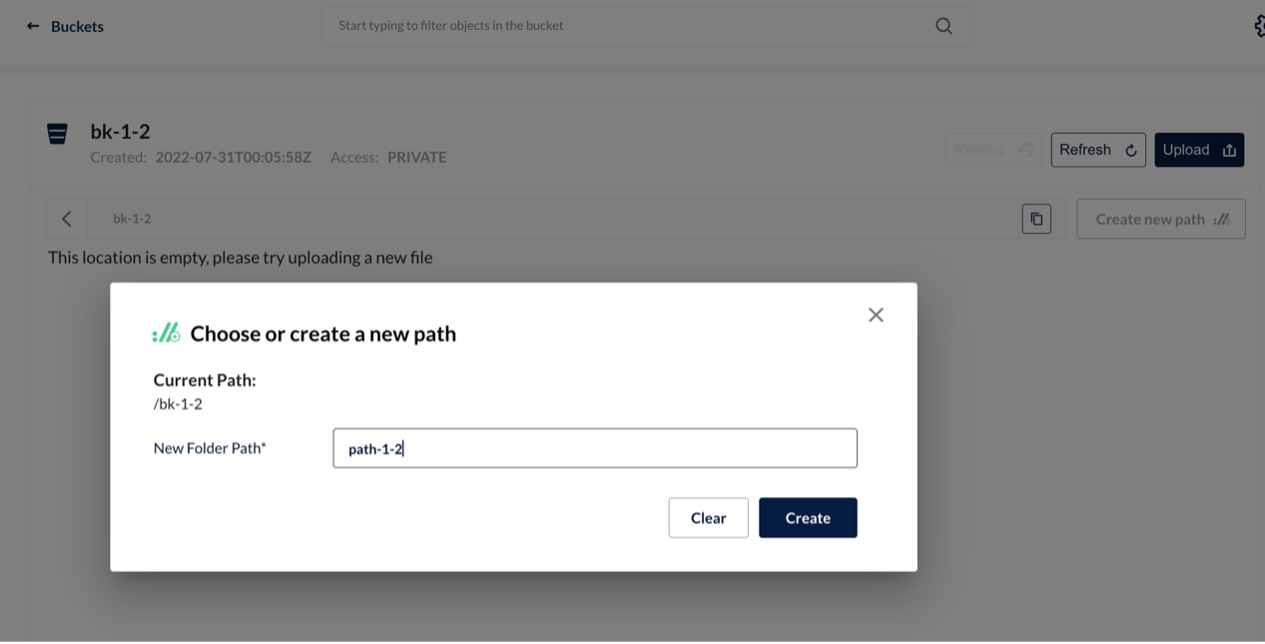
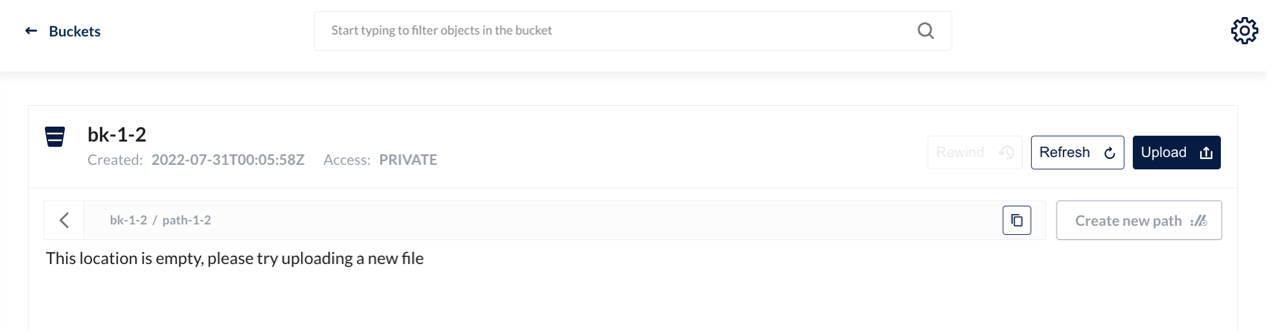
-
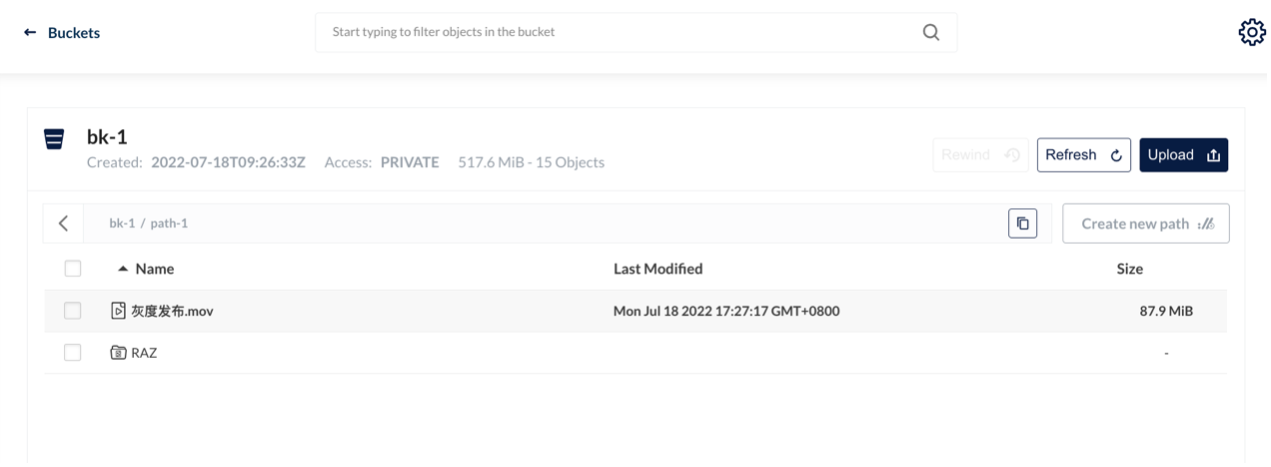
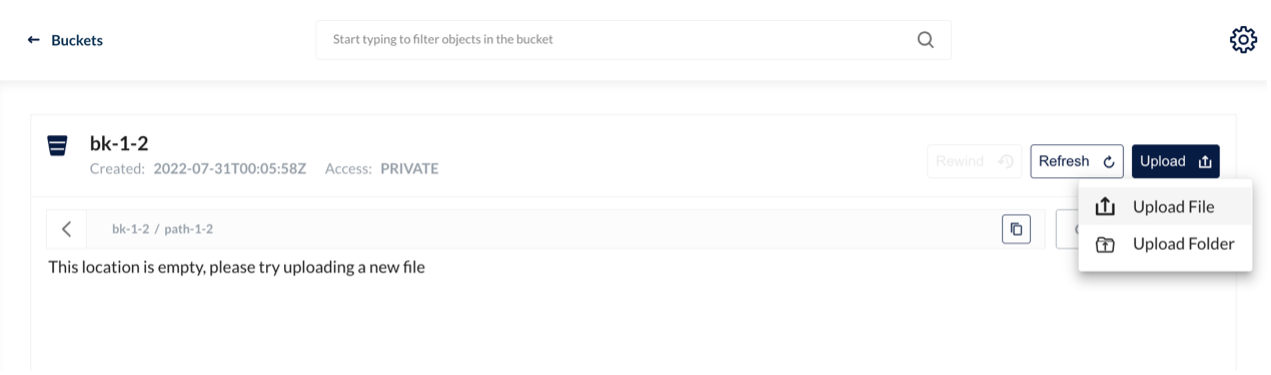
Create the path path-1-2.
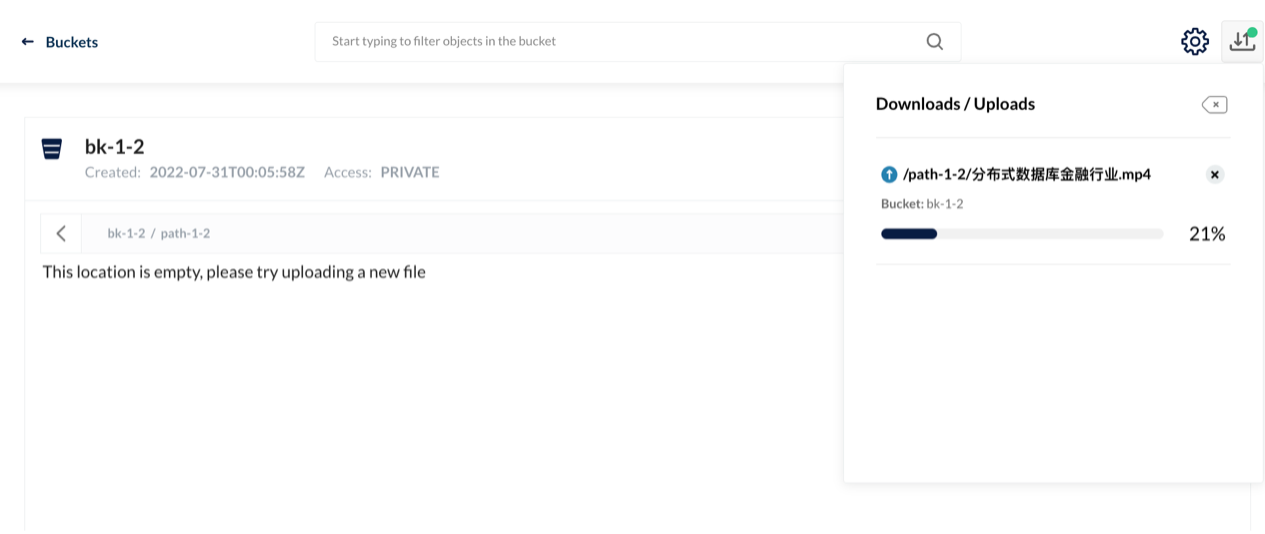
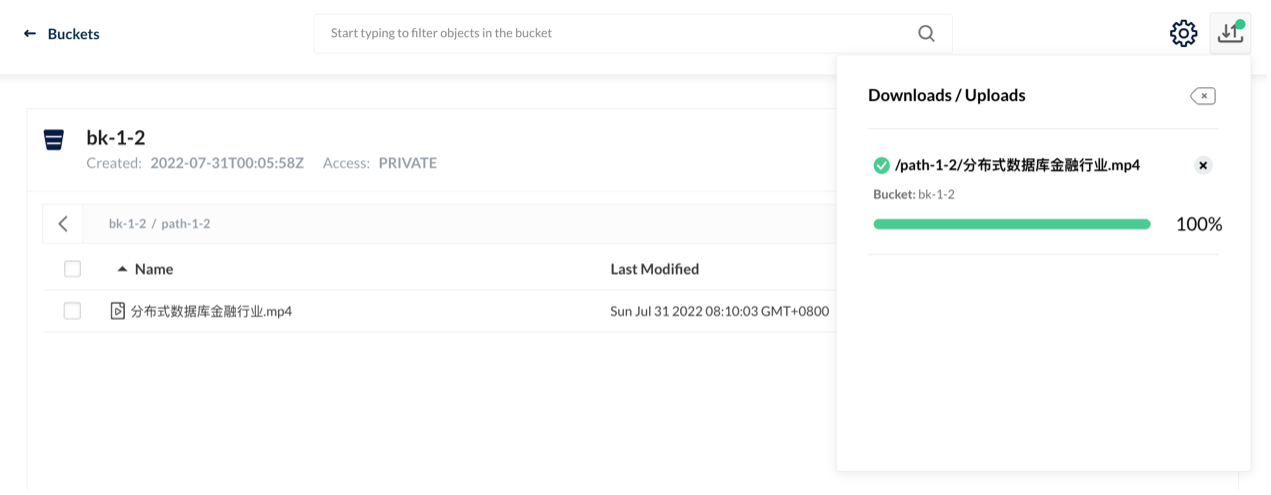
-
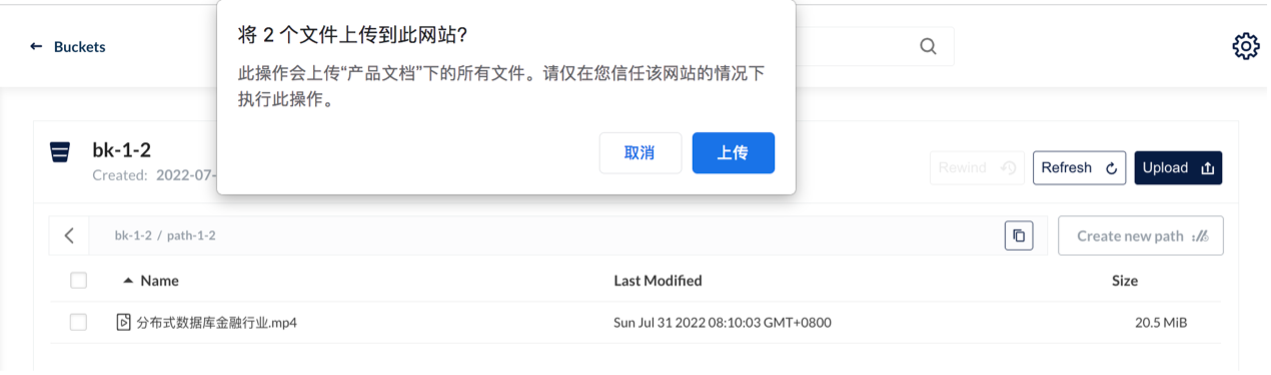
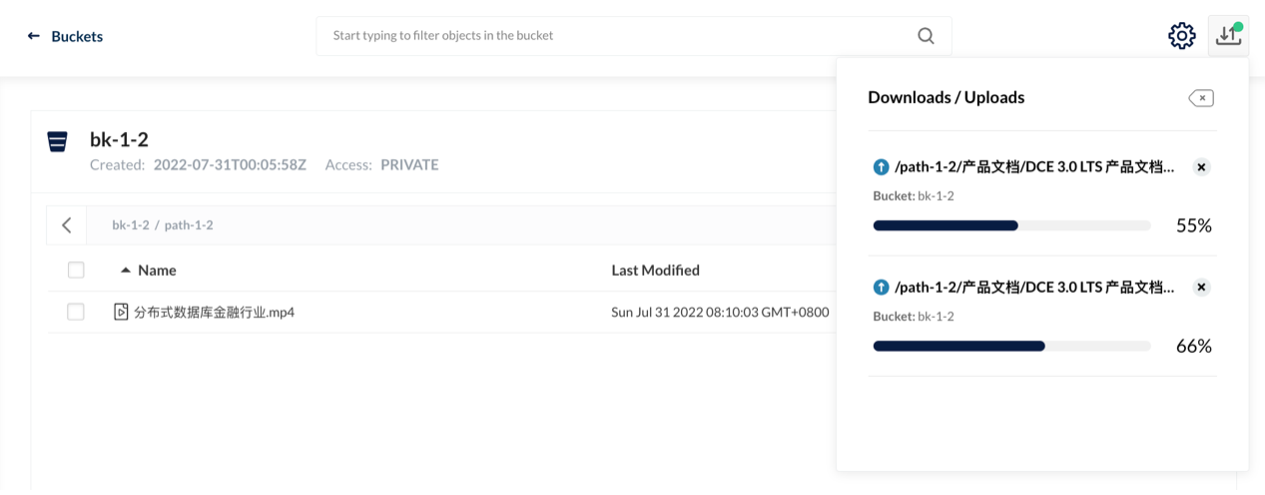
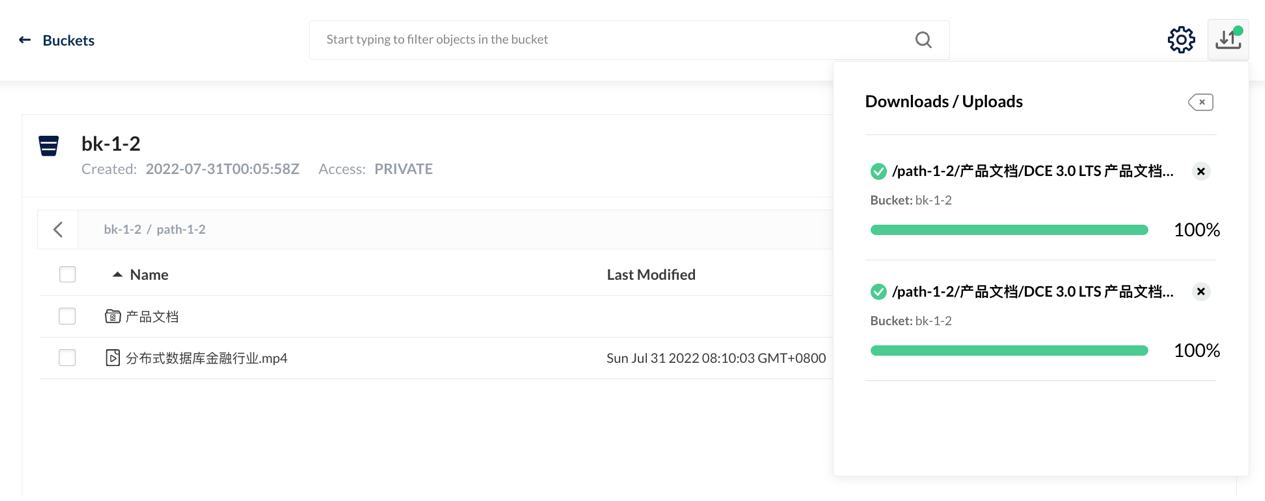
Uploaded files successfully.
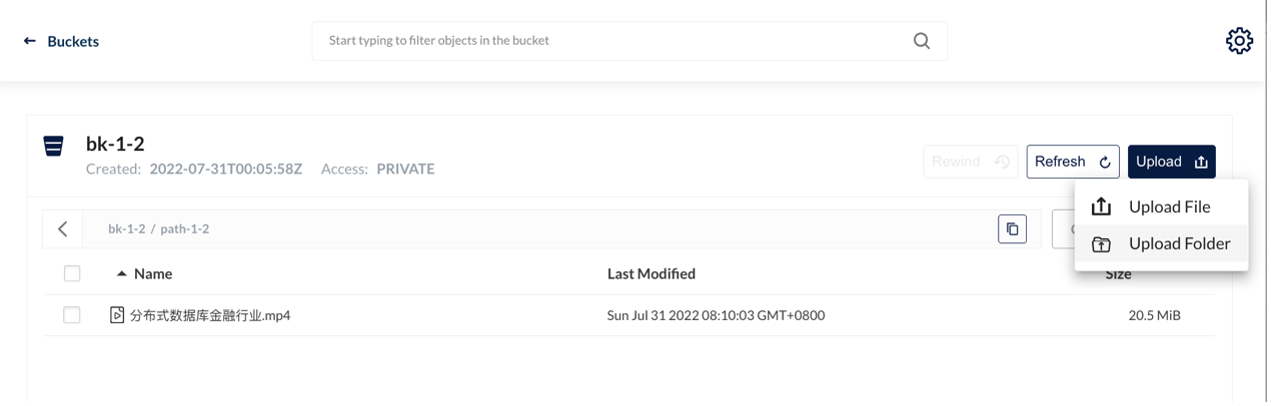
-
Uploaded folder successfully.
-
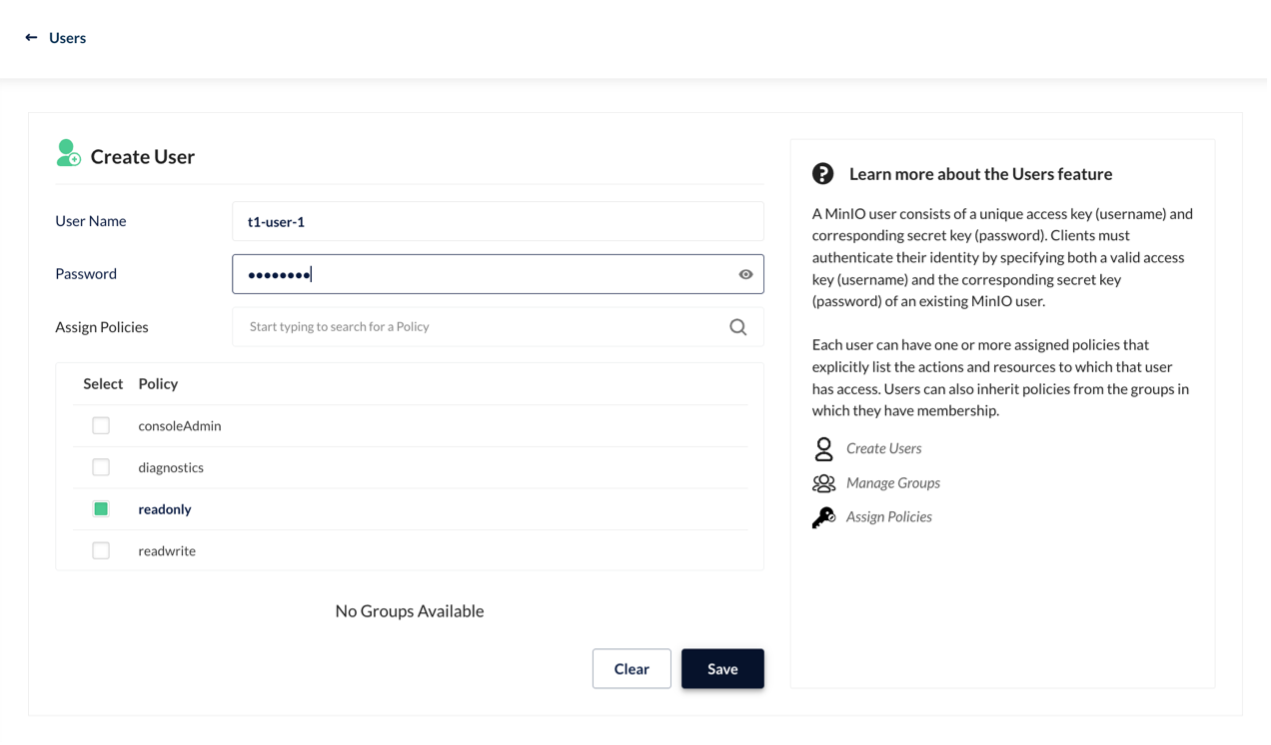
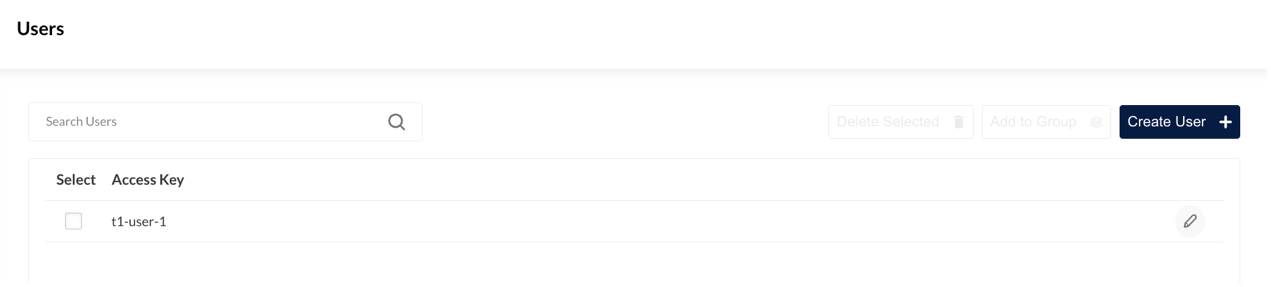
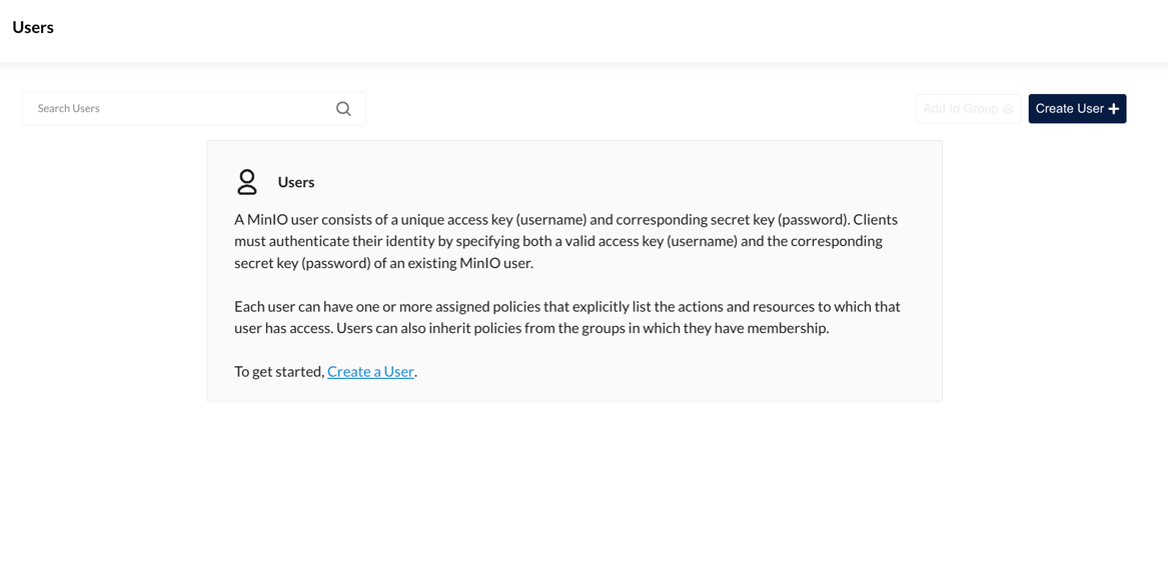
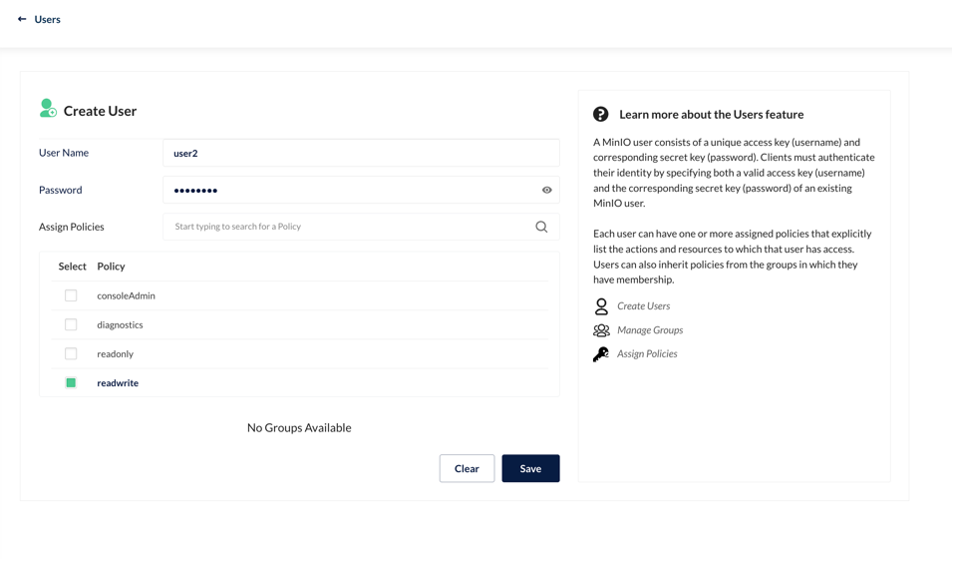
Create a read-only user:
Multi-tenant isolation test
Perform the following steps for multi-tenant isolation testing.
-
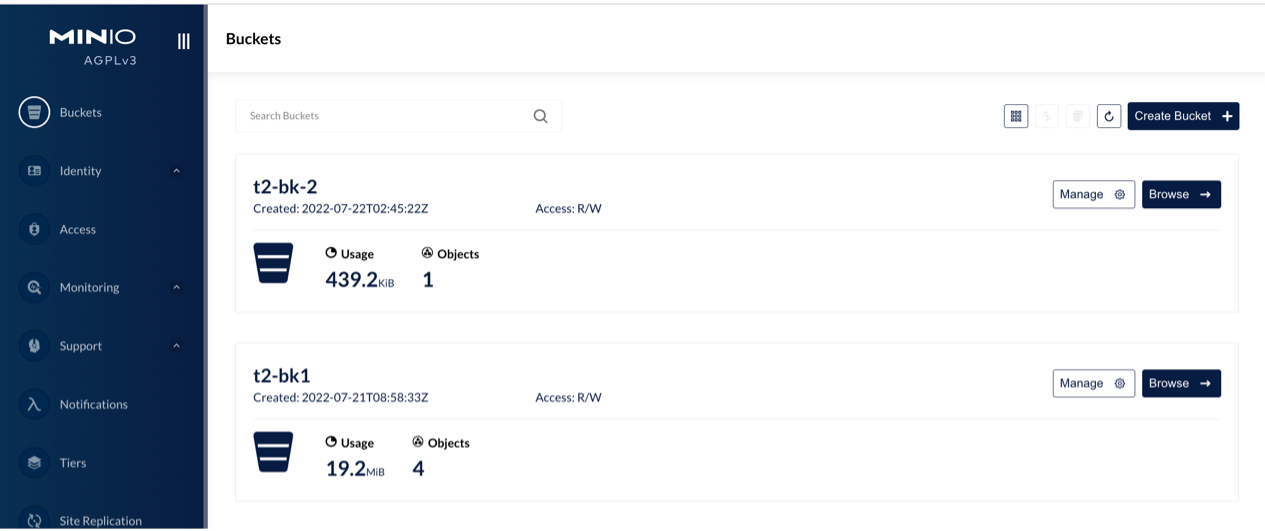
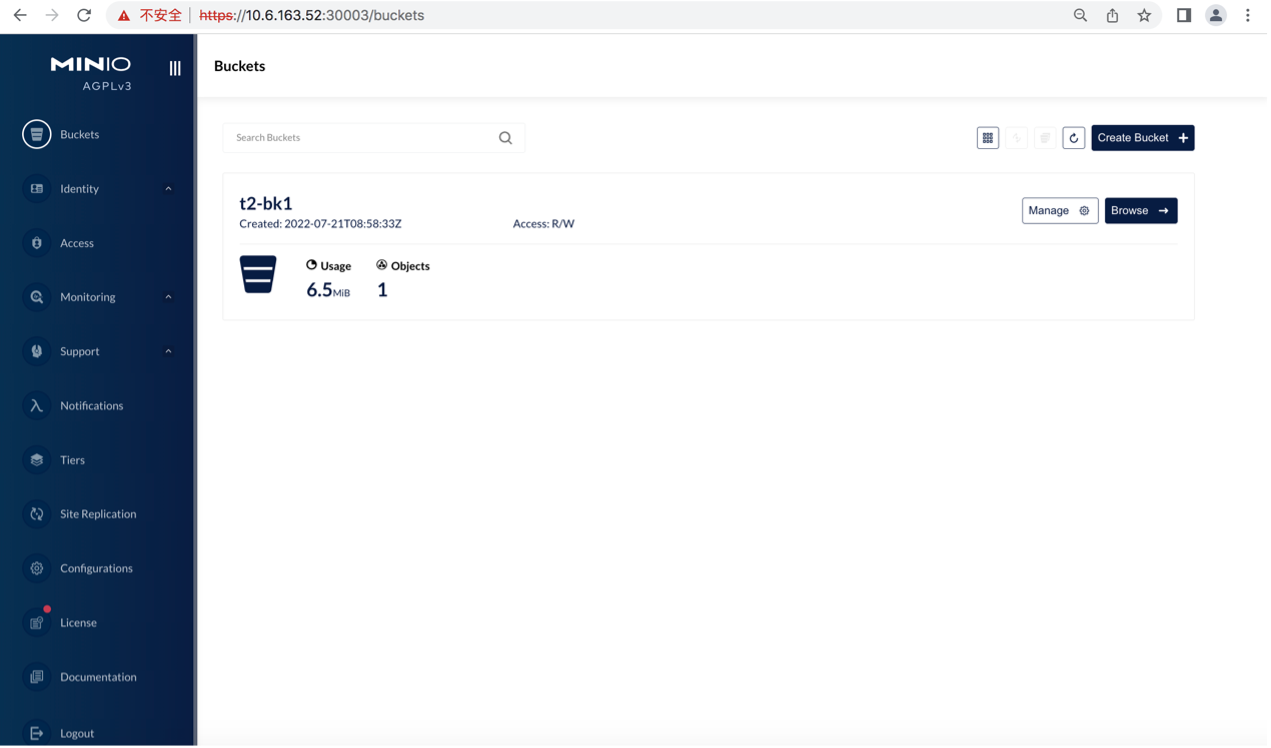
Log in to the minio-t2 tenant.
-
At this time, only the content of minio-t2 can be seen, and the content of minio-t1 is blocked.
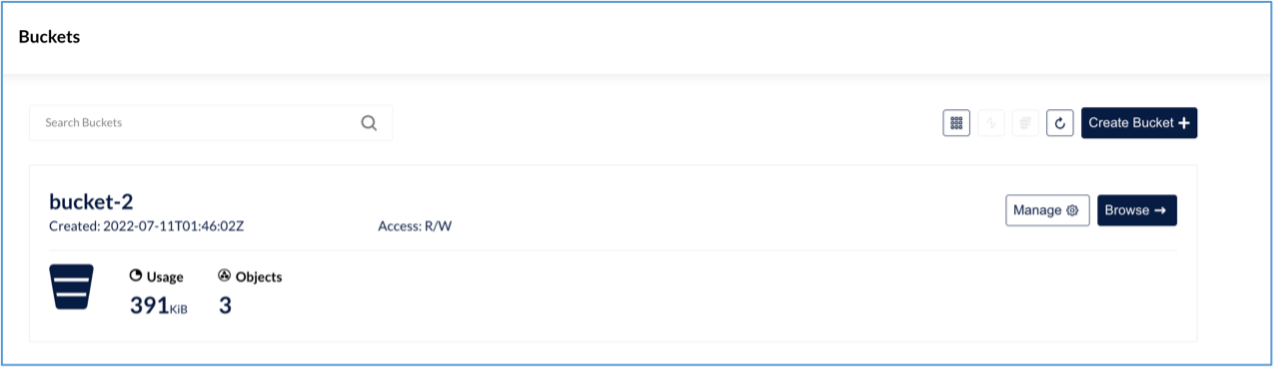
-
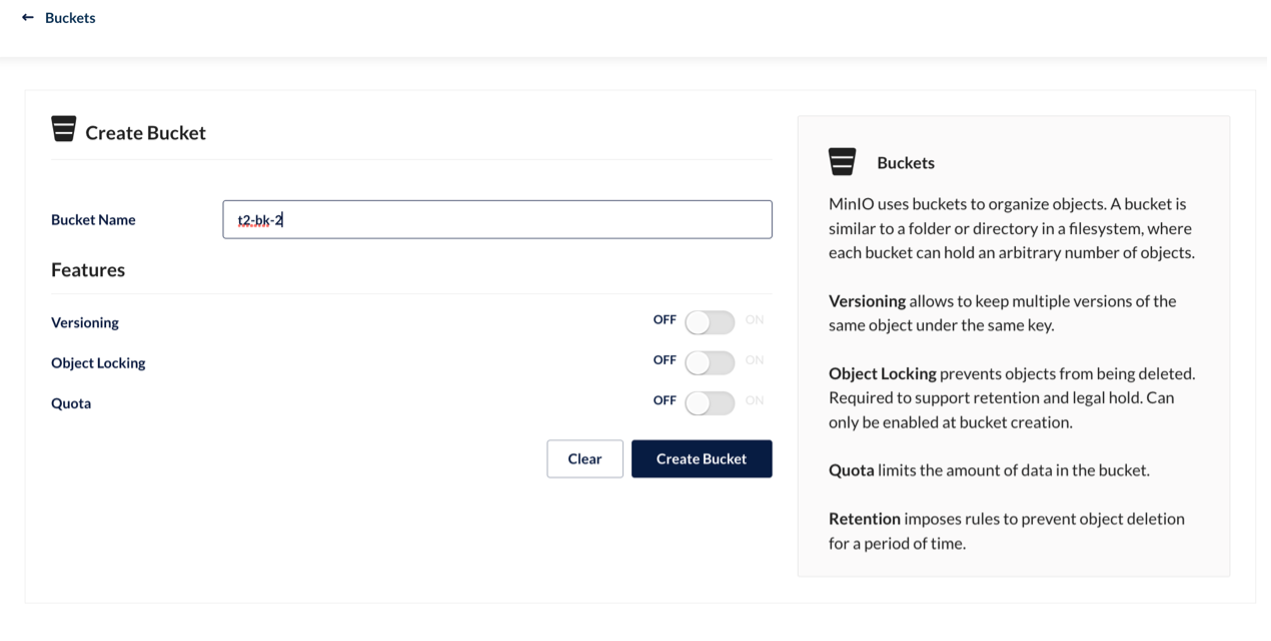
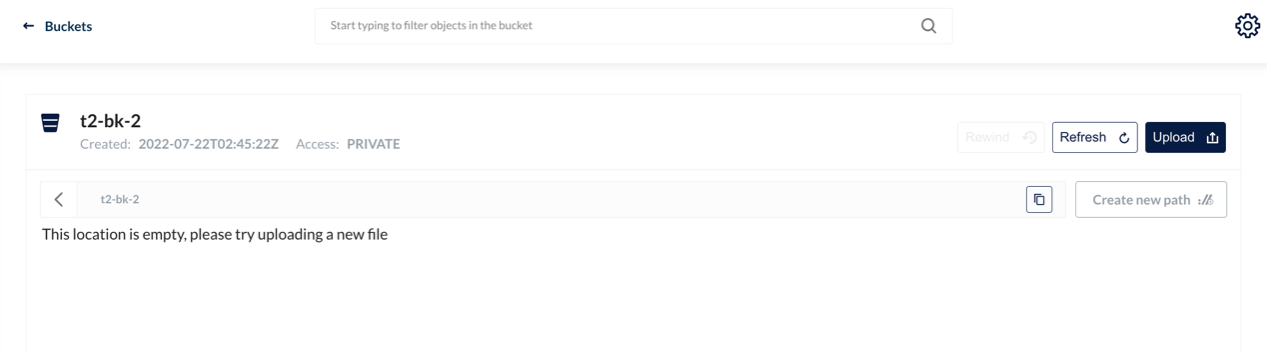
Create buckets.
-
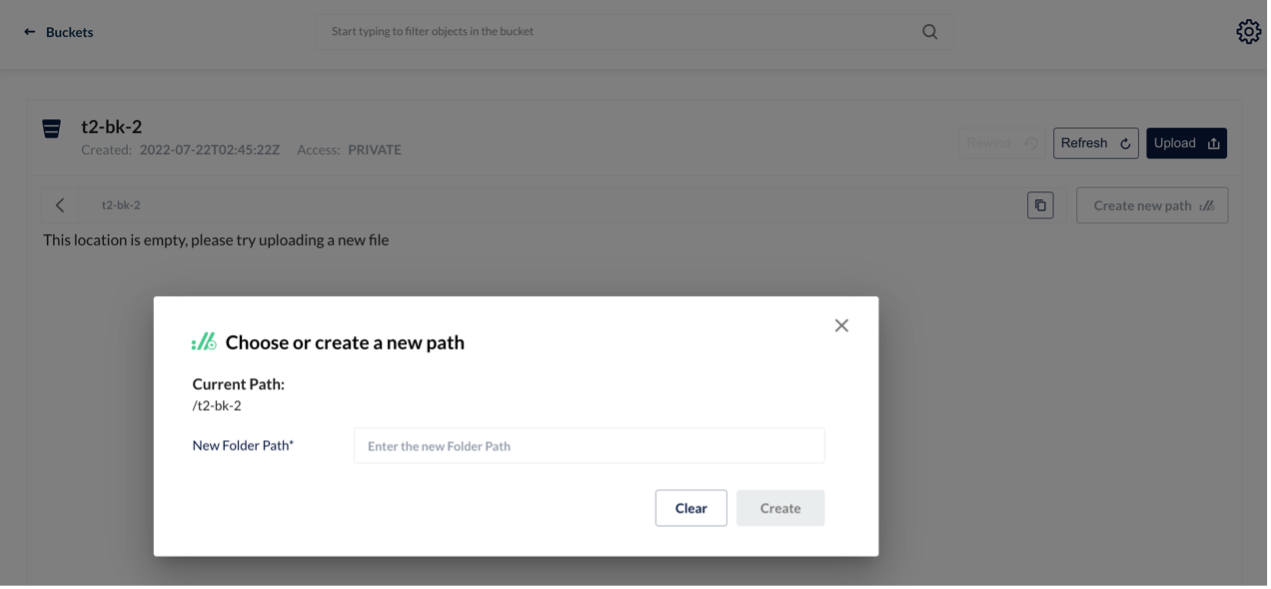
Create paths.

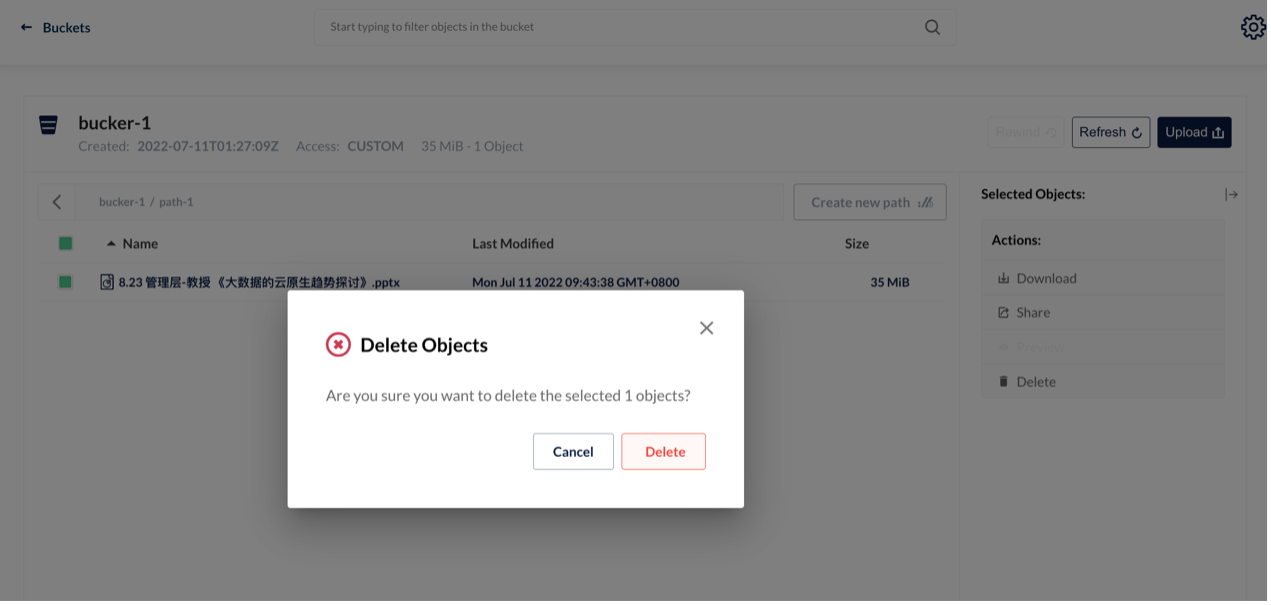
-
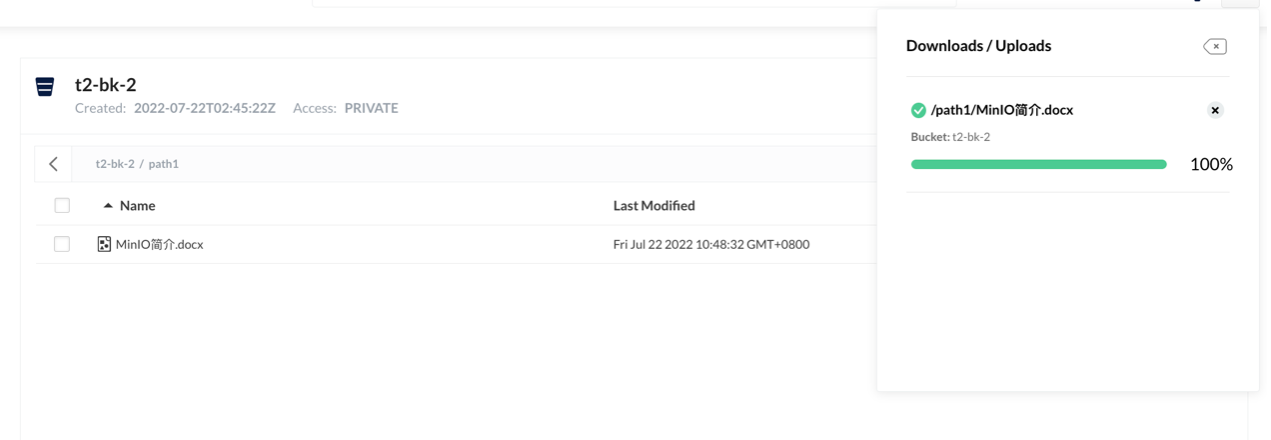
Upload the file.

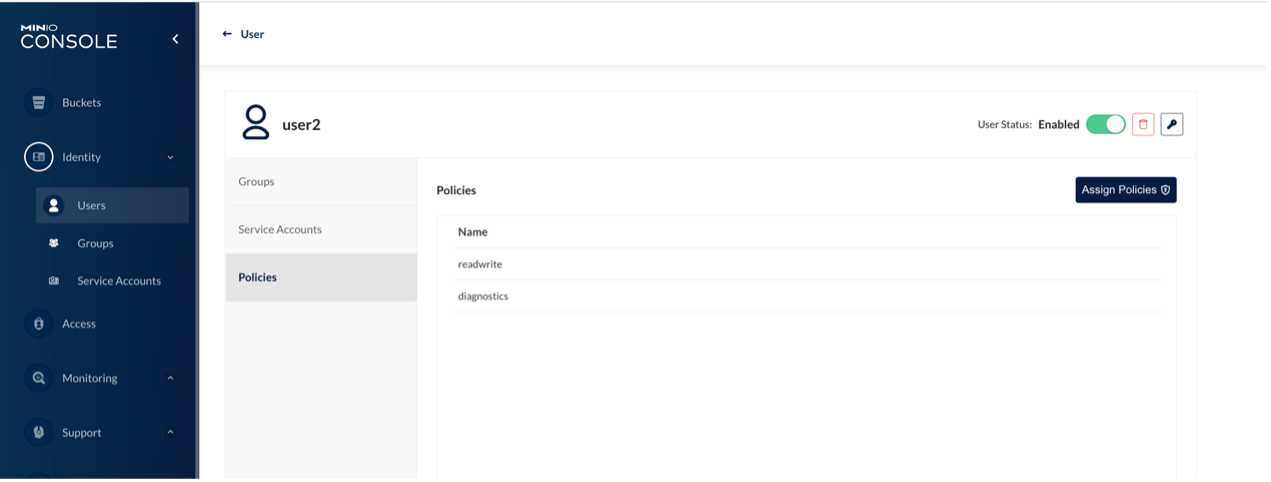
-
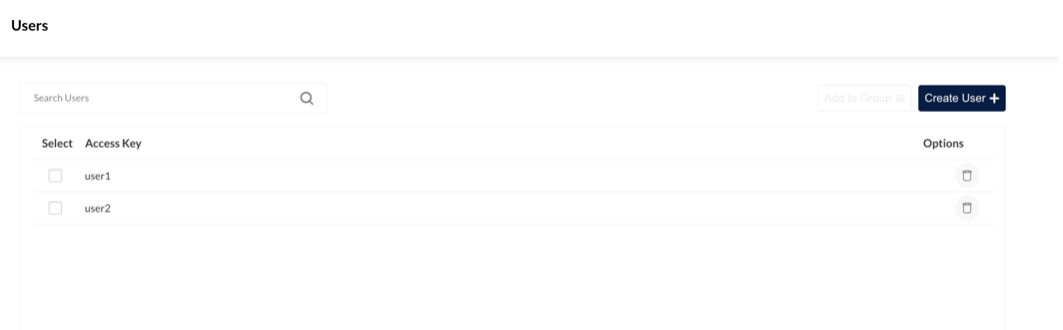
Create users.

-
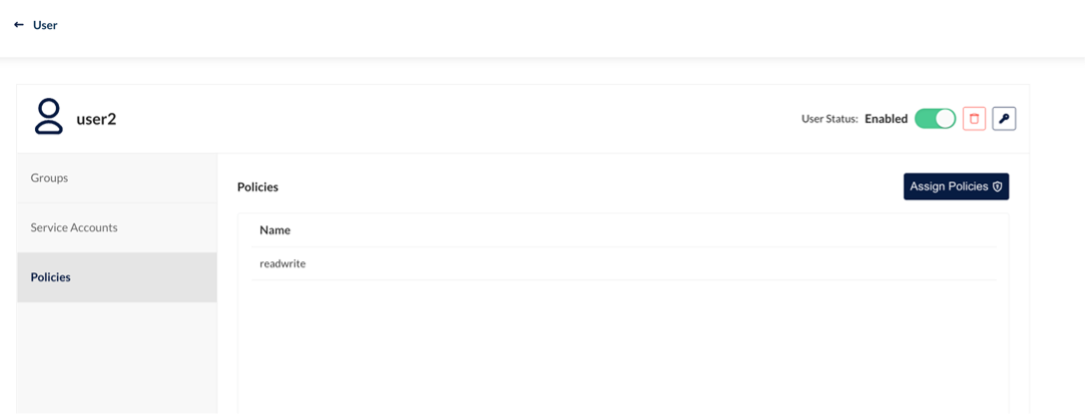
Configure user policy.
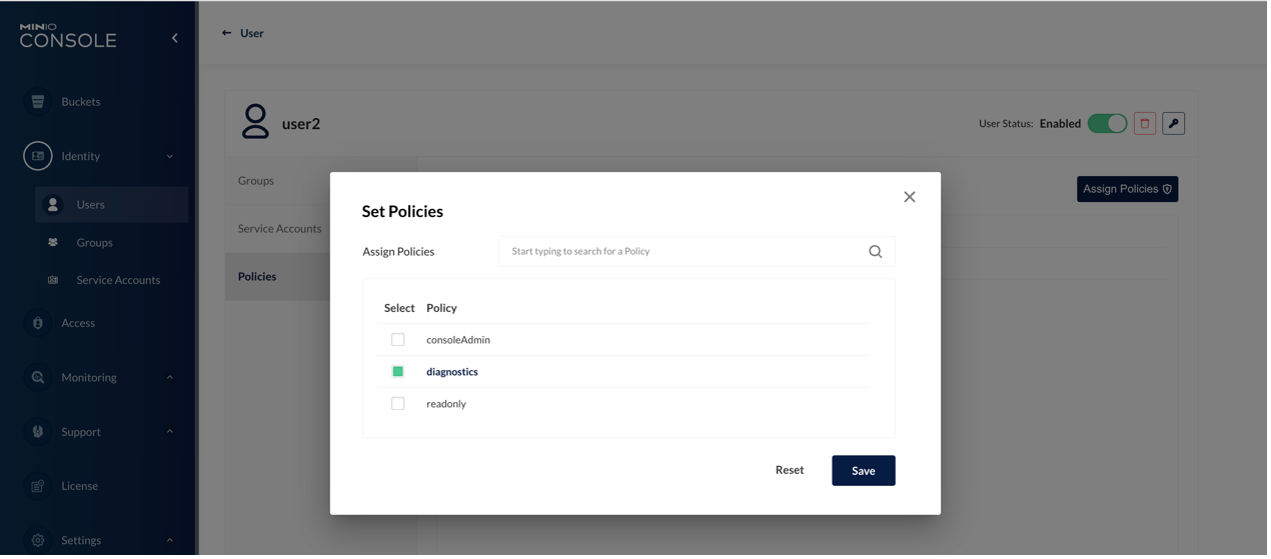
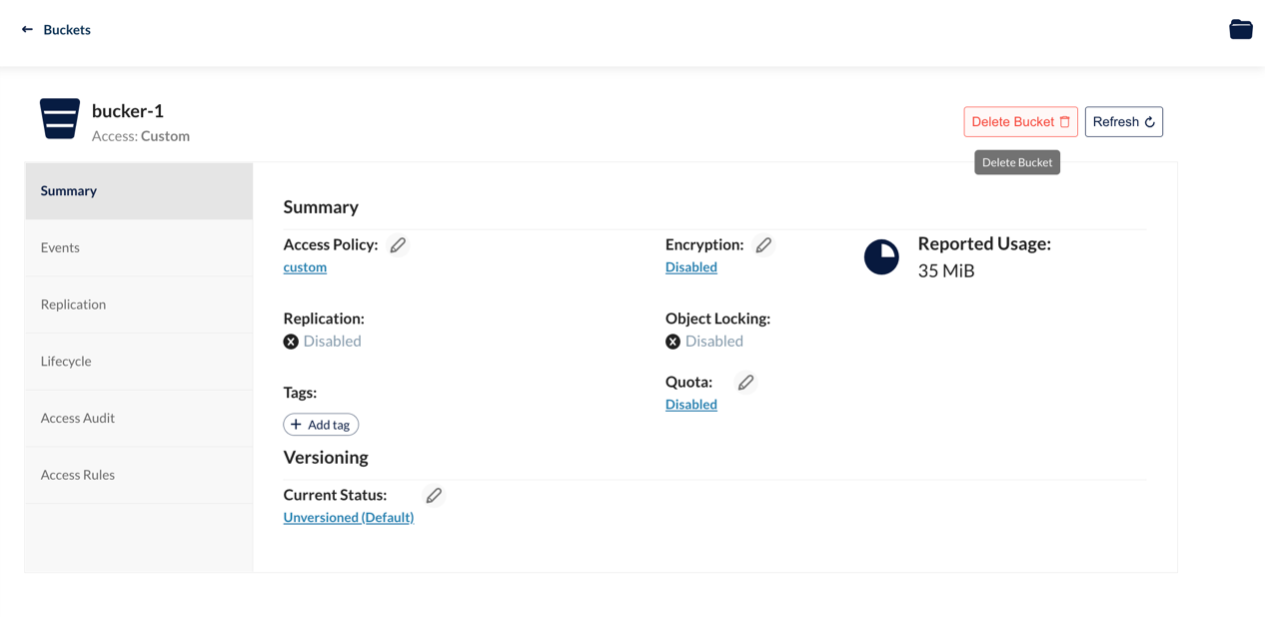
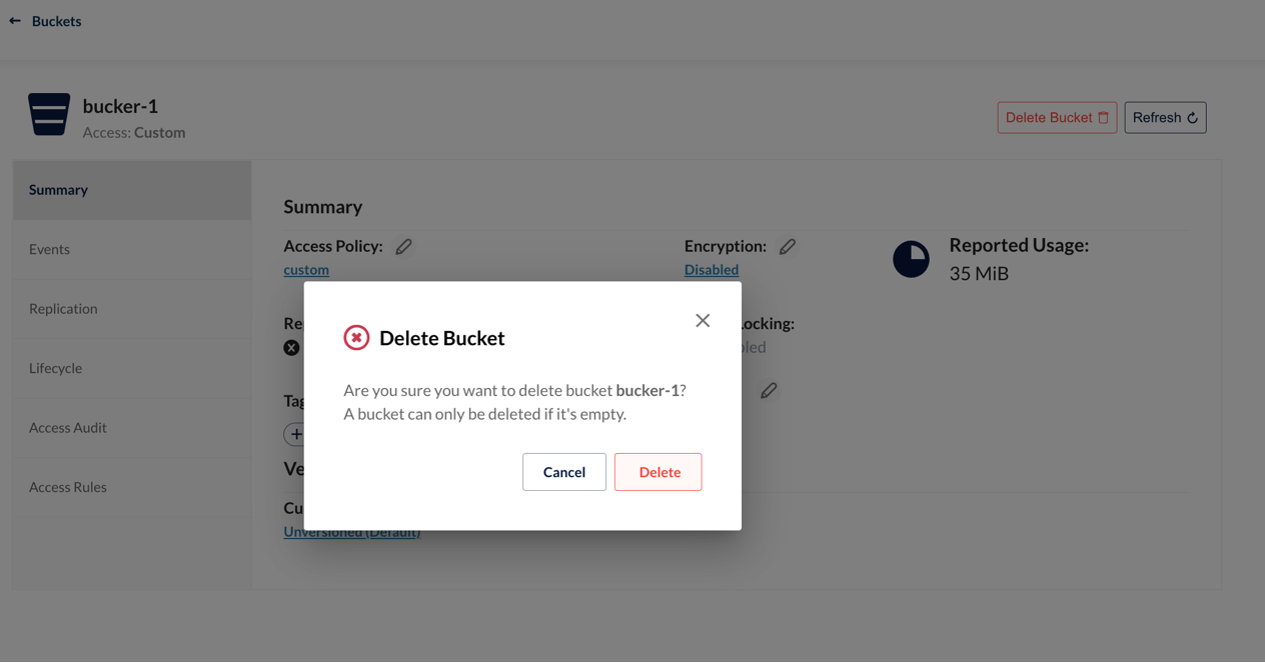
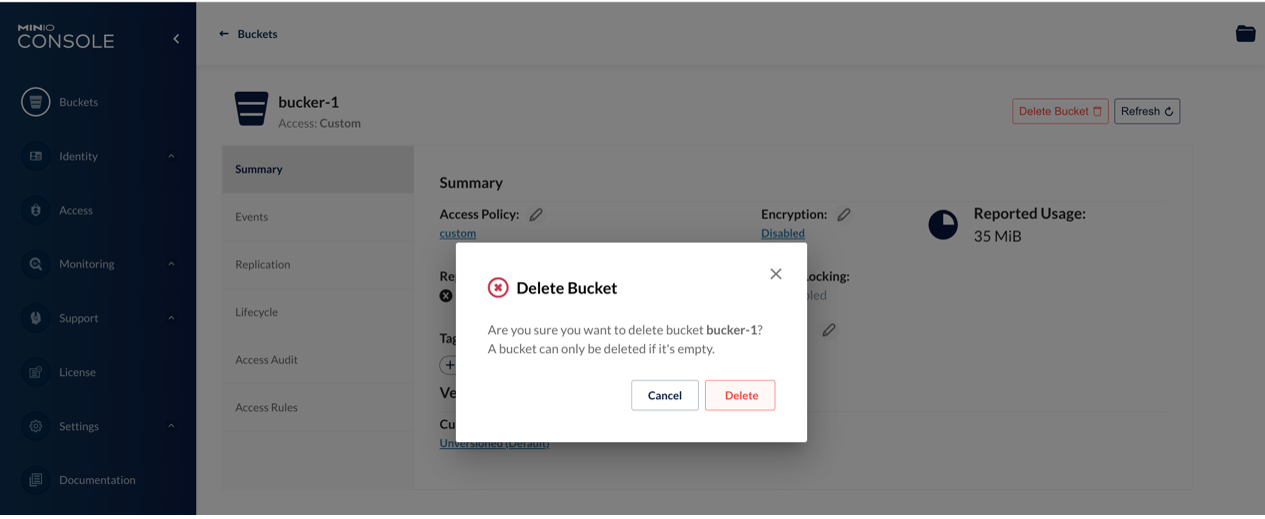
-
Delete the bucket.
in conclusion
In this test, MinIO distributed object storage was deployed on the Kubernetes 1.22 platform and connected to HwameiStor local storage. In this environment, the basic ability test, system security test and operation and maintenance management test have been completed.
All tests have passed successfully, confirming that HwameiStor can perfectly adapt to the MinIO storage solution.